Ultimate Skin Retouch Technique in Photoshop – High End Model Look

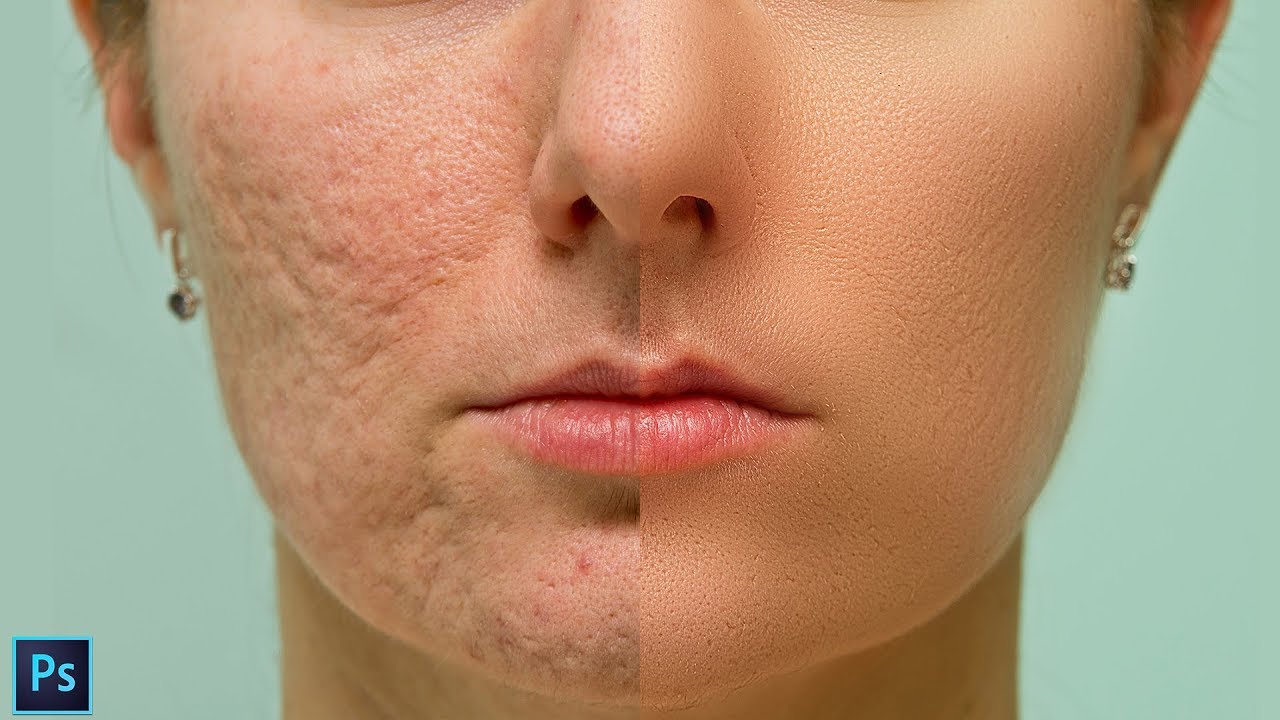
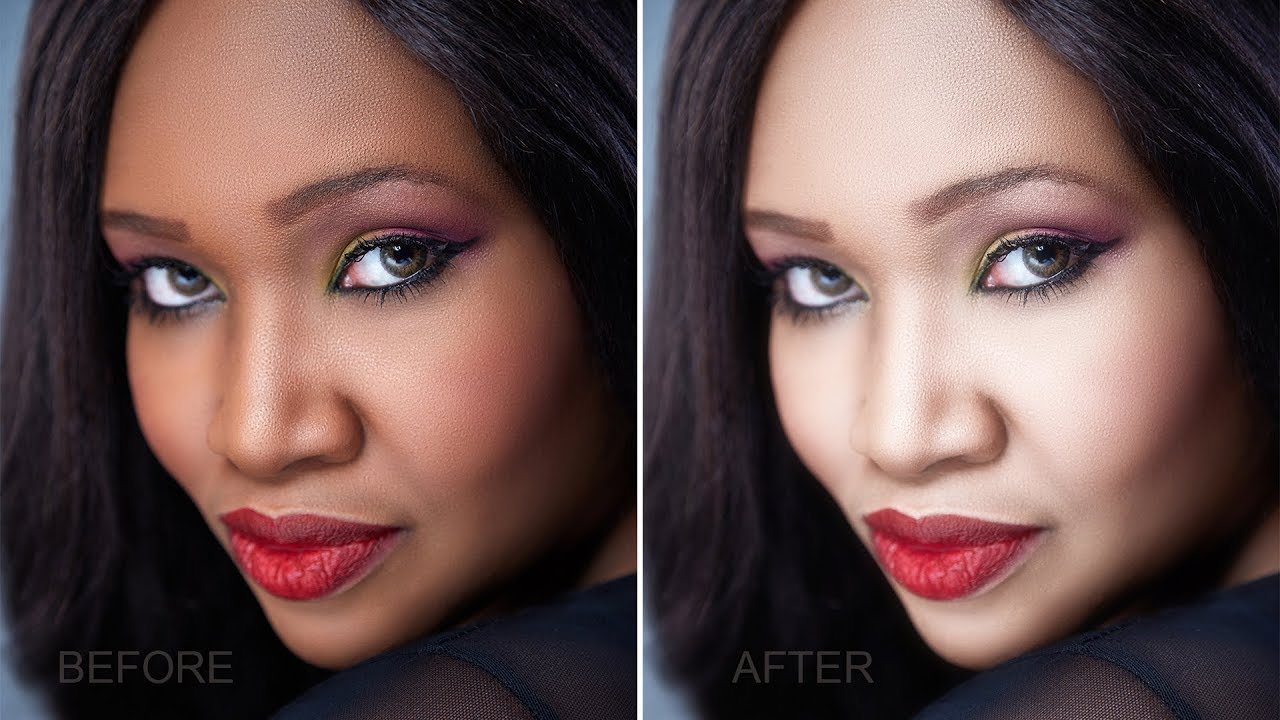
In this photoshop retouching tutorial, learn how to use frequency separation method in Photoshop to create model look-a-like skin. Remove imperfections, Preserve Skin texture and pores easily and quickly. Remove blemishes, wrinkles, acne. Soften the skin with natural look.
Skin Retouch Photoshop Tutorial :
CLICK HERE TO WATCH TUTORIAL
1
00:00:13
High-End and ultimate skin retouch technique in photoshop.
2
00:00:22
Begin by duplicating the background layer.
3
00:00:33
Change layer name to Smooth skin.
4
00:00:43
Head to the Filter menu then select Blur, and choose Gaussian Blur.
5
00:00:51
Adjust radius so that fine details are no longer visible, but the image can still be recognized overall.
6
00:01:03
In this case, I found that a radius level of 5px worked quite nicely.
7
00:01:13
Now again duplicate original background.
8
00:01:24
Change layer name to Detail Skin Texture.
9
00:01:33
Head to the Image menu and select Apply Image.
10
00:01:45
The Apply Image option allows users to blend and manipulate various layers.
11
00:01:49
We are going to subtract the smoothness from our ‘Details’ layer which will leave us with the skin texture.
12
00:01:55
set the Layer option to the Smooth skin and the Blending mode to Subtract.
13
00:02:05
Lastly, set the ‘Scale’ to 2 and the ‘Offset’ to 128.
14
00:02:17
Now desaturate the layer Shift+Ctrl+U.
15
00:02:34
Change layer blending to Linear Light.
16
00:02:44
We have successfully separated skin colors and details.
17
00:02:58
Select smooth skin layer and convert to smart object.
18
00:03:11
Go to filter – blur – apply gaussian blur.
19
00:03:18
Choose your desired amount of blur based on how blended you want to make your subject’s skin.
20
00:03:32
You will notice that the model’s face is suddenly smoother, but the texture remains.
21
00:03:38
I picked a radius of 20 pixels and hit OK.
22
00:03:47
Select the smart filter mask and invert it.
23
00:03:55
Ctrl+I to invert.
24
00:04:04
Now take soft white brush and paint on skin.
25
00:04:29
Avoid painting on eyes and lips.
26
00:05:43
Duplicate original background layer again for final time.
27
00:05:51
Move layer to top and change name to sharpness.
28
00:06:00
Convert layer to smart object and apply high pass filter.
29
00:06:16
Add very small amount of radius.
30
00:06:29
Change layer blending to linear light.
31
00:06:37
Add inverted layer mask, Hold ALT or Option key and click on mask icon.
32
00:06:47
Now take white soft brush and paint on whole face to increase texture details.
33
00:07:41
Lower the opacity to your preference.
34
00:08:03
Final step remove any visible spots.
35
00:08:16
create a new layer from all the visible layers by pressing Ctrl+Shift+Alt+E.
36
00:08:31
Select the Patch Tool.
37
00:08:39
Draw a closed loop around the affected area.
38
00:08:49
Drag that loop down onto clean skin with good texture.
39
00:08:59
Go to edit – select fade patch selection tool.
40
00:09:06
Adjust the slider until the patched area looks natural and has a nice faded edge.
41
00:09:16
That’s it.

[sociallocker id=”1411″][download-attachments][/sociallocker]