Use Select and Mask Easily in Photoshop – Beginner’s Guide

How to use Photoshop’s select and mask tools from the June 2016 update, which makes selections around tricky areas such as hair easier. Creating accurate selections and masks in Photoshop is now quicker and easier than ever before. A dedicated new workspace helps you make precise selections and masks. Use tools like Refine Edge Brush to cleanly separate foreground and background elements and do much more.
For this tutorial, I used Adobe Photoshop Cc 2017 on Windows. please note that the Select and Mask workspace replaces the Refine Edge dialog in earlier versions of Photoshop, offering the same functionality in a streamlined way.
Select and Mask Tutorial :
Open an image in Photoshop that you need to extract subject from background.
Choose Select then Select And Mask
First, you will want to choose your view mode in the Properties panel. I’ve already chosen to use On overlay mode.
The Select And Mask workspace features a combination of familiar and new tools:
Take Quick Selection Tool
Make quick selections based on color and texture similarity when you click or click-drag the area you want to select. The mark you make doesn’t need to be precise, because the Quick Selection tool automatically and intuitively creates a border.
Still there is some hair which are not in selection. it’s time to make refinements to the edge.
Before that
in the Edge Detection settings
Turn on Smart Radius. This will help bring in some of the finer details of the hair or fur. if your selection is a portrait that includes both hair and shoulders, then you should use this option to get perfect masks.
Now take Refine Edge Brush Tool
brush over soft areas such as hair or fur to add fine details to the selection.
This will decontaminate the hair, but also include any stray strands of hair that were missing from original selection.
tick the Decontaminate Colours box to remove any color fringing with the color of fully selected nearby pixels.
Finally, use the Output Settings.
I almost always use New Layer with Layer Mask. Click the OK button, and you’re done.
Now you can drag and place cutout subject or composite the image into any background.
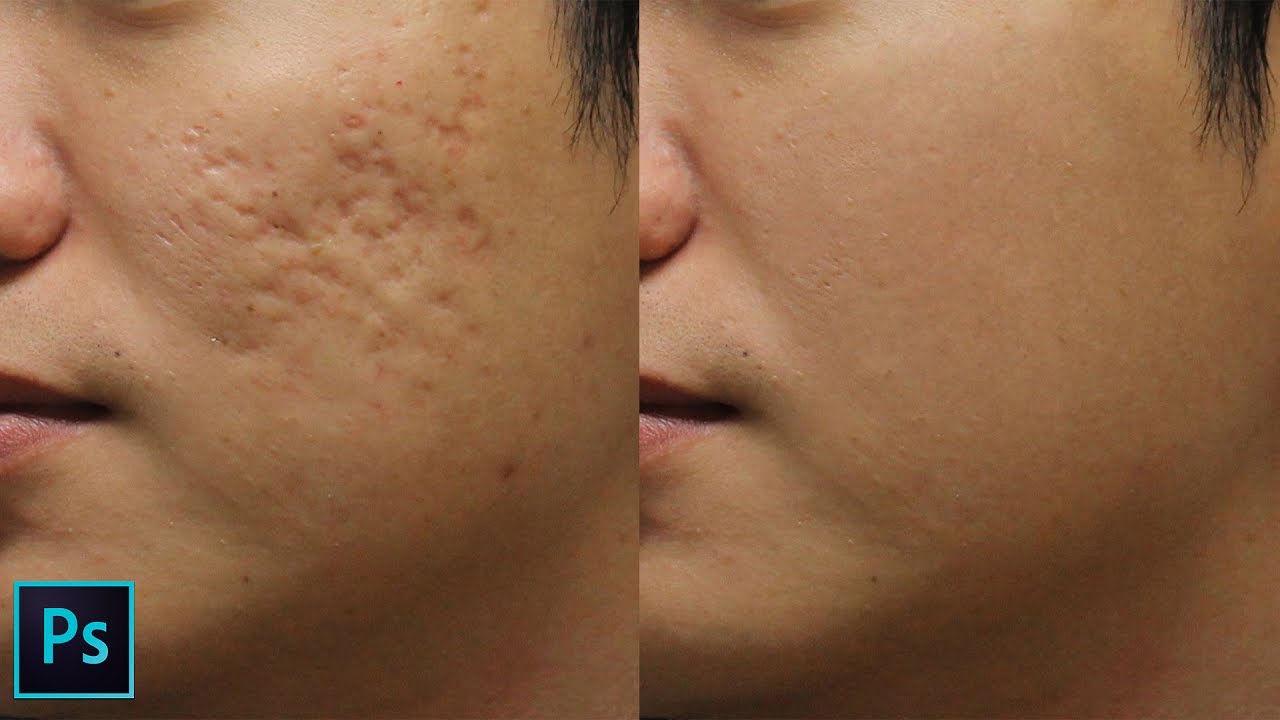
As you can see from the before and after, Select and Mask does a reasonable job of masking.
I hope that you enjoyed this tutorial

How to select and mask Easily in Photoshop tutorial – before and after
[sociallocker id=”1411″][download-attachments][/sociallocker]