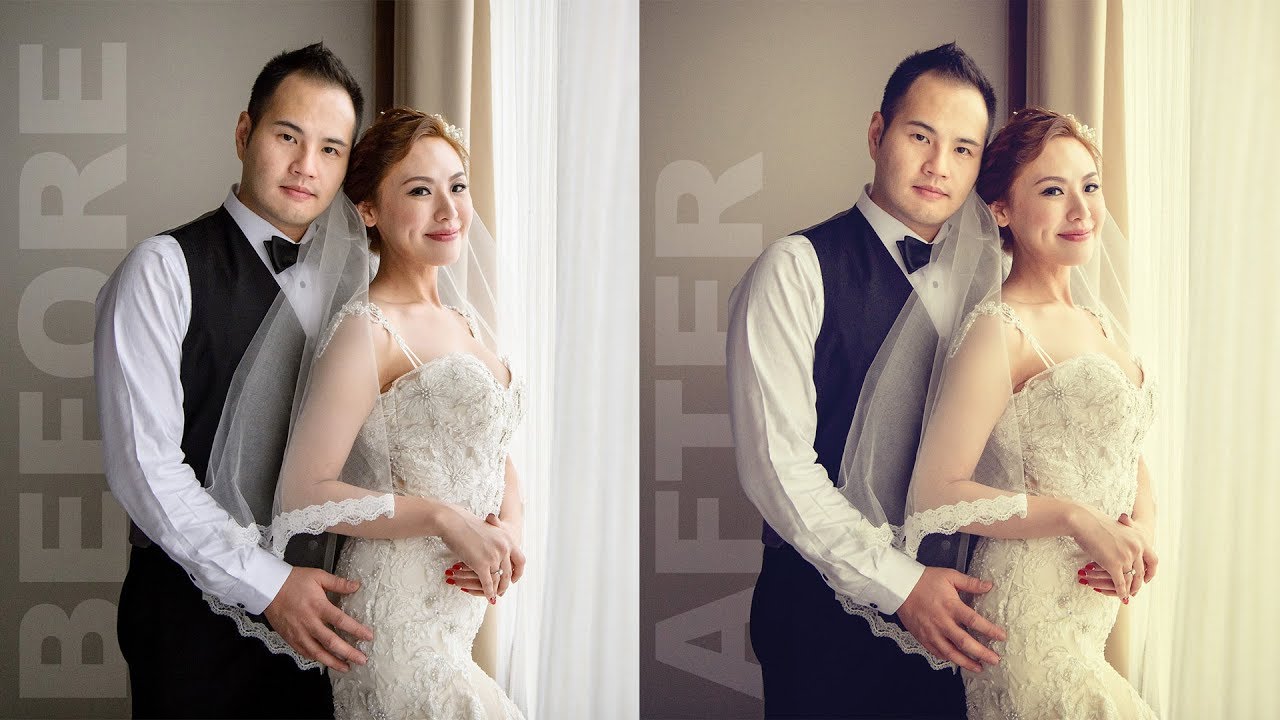
2 Ways to Correct Skin Tones in Photoshop – Tone Down Highlights
In this photoshop retouching tutorial, I’ll show you two easy ways to correct over exposed skin tones and shiny flash bright spots on face in photoshop.
Correct Skin tones Photoshop Tutorial :
CLICK HERE TO WATCH TUTORIAL
Method: 1) We can easily remove harsh highlights using channels.
Go to channels and select channel that contains more details & highlights information.
Compared to red & green, blue channel is best fit in this case because it contains over exposed area details.
copy the blue channel layer, CTRL +A to select and CTRL + C to copy.
Go back to layers and paste it CTRL + V.
Go to adjustments and select invert CTRL + I.
Change blending mode to soft light.
Double click on the layer to enter the layer options. We want the effect to only affect the bright areas.
So drag the black triangles to the right and you will see that the effect starts to only affect the highlights.
Hold Option or Alt Key clicking on the triangles splits them so you can feather the blending effect.
Lower the layer opacity to 50%. Duplicate layer to maximize the effect.
Method: 2) We can easily fix flash light glare using Brush tool.
Create a new blank layer. Select soft edged brush tool.
Now take eyedropper tool. Sample skin color next to the shiny area.
Change blending mode of the brush to darken. Lower the brush opacity to 20%.
simply paint on shiny areas to fix it. That’s it.
[sociallocker id=”1411″][download-attachments][/sociallocker]


