Window Light Photo Effect – Photoshop Tutorial
In this video, I’ll guide you through the process of creating stunning and realistic window light effects in Photoshop.
Window Light Photo Effect: Photoshop Tutorial:
To begin, we’ll duplicate the background layer and apply adjustments such as desaturation and Gaussian blur. We’ll save the modified image as “displace.psd” for later use. Next, we’ll create a new document and draw shapes using the shape tool, filling them with black color. By duplicating and arranging these shapes, we’ll create a dynamic composition.
Then, we’ll define a new brush preset by selecting the shapes and saving them as the “window brush.” This brush will allow us to add realistic window shapes effortlessly. After adding a new layer and selecting a white color, we’ll start painting the shapes onto the canvas, changing the layer blending mode to overlay for a seamless integration.
To give the window shapes a more natural appearance, we’ll distort them by using the transform tool and applying a Gaussian blur to soften the edges. We’ll further enhance the effect by applying a displacement filter using the “displace.psd” file created earlier.
Throughout the tutorial, I’ll provide tips and tricks to address common issues, such as fixing blown-out or overexposed areas. We’ll use blending modes and layer masks to achieve the desired results.
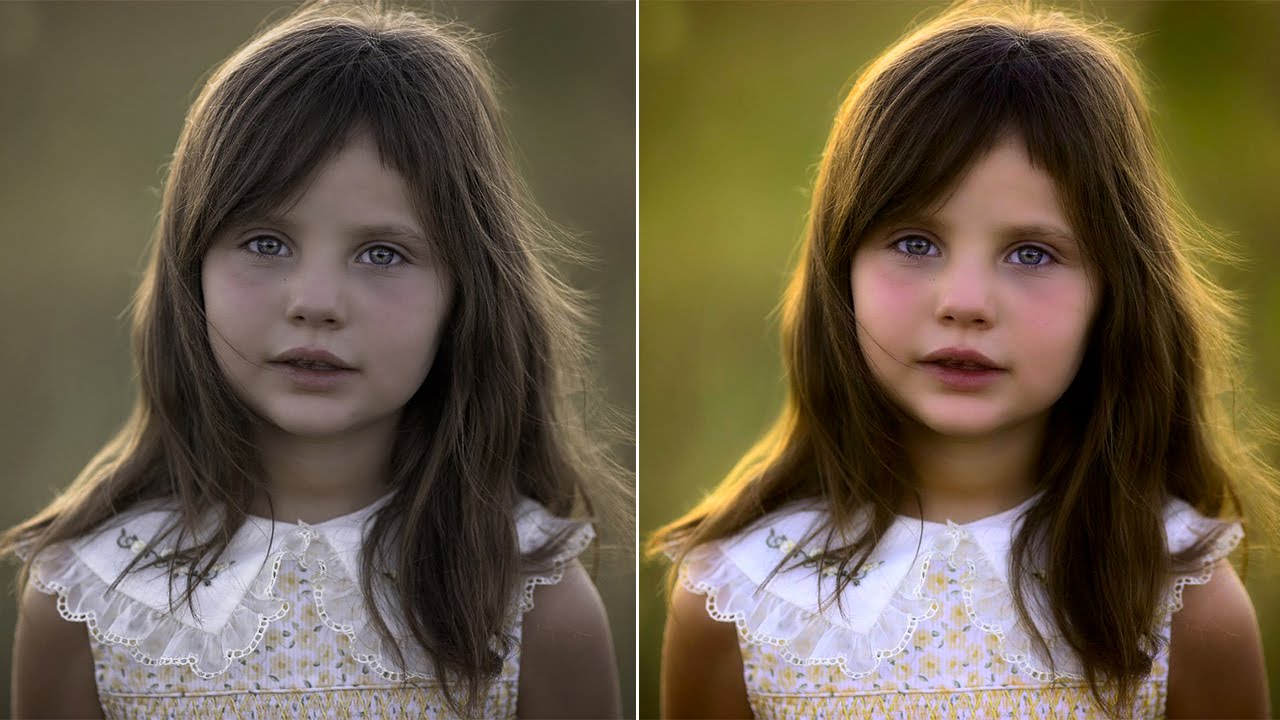
And that’s it! Take a look at the before-and-after comparison to see the difference. I hope you find this simple Photoshop tip useful.
►SUBSCRIBE to my YouTube Channel: CLICK HERE
►JOIN or Become YouTube Member for Direct Downloads: CLICK HERE
►Support Me on Patreon for Instant Downloads: CLICK HERE


