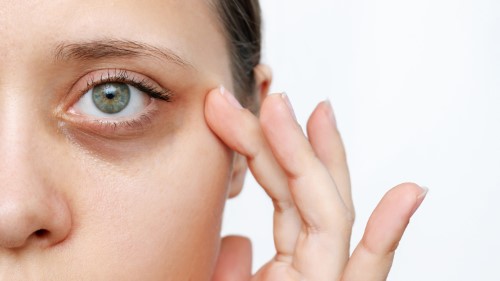
Remove Dark circles & Bags Using Solid Color in Photoshop

Learn how to remove dark circles and bags in Photoshop using the solid color technique. Let’s dive in and explore the steps involved in achieving a flawless and natural-looking result!
Remove Dark circles & Bags: Photoshop Tutorial
Step 1 begins with opening the photo in Photoshop and adding a new layer, allowing us to work non-destructively and make adjustments without altering the original image.
Moving on to Step 2, we explain the process of selecting the Brush Tool and color sampling, which is crucial for accurately matching the skin tone and texture.
Step 3 involves painting over the targeted area, specifically the dark circles and bags, to begin the retouching process. We demonstrate the technique for achieving smooth and natural-looking results.
In Step 4, we discuss the importance of adjusting brush opacity and flow, enabling us to build up the retouching gradually and maintain control over the final outcome.
Next, Step 5 focuses on blending the color with the original image to seamlessly integrate the retouched area into the overall picture, avoiding any noticeable edges or inconsistencies.
Moving forward, Step 6 involves creating a new layer dedicated to removing eye bags and wrinkles. This approach allows us to work selectively and refine the retouching further.
Step 7 covers sampling and retouching the under-eye area in more detail. We demonstrate effective techniques for achieving a realistic and youthful appearance.
In Step 8, we emphasize the importance of fine-tuning the retouched layer, ensuring that it seamlessly blends with the surrounding areas and looks natural.
Step 9 introduces the technique of making the eyes pop by using a Curves adjustment. This step adds depth and enhances the overall impact of the photo.
Finally, in Step 10, we discuss lowering the intensity and utilizing blending options to achieve a more subtle and harmonious result. We provide insights into finding the right balance for a natural-looking outcome.
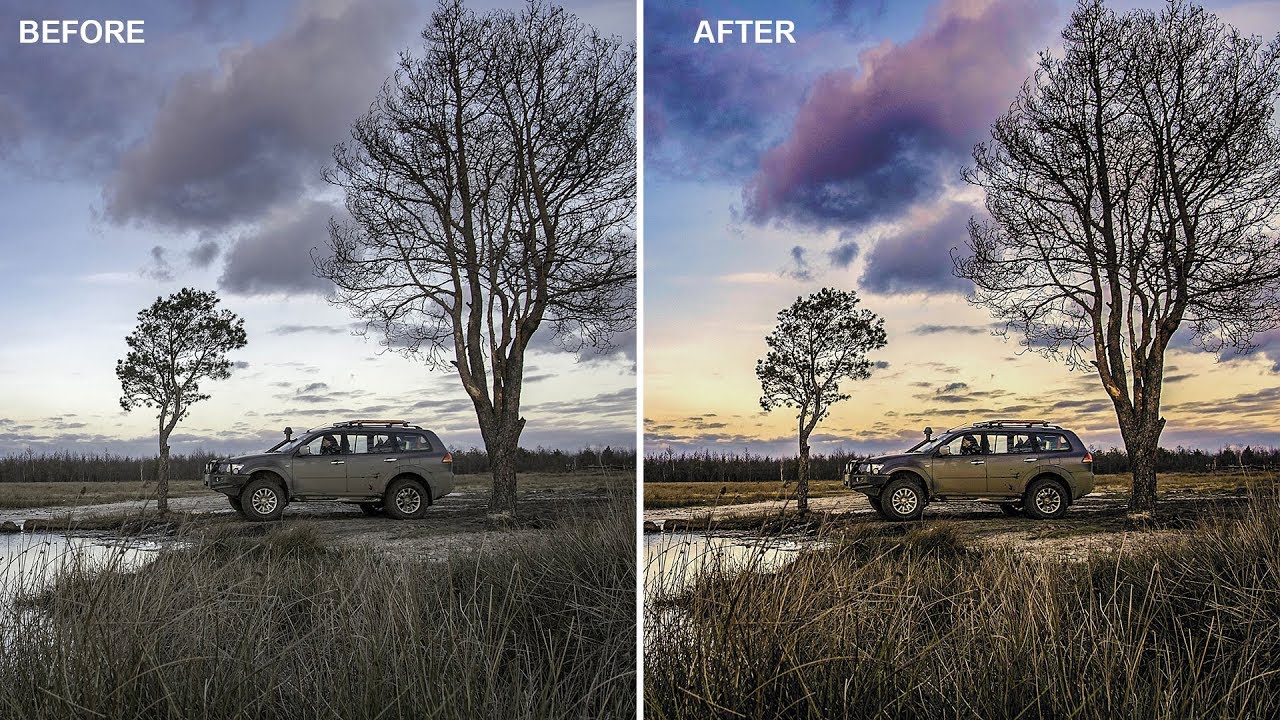
And that’s it! Take a look at the before-and-after comparison to see the difference. I hope you find this simple Photoshop tip useful.

►SUBSCRIBE to my YouTube Channel: CLICK HERE
►JOIN or Become YouTube Member for Direct Downloads: CLICK HERE
►Support Me on Patreon for Instant Downloads: CLICK HERE