Fix Contusion (Black Eye) in Photoshop – Retouching Tutorial

In this Photoshop tutorial, I’ll be showing you a step-by-step process to fix a Contusion in the lower eye area caused by a punch to the face. Using the powerful frequency separation technique, we’ll be able to seamlessly restore the appearance of the affected eye.
How to Fix Contusion (Black Eye): Photoshop Retouching Tutorial:
1) First, duplicate the background layer twice using CTRL/CMD+J. Rename the top layer to “texture” and the middle layer to “color.”
2) Hide the texture layer, select the color layer, and apply some blur. Go to the filter menu, choose blur, and select Gaussian blur. Set the radius to around 5 pixels and click OK.
3) Now, select the texture layer and apply the “apply image” command. Go to the edit menu, select “apply image,” choose the color layer, change blending to subtract, and set scale to 2 and offset to 128. Click OK to apply the settings.
4) Change the texture layer blending to linear light.
5) To fix the black eye, select the color layer, right-click, and convert it to a smart object for flexibility.
6) Hide the texture layer and apply a Gaussian blur with a radius of 20 pixels to remove details and keep only the color.
7) Add an inverted layer mask to the color layer by holding ALT/OPTION and clicking the layer mask icon. Use a soft edge brush with white color to paint on the affected area.
8) Fix the dark circles on the opposite eye as well. Add a hue/saturation adjustment to match the color. Reduce saturation and slightly increase lightness.
9) Turn on the texture layer and replace the mask by holding ALT/OPTION and dragging the color layer mask onto the texture layer. Lower the opacity to around 60% to match the original texture.
10) To tone down the effect on the right eye, use a brush with lower flow and opacity, and paint with black color to fade the effect. Use white color to correct any mistakes.
11) For a final touch, add a warm tone to the skin using a photo filter adjustment. Lower the density and add a clipping mask.
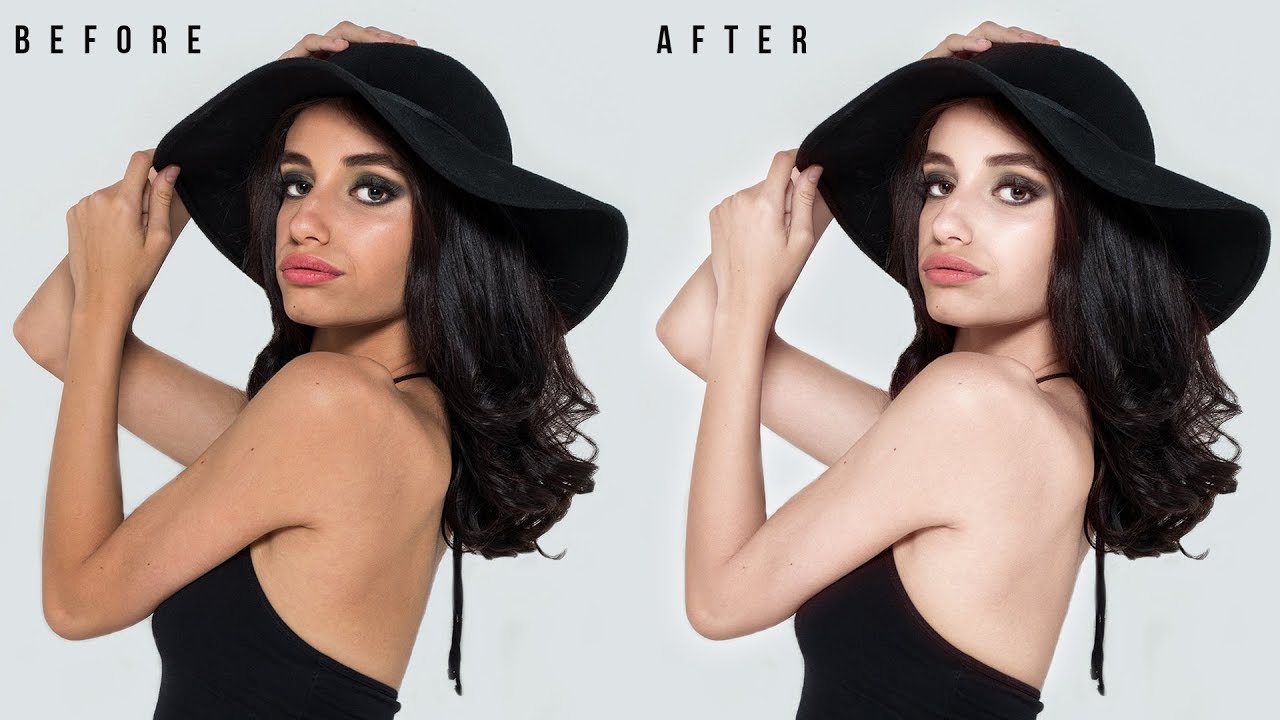
That’s it! Check out the before and after. Thanks for watching, and don’t forget to like, share, and comment. Subscribe for more Photoshop tutorials and hit the Bell icon for notifications. Take care and happy editing!


►SUBSCRIBE to my YouTube Channel: CLICK HERE
►JOIN or Become YouTube Member for Direct Downloads: CLICK HERE
►Support Me on Patreon for Instant Downloads: CLICK HERE