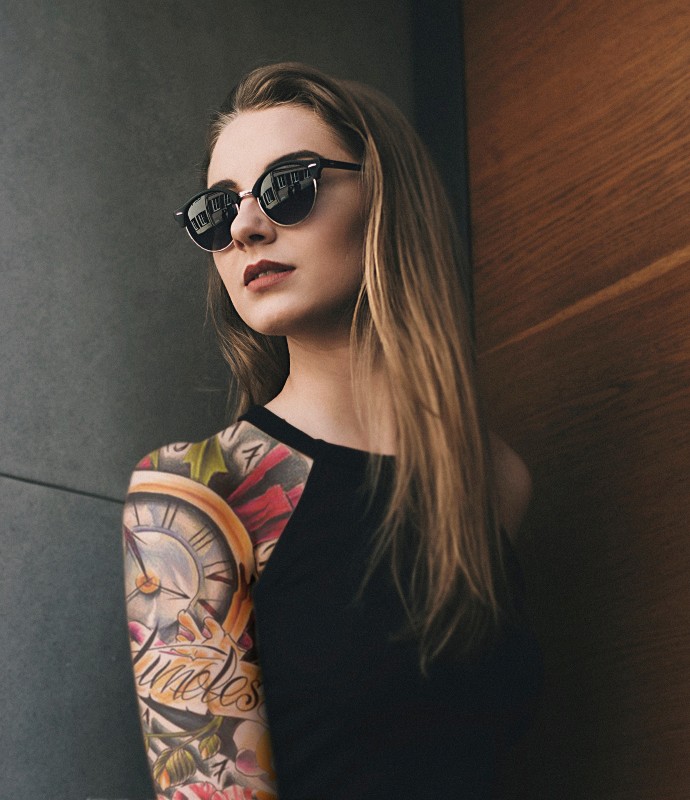
How to Add Realistic Tattoo to a Person Body in Photoshop

In this photoshop photo editing tutorial, I’ll show you easy way to add a realistic tattoo on Your Body in photoshop while making it look like it’s really a part of the original photo.
Apply Tattoos to Body Photoshop Tutorial :
CLICK HERE TO WATCH TUTORIAL
First thing you need to do is open your image in Photoshop.
Duplicate background layer, Press Ctrl/cmd + J to make a copy of the original image layer. This copy layer will be used as the Displacement Map.
Go to adjustments and select de-saturate. Go ahead to Filter – Blur – Gaussian Blur and set the Radius to 3 pixels.
Next, you should go to File – Save As and save the document in PSD format. Name it as Displacement Map.
After saving, simply delete the layer, we don’t require it any more.
Now you need to open your tattoo design file in Photoshop. Change the tattoo layer blending to multiply.
Now go to edit, select free transform CTRL/CMD+T and adjust its size according to the arm of the subject.
Next go ahead to Filter – Distort – Displace. Set the Horizontal Scale and Vertical Scale to 5. In the Displacement Map, select Stretch to Fit and in the Undefined Areas, select Repeat Edge Pixels.
In the next window, you’ll need to select the MAP file that we saved in the early steps of this tutorial.
The Displacement Map makes sure that the tattoo realistically wraps around the corners of the arm, and it adjusts the shadows, midtones and highlights of the body with the tattoo.
You will notice that the Displacement Map adjusts the corner of the tattoo with the shape of the arm.
Next, you can go to Filter – Blur – Gaussian Blur and set the Radius to 0.5 pixel.
The tattoo is too big for the arm, so you’ll need to remove the excess.
So select tattoo layer and hold ALT or Option key click on layer mask icon to apply inverted mask.
Now take soft edged brush and paint on the mask with white. Just simply brush over the arm area where you want the tattoo.
Now duplicate background layer again and rename the layer to “Noise”.
Bring the layer to the front. This copy layer will be used as the lighting effect.
De-saturate the layer SHIFT+CTRL+U. Change layer blending to screen and convert it to smart object.
Go to Filter – add noise. The noise will help us out by giving our tattoo some nice skin like texture. Now set the amount of noise to 6%. keep distribution uniform and monochromatic. click ok.
Lower the opacity of the layer to match your unique skin tone.
You should create clipping mask, so the adjustment affects to the tattoo layer below it.
To boost the effect of the lighting add levels adjustment and adjusts the shadows, midtones and highlights to your preference.
That’s it! We’re Done.
[sociallocker id=”1411″][download-attachments][/sociallocker]