How to Repair Perspective Keystoning Problem in Photoshop

Perspective Keystoning Tutorial : Have you ever tried taking a photo of a building only to have the building look like it’s leaning backwards? That’s a perspective problem known as keystoning, and it’s caused by the building and the camera lens being on two different angles. Keystoning can sometimes be a desirable effect since it can add a real sense of drama to the image.
However, there are times when you’ll wish there was some way to correct this perspective problem & we can fix that easily in photoshop.
Here’s the photo I’ll be using. Notice how the building appears to be leaning backwards with the sides tilted inward rather than being parallel to each other as they should be Before we do anything else, we should first make a duplicate copy of the original image Straighten The Image If Needed.
Goto Filter menu and then choose Lens Correction
To start with, let’s make sure the image is straight. We can do that using the Straighten Tool which is the second tool from the top on the left side of the dialog box. Click on it to select it. Then simply click and drag across something in the image that should be straight, When you release your mouse button, Photoshop will rotate the image inside the preview area to straighten it. then click ok.
Now we’re going to correct perspective using new Perspective Crop Tool in Photoshop. You’ll find the Perspective Crop Tool nested in behind the standard Crop Tool in the Tools panel. Click and drag out an initial crop box around the image. Notice that a grid also appears inside the crop box. If you’re not seeing the grid, make sure you have the Show Grid option selected in the Options Bar along the top of the screen.
To fix the perspective problem, all we need to do is drag the corner crop handles left or right until the vertical (up and down) lines of the grid line up with something in the image that should be vertically straight. When you’re done adjusting the handles, you can apply the crop either by clicking on the checkmark in the Options Bar or by pressing Enter on your keyboard.
As a final step, we need to crop away all the unwanted areas along the bottom and the sides. But i will use content-aware tool to fill the gaps.
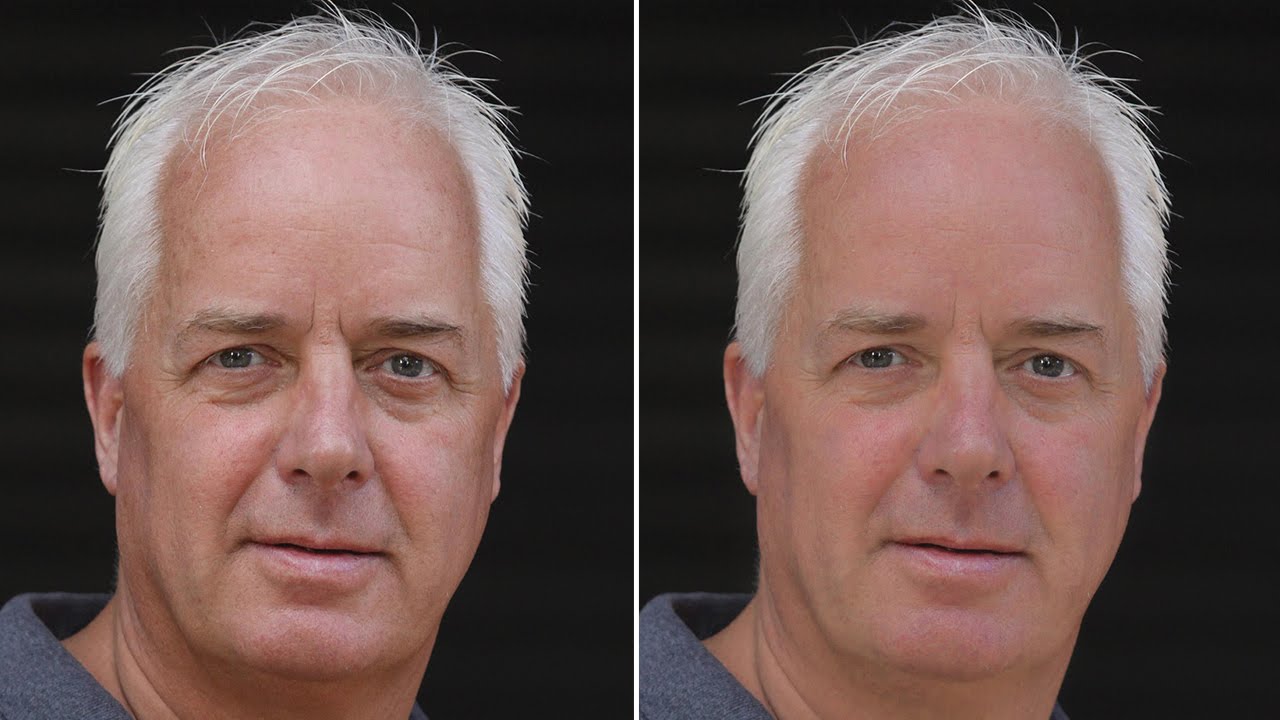
here is before & after results


That’s how to correct perspective problems in an image using the Lens Correction filter & perspective crop tool in Photoshop!
[sociallocker id=”1411″][download-attachments][/sociallocker]