How to Add Color Haze & Tint to Wedding Photos in Photoshop

In this photoshop color grading tutorial, learn how to add color haze and tint to wedding photos in photoshop using sky overlay.
Add Color Haze & Tint Photoshop Tutorial :
CLICK HERE TO WATCH TUTORIAL
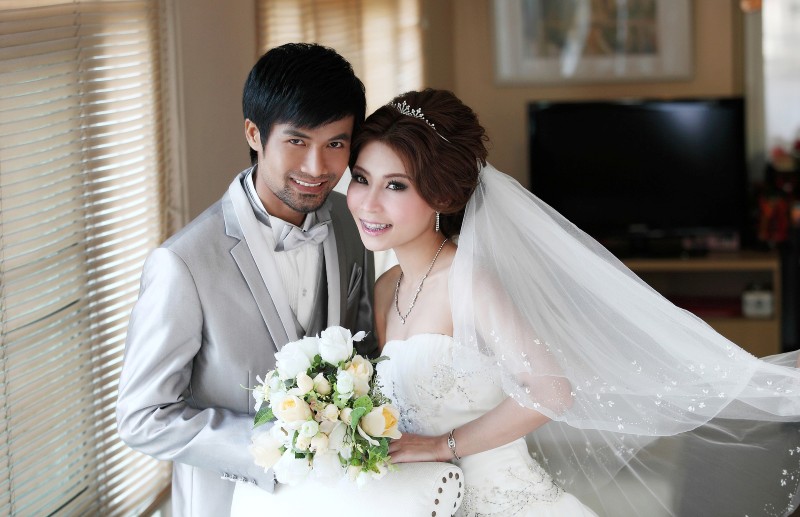
How to make your wedding photos instantly beautiful in photoshop.
I will show trick that you can color grade your photos easily and quicky.
Select any of sky background which contains soft colors like pink, yellow etc.
Take move tool, drag sky background and place it to your liking.
Go to Blur – apply gaussian blur with maximum radius of 100px.
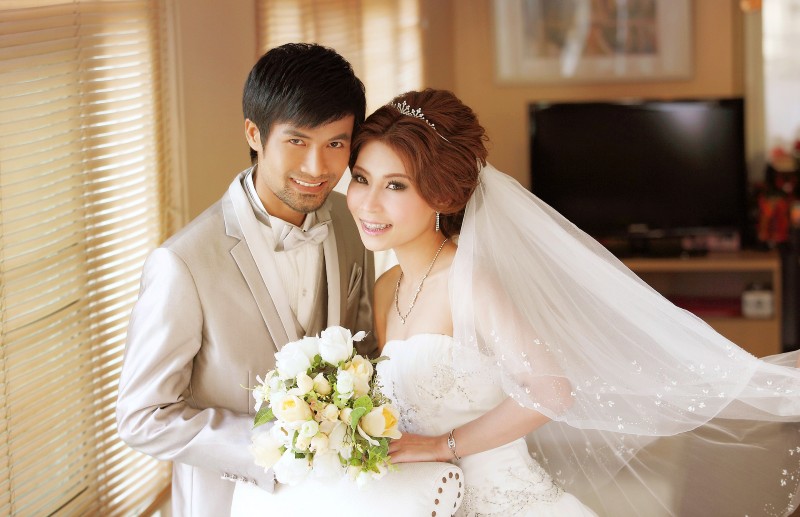
Change blending mode to soft light, it give soft glow and also add color haze to the image.
Now we can add color tint of your preference.
Select solid color adjustment and pick color of your liking.
in this case, I picked brown color (#a67c52).
Change blending to soft light. Lower opacity to your preference.
Note: You may choose any color of your choice.
Add some contrast to expand overall tonal range of the image.
Now create a new layer from all the visible layers by pressing Ctrl+Shift+Alt+E.
Change blending to Multiply.
I want to keep the highlights details and hide the shadows from this layer.
Add layer mask and apply image command without invert.
If you want change color of sky layer with hue/saturation to get different look.
That’s it. we’re done.
[sociallocker id=”1411″][download-attachments][/sociallocker]