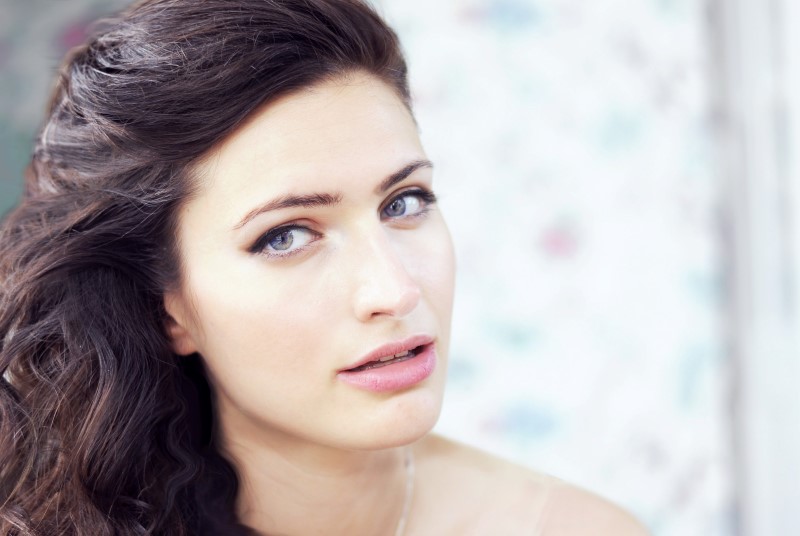
How to Correct Fix Overexposed Skin Tones of Portrait in Photoshop

In this tutorial, i will show you how you can fix overexposed photographs with unnatural skin tones and hair color in photoshop.
first duplicate original background layer
Go to Image > Adjustements > Desaturate (SHIFT + CTRL + U)
Now invert the layer :got o Image tab> Adjustements > Invert (CTRL + I)
Change the Blending option of background copy layer to “Overlay”
convert layer to smart object. add a gaussian Blur to it
Filter > Blur > Gaussian Blur. adjust radius slider around 2 pixels. This causes sharpness and improves overall focus and then click ok
Now duplicate original background layer and place it above all layers
Change the blending type to “softlight”
here you can see the original natural colors of her hair, eyes, skin tones and lips. and also overall image details & focus also improved.
here is before and after results.

[sociallocker id=”1411″][download-attachments][/sociallocker]