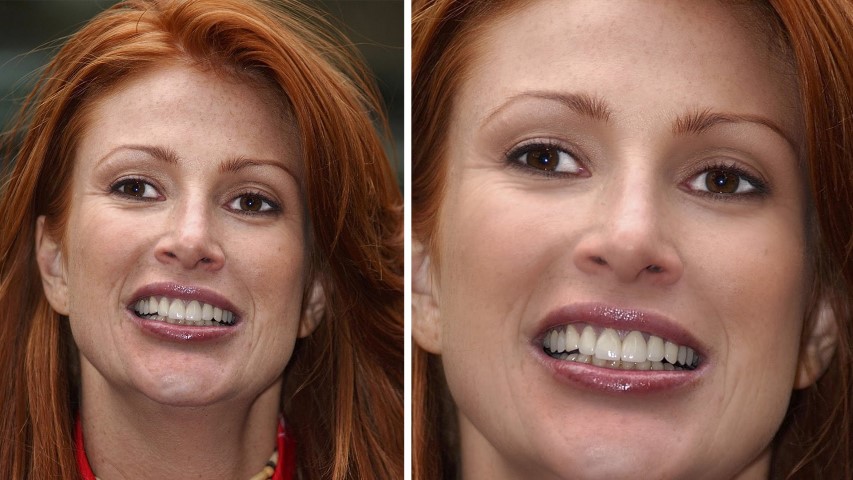
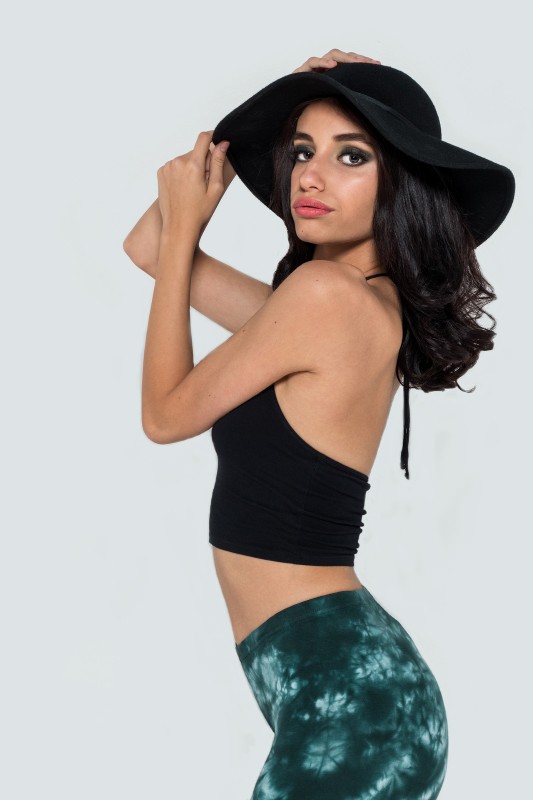
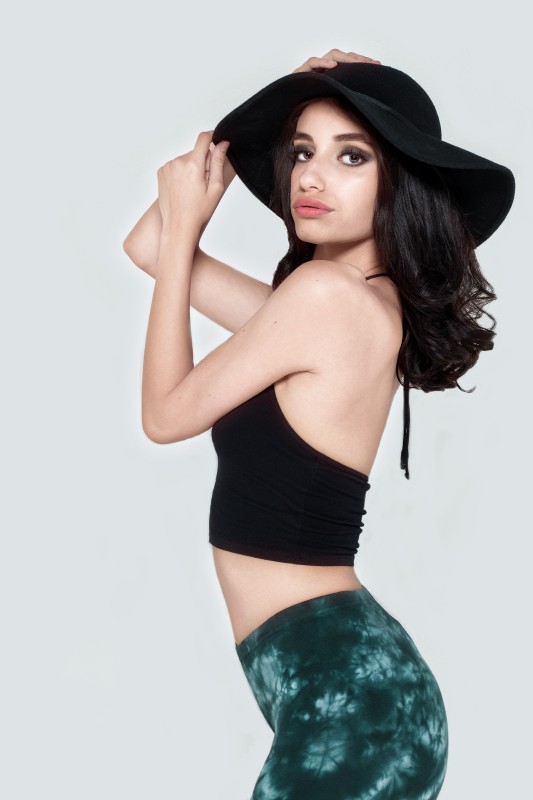
How to Enhance Portrait Skin Color Tone Easily in Photoshop

In this photoshop photo editing tutorial, learn how to change person’s skin color easily using color range and basic adjustments in photoshop.
Portrait Skin Color Editing Tutorial :
CLICK HERE TO WATCH TUTORIAL
How to improve portraits skin complexion & texture in photoshop.
First open your photo & Duplicate it.
Desaturate layer Shift + Ctrl + U.
Change layer blending to screen.
Now we need to select skin tones to mask out the effect on unwanted areas.
Choose Select – Color Range. From the Select menu, choose Skin Tones.
Photoshop auto select colors that resemble common skin tones.
Activate background copy layer and click on layer mask.
Hold ALT or OPT key and click on mask to view.
Now select layer mask and feather the mask using mask properties.
This action blends and soften the edges of the mask with original background layer.
Now take soft black brush and paint on eyes and lips to hide out the effect.
Now apply skin color of your liking with hue & saturation adjustment.
Select colorize and adjust hue, saturation and lightness to your preference.
Click on clipping mask to make affect applied to skin tones only.
Now change blending to color.
Now create a new layer from all the visible layers by pressing Ctrl + Shift + Alt + E.
Change layer blending to multiply to bring some details back.
We want the affect applied to skin brighter areas only.
To do that, double click on the layer to get the layer options panel.
Hold Option or Alt Key clicking on the black triangles splits them so you can feather the blending effect.
Lower layer opacity to your preference.
(optional) Take any selection tool and mask the background to keep it original.
That’s it. we’re done.
[sociallocker id=”1411″][download-attachments][/sociallocker]