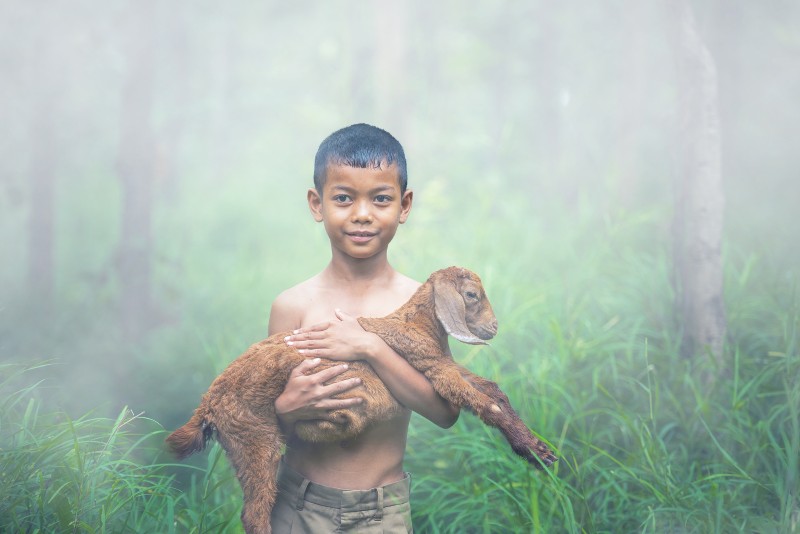
How to Add Mist and Fog Effect to Photos in Photoshop Tutorial

Learn how to use Photoshop to add a dreamy mist and fog photo effect to any image. This Photoshop tutorial will teach you how to use several layers to create a realistic fog & mist effect that appears thicker in the distance.
Mist and Fog Effect Tutorial :
First open image in photoshop.
Select and mask to cutout the subject (you can use refine edge tool), then clean the edges of the mask with brush overlay blending technique.
Add solid white color layer to make a mist. Add a gradient to the solid layer mask to make mist appear thicker in distance.
Duplicate solid color layer and group the layer. Reduce the opacity and add layer mask so that the effect is only visible on the background leaving the subject.
Create a new blank layer then go to filter – render – select clouds filter to create a fog. Change blending to screen. Reduce the opacity to look realistic.
Finally create stamp visible copy (CTRL+SHIFT+ALT+E) and add apply image command to improve high dynamic range of the image.
That’s it. Here is before and after. I hope that you enjoyed this tutorial.
[sociallocker id=”1411″][download-attachments][/sociallocker]