Convert Any Photo into 3D Scene in Photoshop
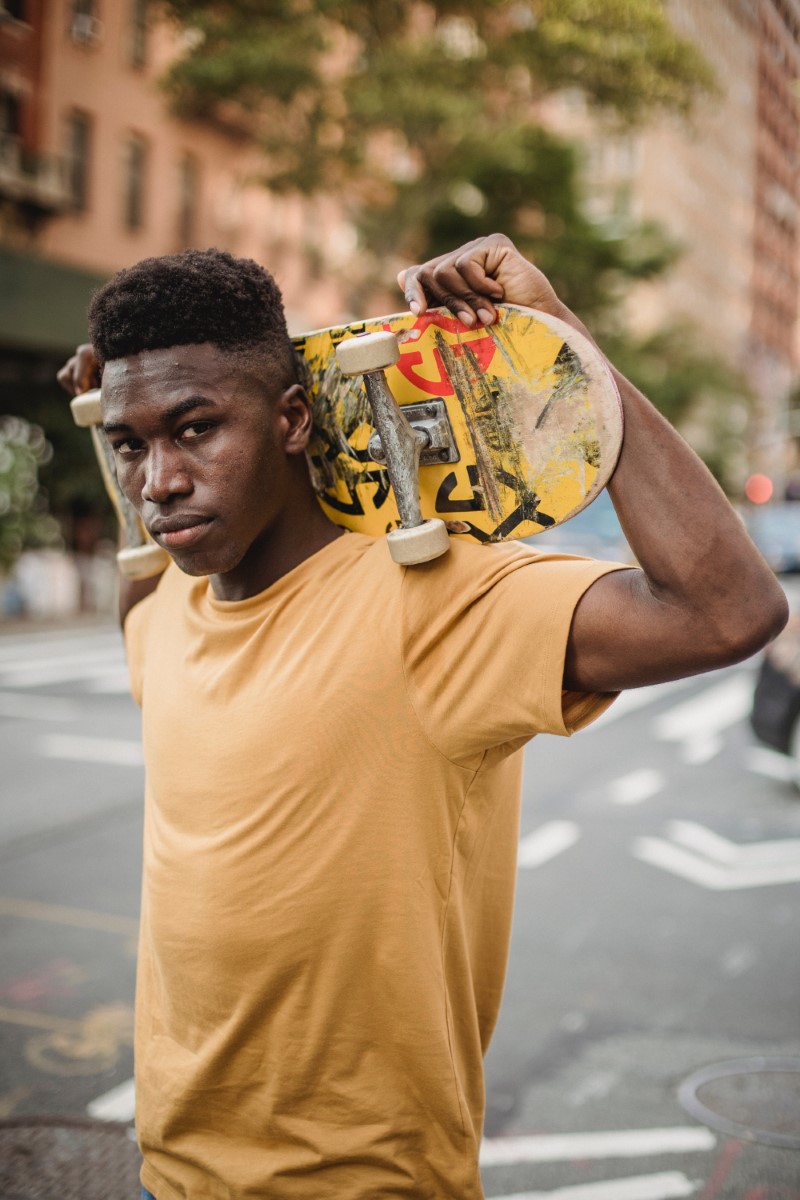
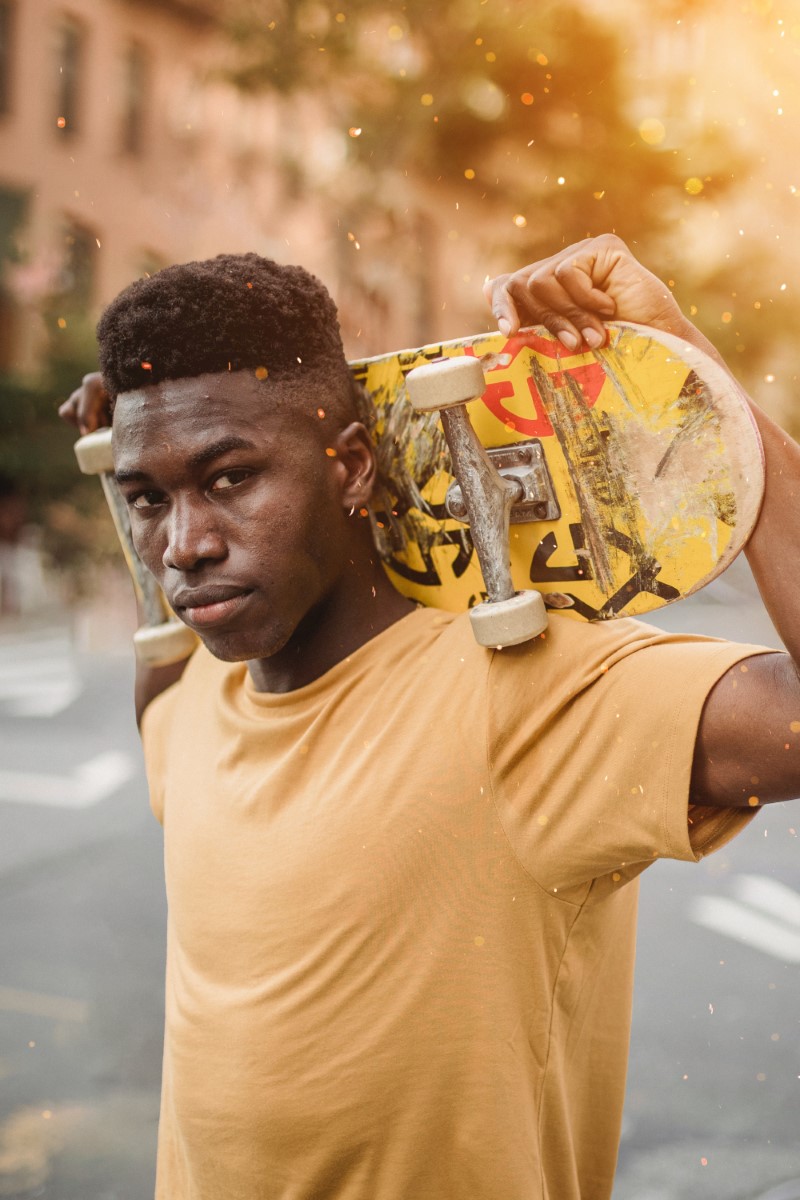
In this video, today we are going to learn how to Convert Any Photo into 3D Scene in Photoshop. You might expect this to be a very advanced tutorial. That super-pro skills are required to achieve this effect. If you genuinely think that, you are mistaken. This is a very simple and straightforward method that anyone can replicate by simply following this tutorial.
Photo into 3D Scene in Photoshop YouTube Tutorial:
Can anyone guess what my least favourite Photoshop function is? is making selections those with a busy background and messy hairstyles, in particular. Unfortunately, that is the first step in this tutorial. Make a selection of your subject. You can use quick selection, the subject button, or whatever method suits you best.
Once you’ve made your selection, copy it into a layer by pressing Ctrl or Cmd + J. Name the layer “SUBJECT”.
Then, while holding down ALT or Option, click on layer thumb to load the selection. Unlock the background layer and change name to “BACKGROUND”. Make sure the selection was still active then expand the selection by 50 pixels. Fill the selection now with content aware. Deselect the selection and convert the both layers to smart objects. Otherwise, the 3D moving scene effect will not work with normal layers unless you convert it to a smart object.
Now, group the layer and rename it “3D parallax effect.” We must now create a video timeline. We can do this by selecting the timeline option from the window menu. Set the document timeline settings of the timeline, as well as the work area end of the timeline.
Now, select the “subject” layer. Keep playhead at first frame. Clicking on this stopwatch activates the transform track. Then move playhead to last frame. open the free transform tool by pressing Ctrl or cmd + T. Scale the subject layer from the bottom right corner. once you’re satisfied with your position. Hit the tick button which adds keyframe at the end of the timeline.
Same as the previous step, this time select the “background” layer. Let’s take a look at what you’ve done by pressing the play button. It seems very good to me. You can change the speed or slowness by simply moving the keyframe in the transform track.
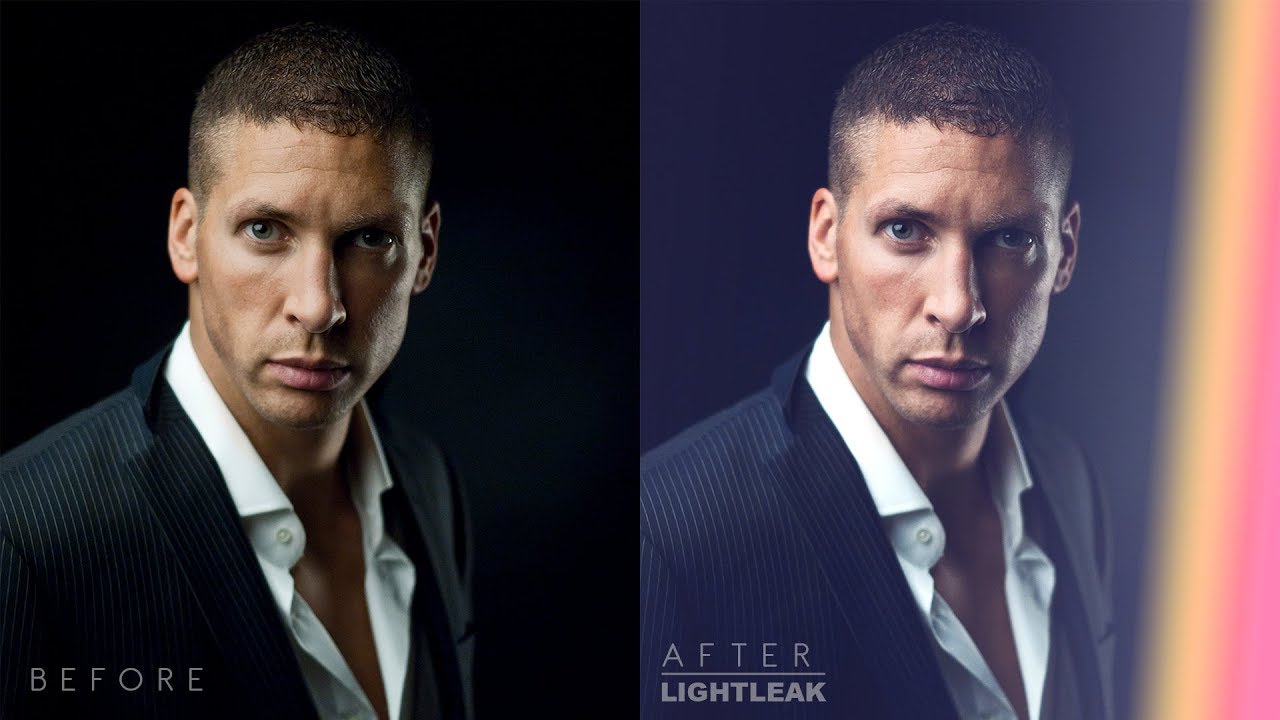
You can also add additional overlays such as sunrays and dust particles. That concludes this tutorial. I hope you got something out of this video.
►Download PSD File: CLICK HERE
►Download This Tutorial Photo for Practice: CLICK HERE
►SUBSCRIBE to my YouTube Channel: CLICK HERE
►JOIN or Become YouTube Member for Direct Downloads: CLICK HERE
►Support Me on Patreon for Instant Downloads: CLICK HERE


