How to Create Fake Northern Lights Effect in Photoshop

In this photoshop photo effects tutorial, I’ll show you how to create a fake northern lights in photoshop easily.
Fake Northern Lights Effect Tutorial :
CLICK HERE TO WATCH TUTORIAL
1
00:00:13
How to create fake Northern Lights in photoshop.
2
00:00:21
First add new blank layer.
3
00:00:32
Select foreground color green.
4
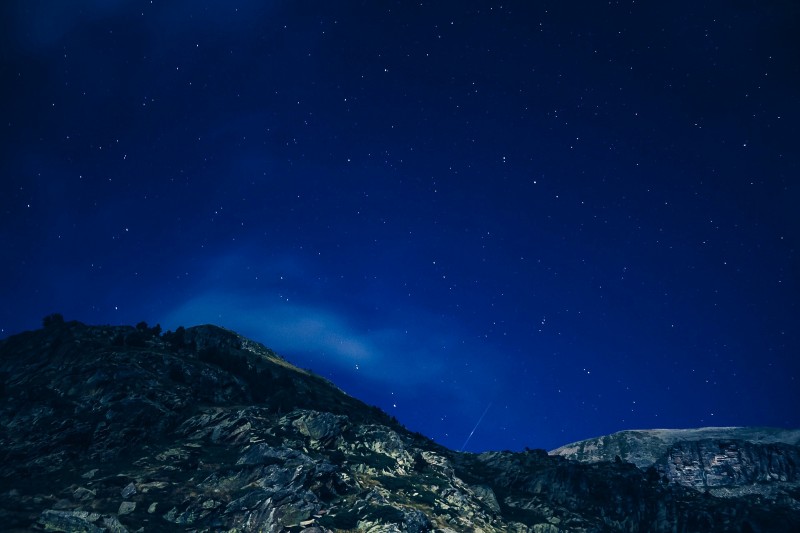
00:00:46
then go to filter – render – apply clouds.
5
00:00:55
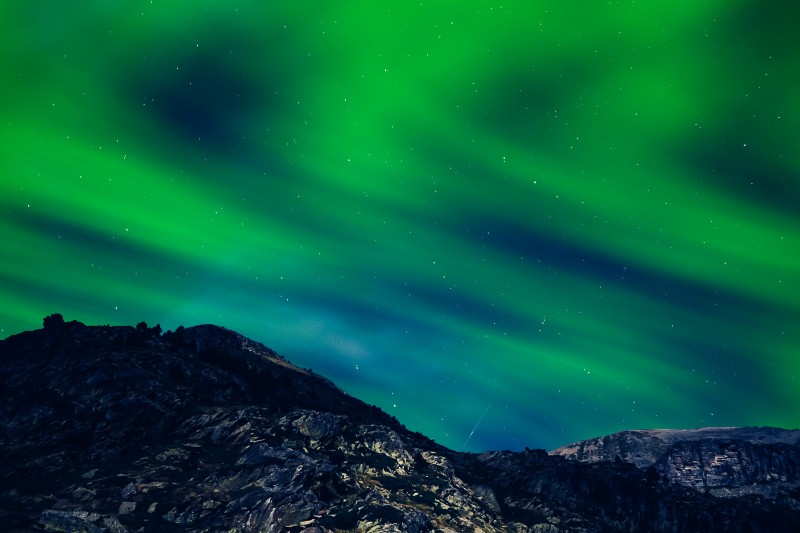
Make a perspective transformation to clouds layer.
6
00:01:05
Choose Edit – transform – Perspective.
7
00:01:12
Drag a corner handle to apply perspective to the bounding box.
8
00:01:22
Change blending mode to screen.
9
00:01:33
Now add motion blur to the clouds layer.
10
00:01:40
Keep angle: -24 and distance: 281 pixels.
11
00:01:50
Let’s add shape to the lights with shear filter.
12
00:02:01
Go to filter – distort – select shear.
13
00:02:13
Keep wrap around and adjust shape curve to your preference.
14
00:02:20
Now we need to mask the mountains, the effect should be applied only to sky.
15
00:02:34
Select magic wand tool and select the sky.
16
00:03:03
Now add layer mask to the group.
17
00:03:11
Take white brush and clean the black spots (stars) in the sky.
18
00:04:06
Finally add gradient map to color tone the image.
19
00:04:32
That’s it.
20
00:04:35
For multi color aurora effect, We can add another color (pink or purple) cloud layer.
[sociallocker id=”1411″][download-attachments][/sociallocker]