How to Get Shallow Depth of Field to Photos in Photoshop
In this photoshop tutorial, I’ll show you how to get shallow depth of field (DOF) to your photos in photoshop. The definition of depth of field is the Distance between the nearest and farthest objects in a scene that appear acceptably sharp in an image. Everything outside of the depth of field gets gradually blurred, the closer or farther it is from the camera. Let’s see how to achieve this effect in Photoshop.
Shallow Depth of Field Effect Tutorial :
CLICK HERE TO WATCH TUTORIAL
First open the photo you would like to work on. Duplicate background layer CTRL/CMD+j and rename the layer to “CUTOUT SUBJECT”.
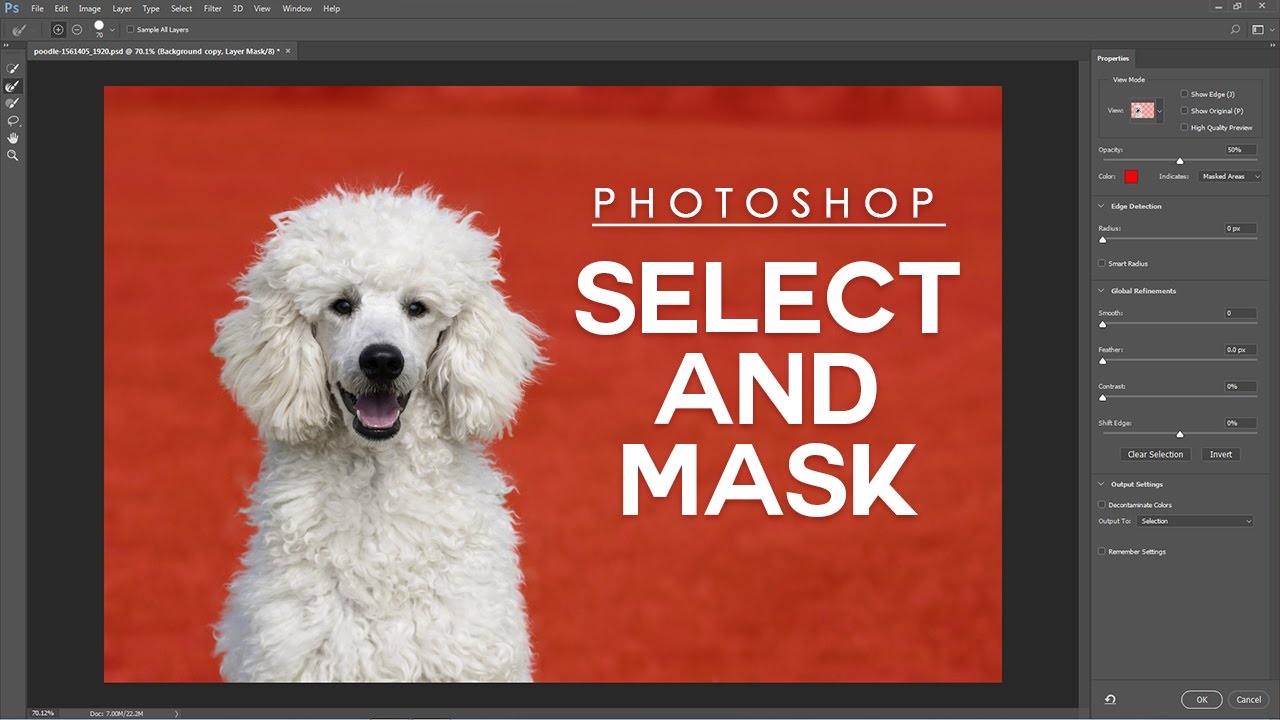
Now choose select and mask tool. I’m using ps cc 2017 version, if your version doesn’t contain select and mask tool then you may use refine edge tool.
Select view mode to your liking, I’ve already chosen to use On overlay mode. Take Quick Selection Tool. click & drag on the subject to select. The selection you make doesn’t need to be precise, because the Quick Selection tool automatically and instinctively creates a border. Take subtract selection tool and remove unnecessary selections. Use the Output layer mask Settings. Click the OK button.
We successfully cut out main subject from its background. To see layer mask itself, hold down Alt/Opt key and click on layer mask thumbnail.
You may notice some areas that needed some touch up. Take soft edged brush. select black color and paint on areas to clean.
Now we need to remove main subject from the background. To do that duplicate background layer CTRL + J and rename layer to “REMOVE SUBJECT”.
Hold CTRL Key and Click on layer mask to load a selection. Go to select – modify – expand the selection by 5-10pixels. Now go to edit menu and fill the selection with content aware tool.
Deselect the selection CTRL + D. Convert layer to smart object.
Now we need to blur the nearest and farthest areas in the layer. so go to filter menu – blur gallery – select tilt shift.
We need to keep the main subject sharp and in focus. So move the pin around, simply click on its center and drag it to a legs position, then release the mouse button. Now adjust blur amount to your preference. If you want to add light bokeh then adjust light bokeh and light range sliders
Once you are happy with depth of field, click OK.
Final step add color lookup adjustment to color tone the image. Select any color preset to your liking.
That’s it. we’re done.
[sociallocker id=”1411″][download-attachments][/sociallocker]


