Create Fantasy Pro Look Photo Effect in Photoshop Tutorial

In this tutorial i will show how to make a fantasy looking professional effect to photograph in LAB color mode.
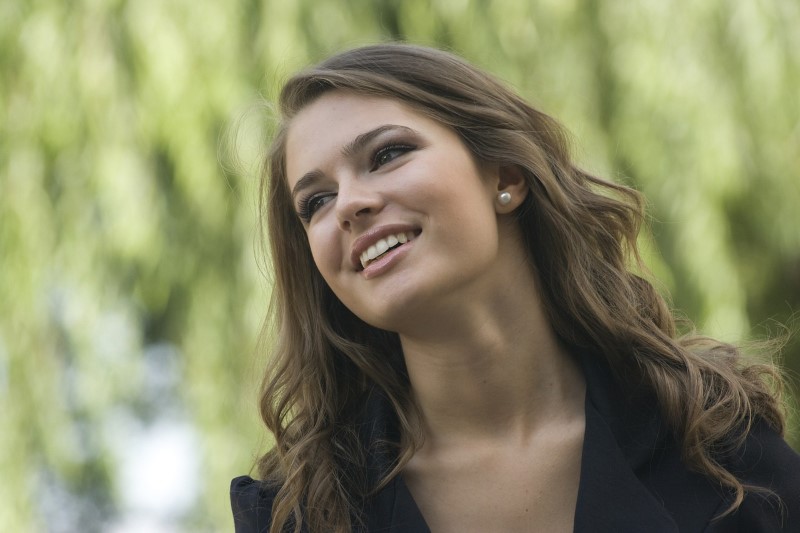
The sample image which i will use in this tutorial is very flat and i want to enhance this image. i will edit this image in lab color mode and its curves.
First change image to lab color. select curves from adjustments.
in lab color – curves only have lightness, channel a & channel b
Lightness for brightness and dark. channel a for red & green. channel b for yellow & blue.
Working in LAB is counter intuitive at best. All the brightness information is in the L channel while color is encoded in the a and b channels. Minor changes to the latter make for huge changes in the appearance of the image. Some tricks, however, work very well in LAB. For example, sharpening is nothing more than highlighting contrast (brightness) differences.
its very easy to enhance image in curves just drag slider pin left to right. Just watch the above video for better understanding. if you find difficult using curves in RGB mode then try it in lab color.
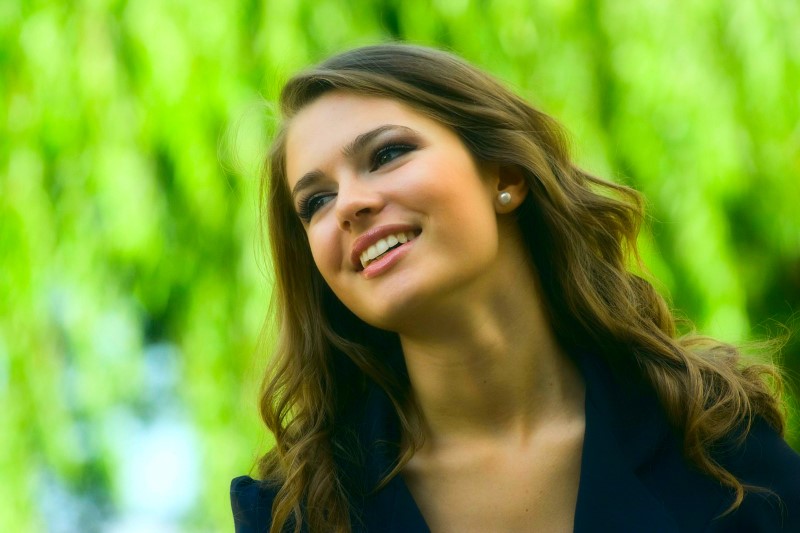
this is fantasy look tutorial so i will pop up colors little more.
Make stamp copy now – CTRL + SHIFT + ALT + E
convert to smart object. change blending to softlight.
Now apply gaussian blur filter to layer.
Blur amount it depanding on your taste but i will keep it around 7-10.
Here is before and after results.
[sociallocker id=”1411″][download-attachments][/sociallocker]