How to Create Stylized Typographic Portrait Text Effect in Photoshop
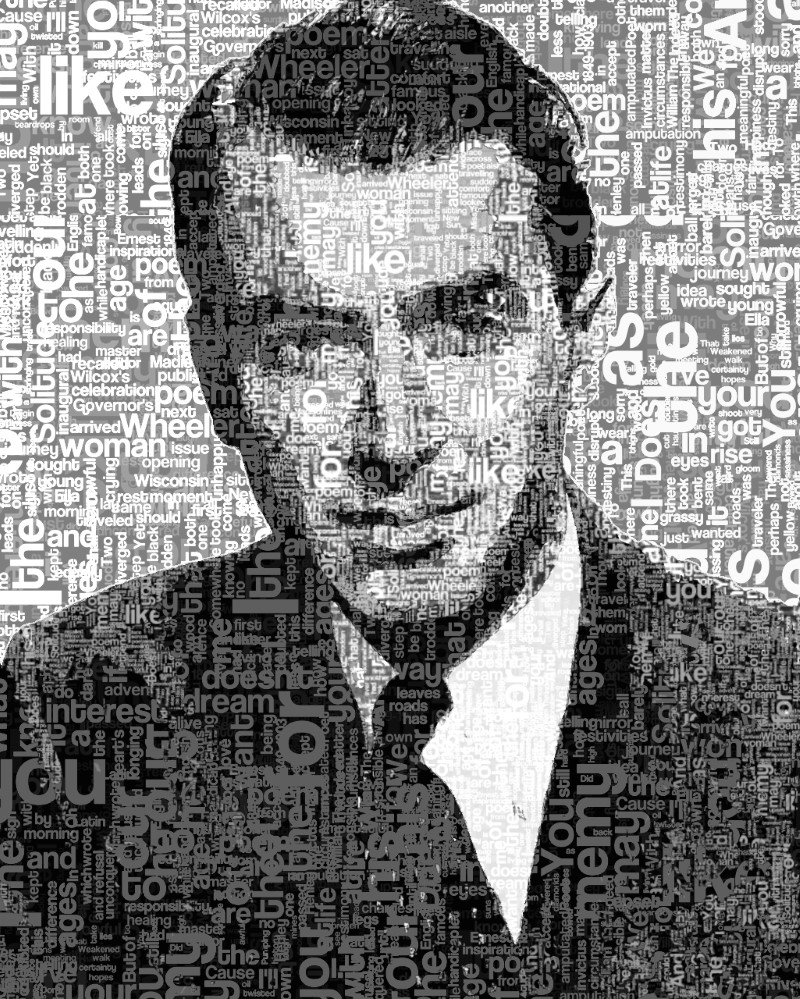
Typographic Portrait editing tutorial, i will show you how you can turn any portrait into creative text portrait art.
This tutorial will show how to use define patterns. Also you will learn more about selection and cutout
filter tool.
we want the subject background should be white. so first make duplicate copy of background.
now cutout subject from background, i will use lasso tool and with help of refine edge, i will make selection.
add new layer and fill it with white. use Shift+Backspace (Windows)/Shift+Delete (Mac) to open Fill dialog.
merge mask and white layer into one layer. To do that right click mouse button and select merge
layers.
Next go to image > adjustments > select desaturate,
Next go to image > adjustments > select desaturate,
CTRL + SHIFT + U keyboard shortcut
Navigate to Filter > Artistic > Cutout to use the cutout filter.
Adjust the sliders to get fairly good detail in your image, keep number of levels to 4.
adjust edge simplicity and edge fidelity depand on your image.
now we have five levels of colors from darker to lighter including background color white.
now we add layer mask for individual color tones. so duplicate desaturated cutout layer to 4 times
select magic wand tool and keep tolerance around 30. The Tolerance setting determines how different a
color can be from the sampled color for Photoshop to make selection.
simply click on white area to select whites from the image and add layer mask icon locate at bottom
adjustments panel.
Repeat these steps for the other tones of grey color in the Portrait layer.
simply select and add layer mask. after adding layer mask for individual colors.
we need to create text graphic now to apply on image. here is the text typographic i already created it.
i will provide this text pattern attached to this tutorial photoshop file. u can download it for free.
now i will use this text graphic as pattern. to do so goto edit> select define pattern.
give any pattern name of your wish. i will name it typo portrait and click ok
now go back to your portrait. choose layer mask we applied for darker color.
double click to open layer style and select pattern overlay and apply newly added text pattern.
You can find newly created pattern in your Pattern Preset window.
and change blend mode to softlight. softlight and overlay works well for this effect.
You can observe that text color in darker area match to the second darker color in the image
similarly add pattern to all layer masks and change blend to overlay or softlight.
now add text pattern to background as well.
we may adjust text size from pattern window. just simply click on layer style and change scale of
the pattern. as i already said overlay and softlight works best for this effect.
with overlay we get brighter effect compared to softlight. so i request you to experiment with blending here
Here is black and white typographic portrait. Although the black-and-white style already looks
great for me, but some people prefers color typographic,
for those duplicate original background layer and drag above all layers and change blending to color.
if you want we can change position of the pattern and size any time easily.
open pattern overlay layer style and drag the pattern to adjust the position.
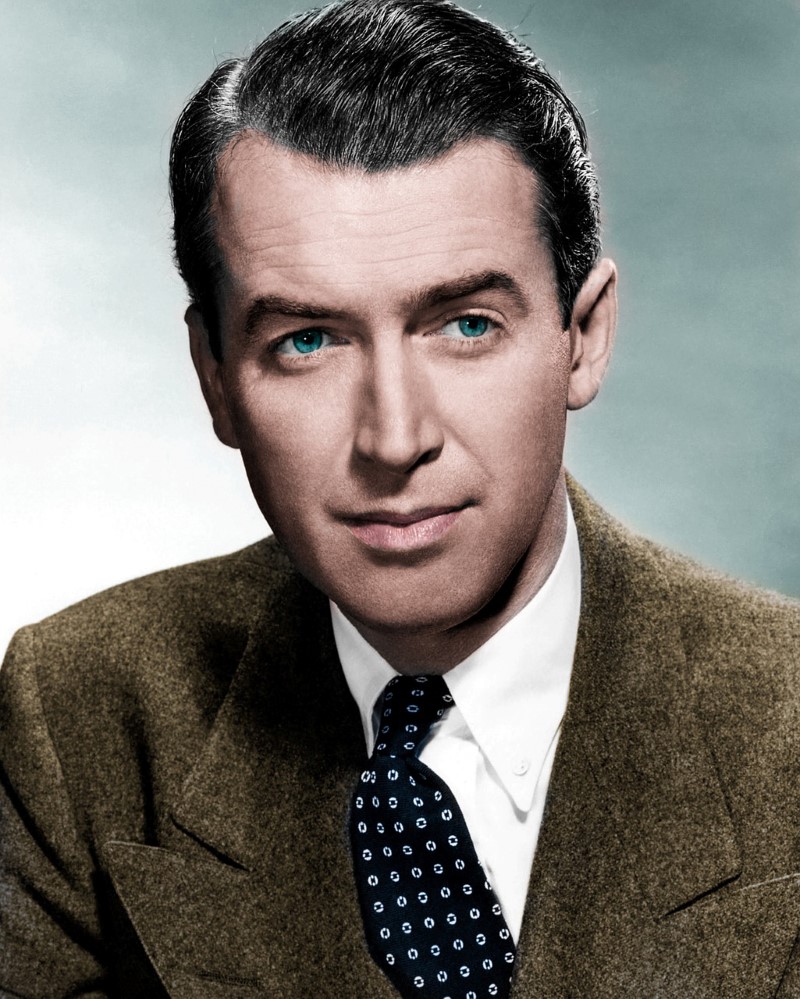
here is before and after results.
[sociallocker id=”1411″][download-attachments][/sociallocker]


