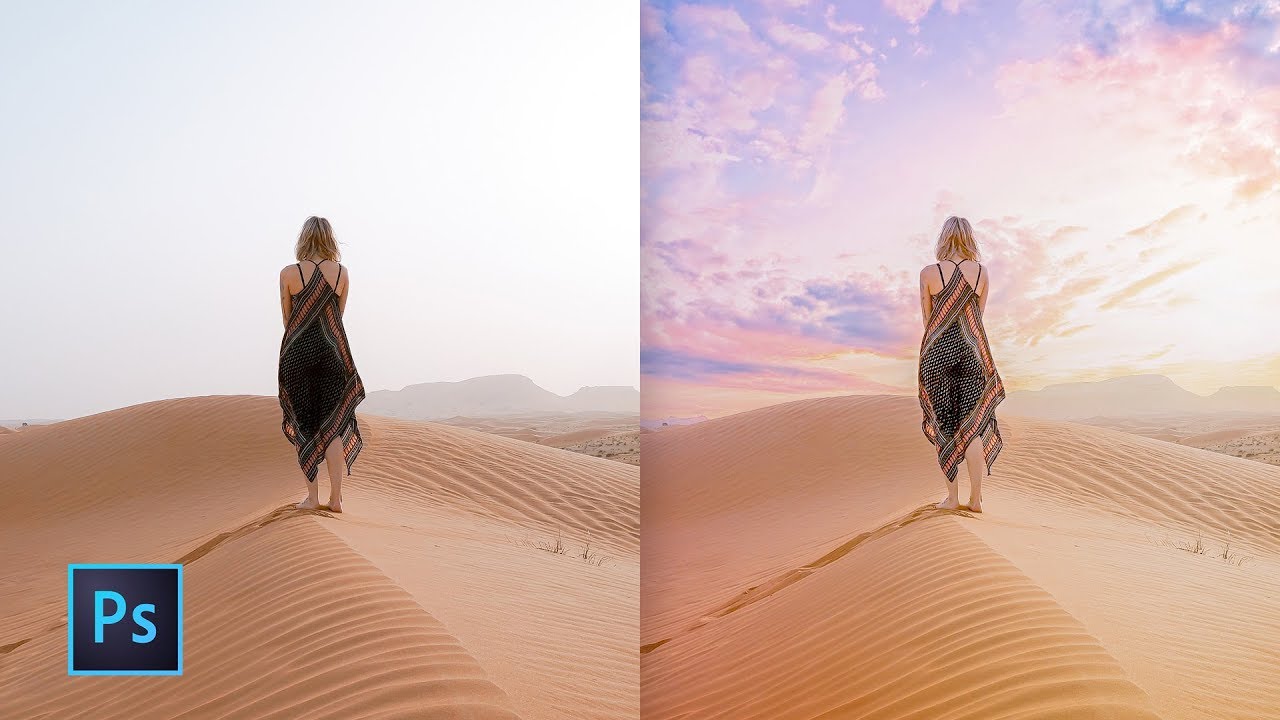
How to Reduce Noise & Sharpen Photos in Photoshop
In this Photoshop tutorial, I will explain to you how to reduce noise and sharpen photographs using Adobe Camera Raw. Adobe Camera Raw is a plug-in for Photoshop that was initially designed for processing and editing photos. you can begin processing your raw, JPEG or even TIFF images in Adobe Camera Raw, with all of the simplicity, freedom and flexibility it offers. In this tutorial, we’ll create a noise reduction and sharpen images preset in Camera Raw. So we can use it on any other photos, that need the same effect or similar corrections.
Reduce Noise & Sharpen Photos Tutorial :
First duplicate background layer and Convert Layer Into A Smart Object.
Go up to the Filter menu in the Menu Bar along the top of the screen and choose Camera Raw Filter.
This opens Photoshop’s Camera Raw Filter dialog box, with the image appearing in the main preview area. Switch between panels by clicking on the tabs. Select Detail Panel.
The top half is where we do all of our image sharpening, while the bottom half lets us reduce any luminance or color noise.
The Noise Reduction section of the Detail tab has controls for reducing image noise, the irrelevant visible artifacts that degrade image quality.
Photos taken with high ISO, or less-sophisticated digital cameras can have noticeable noise.
Image noise includes luminance or grayscale noise, which makes an image look grainy, and chroma or color noise, which is visible as colored artifacts in the image.
Luminance sliders Reduces luminance noise.
Luminance Detail Controls the luminance noise threshold. Useful for noisy photos. Higher values preserve more detail but can produce noisier results. Lower values produce cleaner results but also remove some detail. If your image contain Color noise then use color slider to fix it.
When making noise reduction adjustments, first zoom in on the preview image to at least 100%, to see the noise reduction previewed.
Now lets sharpen photo.
The sharpening controls on the Detail tab adjust edge definition in the image.
Amount Adjusts edge definition. Increase the Amount value to increase sharpening.
Radius Adjusts the size of the details that sharpening is applied to. Photos with fine details generally need a lower setting.
Photos with larger details can use a larger radius. Using too large a radius, generally results in unnatural-looking results.
Detail Adjusts how much high-frequency information is sharpened in the image. Lower settings primarily sharpen edges to remove blurring.
Higher values are useful for making the textures in the image more pronounced.
Masking Controls an edge mask. With a setting of zero, everything in the image receives the same amount of sharpening.
Now we can save these settings as a preset, and then apply the preset to other photos
choose Save Settings from the Camera Raw Settings menu.
keep the file location as the Develop Settings folder, then click Save.
In Windows they are in User/Application Data/roaming/Adobe/CameraRaw/Settings
Enter a name (preferably one that describes the function of the preset).
The saved settings preset is now available in the Presets tab for any open photo.
Click OK when you’re done to close out of the Camera Raw Filter’s dialog box.
Photoshop goes ahead and applies your settings to the image.
Now try to apply this preset to other photos.
You can download this preset from download link below for free, and with just one-click we can reduce noise and sharpen images
we applied the Camera Raw Filter to a Smart Object, it was added as a fully editable Smart Filter.
If you want to go back and re-edit any of the settings for the effect.
set Amount to a lower value for cleaner images.
when your happy with the result, click ok to apply.
We’re Done. Here is before & after results. I hope that you enjoyed this tutorial
[sociallocker id=”1411″][download-attachments][/sociallocker]


