Color Correction Tutorial Technique in Photoshop

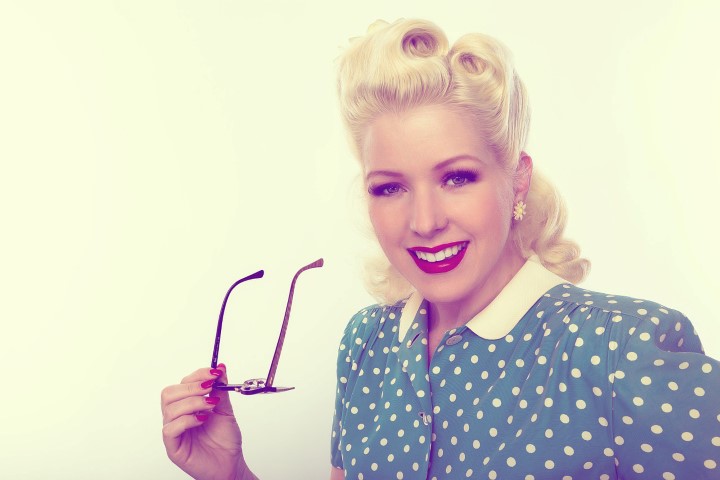
Due to incorrect camera settings and other environment factors some times photographs doesn’t come well with true colors.
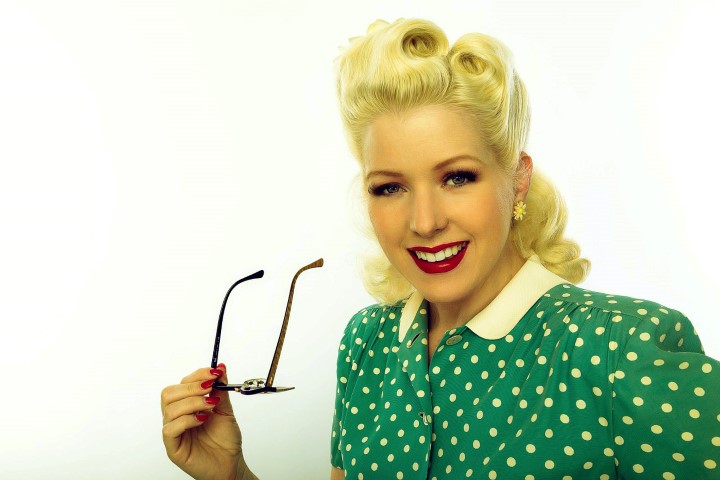
Now we show you how to get perfect color correction technique.
first of all to do color correction, we have to find the dark, grey and white points in the photograph.
dark point is for shadows, grey is for midtones and white is for highlights.
to find these points, go to adjustments and choose a threshold layer.
by adjusting slider left or right, we can find the darkest area and brightest area.
darkest point is on her eye lashes.
so i took eye dropper tool and hold shift and click on the dark area to make a reference 1.
again i make a slider to move towards right to see the brightest area.
these are all white, so i want to choose this area for white point.
take a eye dropper and hold shift and click on the white area to make a reference 2.
this is for dark point. (black)
and this is for white point. (white).
for some photographs like portraits, finding grey point is very easy.
for portraits, zoom on to eyes and choose whites in eye. these whites are neutral and works perfect as a grey point.
take eye dropper tool and hold shift and click on the whites in eye area to make a reference 3 for grey.
For example if photo is not a portrait then its very difficult to find the grey point.
I will show you trick to find grey point easily.
Create a new layer.
Fill selection with 50% grey color. Control + Backspace keyboard short cut.
change blending to difference.
Again add threshold layer.
this time we are going to find the darkest point.
Here in her dress top side it is darker. take eye dropper tool and hold shift and click on the whites in eye area to make a reference 4 for grey.
Now i delete all these layers because i already got my reference points.
now select curves layer.
in the curves properties window, you can see 3 eye droppers, it is for shadows, midtones and highlights.
it helps us to fix the color correction in a photograph.
take black eye dropper and drop it in the 1st reference. we selected it for dark point.
similarly take grey eye dropper and drop it in the 3rd or 4th reference. we selected 2 points for grey.
but i will drop on 4th reference point.
finally take white eye dropper and drop it in 2nd reference.
check before and after results at starting of this post.
[sociallocker id=”1411″][download-attachments][/sociallocker]