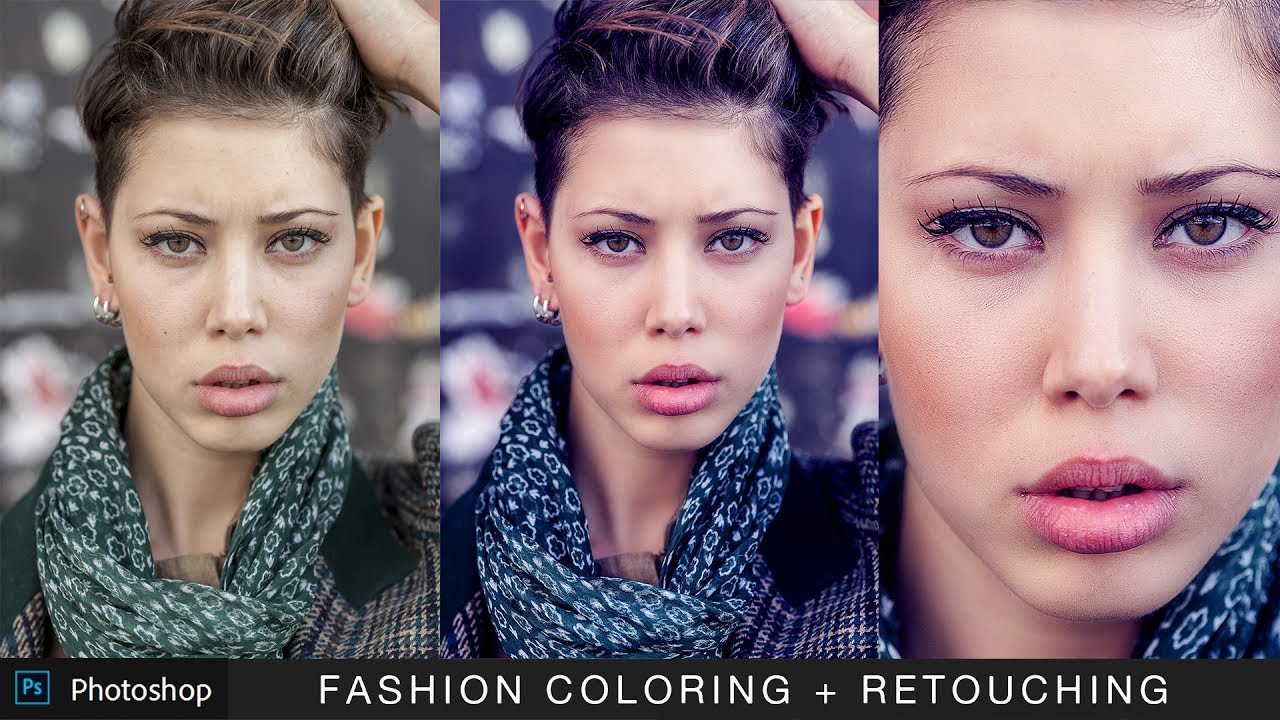
How to Retouch and Airbrushing Skin in Photoshop Tutorial
In this tutorial, i will show you how to retouch & airbrushing skin in Photoshop professionally in Photoshop without making it look fake or blurry. You will learn how to fix oiliness and shiny highlights, airbrush skin naturally, reduce redness, and brighten Eyes. All these using non destructive editing techniques.
Airbrushing Skin in Photoshop Tutorial :
Open the image that you want to edit. The photo should be high resolution with a lot of skin details.
First lets remove shine & reduce oil production on the skin.
Go to channels, check individual channel which contains information about, shiny highlighted areas.
Hold alt key, and click on thumbnail to see the selection.
In this case, blue channel has detail information, so we can use this to reduce skin flaws.
Click Select all and Copy this channel. Add new blank layer and paste blue channel.
Go to image tab and select invert then change the blending mode to Soft Light.
Reduce the opacity until you get the results that you like.
But sometimes its not easy to guess the right amount opacity. So here is the trick.
Add a layer mask, then go to image and add apply image.
The Apply Image command allows layer only visible in the Highlights or shadows of an image, it gives you more control over blending.
Keep blending to linear light. Click ok.
Hold alt key and click on the layer mask thumbnail to display the mask channel.
In the mask, the effect is visible on the lighter parts of the image, where as it is invisible on darker parts.
Now select layer mask and adjust levels to make shadows darker, which means the effect is applied only on the skin.
Now lets do airbrushing.
Duplicate background layer and move the layer order to top.
Go to Filter – Blur – select Surface Blur. Set the radius to 60 pixels and Threshold to 30 levels.
Click OK to apply the filter.
Duplicate the Original layer, then move it to the top.
This layer will be used to restore the details.
Go to Filter – Other – select High Pass filter. Adjust the radius to 2 pixels.
Change the blending mode of this layer to Linear Light.
Group both detail and color layers. Reduce opacity to 50%.
Now add layer mask. Paint over the areas to hide the effect.
But i wish to add apply image technique, like we done in the previous step.
No need to do all steps again, we already have the layer mask from the fix highlights layer.
Simply hold Alt key, click and drag the layer mask to airbrushing group mask to replace.
Now the effect is applied only on the skin.
Now lets brighten the eyes.
Add brightness & contrast adjustment layer. Keep brightness at 50 and contrast at 100.
Double click the adjustment layer to open the blending options window.
Select underlying layer. Hold the Alt key and drag the black slider.
Similarly Hold the Alt key and drag the white slider.
By doing this we will partially hide the gray portions and achieve a better blending effect.
Add hue & saturation adjustment layer, reduce the saturation for reds. It will remove any redness in the eyes.
Now group the layers. Reduce opacity to 50%.
Go to layer mask and select hide all.
Take soft white brush and paint on eyes to reveal the effect.
There is lot of redness in the skin. Now we’re going to mask out the red color.
Add new hue and saturation adjustment and adjust the color values for reds.
Change the blending mode to color.
Double click the adjustment layer to open the blending options window.
Select underlying layer. Hold the Alt key and drag the black slider.
Reduce layer opacity to 50%. Now add a layer mask.
Replace layer mask with existed airbrush mask.
Create a new layer from all the visible layers, by pressing Ctrl + Shift + Alt + E.
We use this layer to add contrast to the image.
Change the blending to soft Light.
Reduce layer opacity to 50%. Add a layer mask, again replace mask with airbrush mask.
Now the effect is visible in the Highlights of the image.
But we want the effect to be restricted to just the Shadows.
So select layer mask and invert it. keyboard short cut CTRL + I.
Finally, if your photo contains any dark spots or Skin Blemishes, then remove it using spot healing brush.
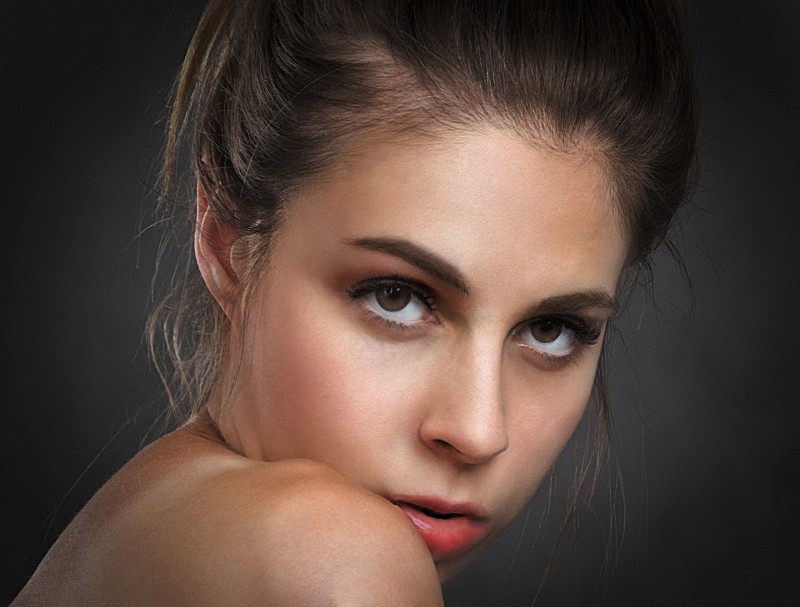
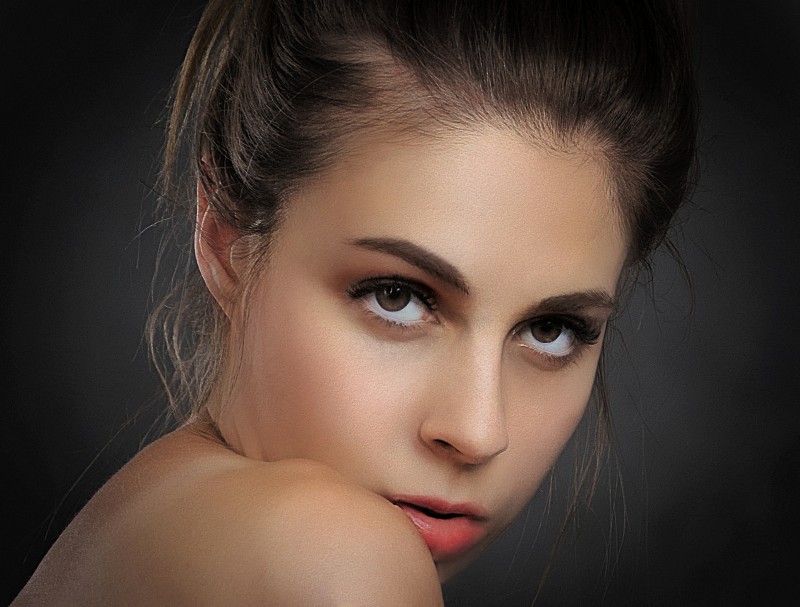
That’s it. We’re done. Here is before & after skin retouch.
Once you learn this, you can make everything from natural skin improvements, to glamorous airbrushed skin, which used in advertising.
I hope that you enjoyed this tutorial.
[sociallocker id=”1411″][download-attachments][/sociallocker]


