How to Stabilize Handheld Shaky Footage in Premiere Pro
In this video editing tutorial for filmmakers, I’ll show you how to stabilize your handheld shaky motion footage in adobe premier pro with 1 click. One of the most basic must know video editing technique is stabilizing shaky footage. This process is ridiculously simple; you are only seconds away from converting an “unusable” shot to look like professional video.
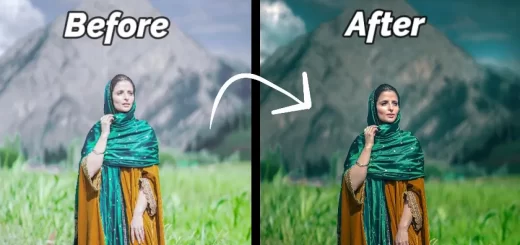
Clean & Pro portrait Effect Tutorial :
CLICK HERE TO WATCH TUTORIAL
Let’s get started. First import your video clip in premiere pro.
Drag and drop your imported media in timeline to create a sequence.
Open up Effects and choose Video Effects.
Scroll down to Distort and select Warp Stabilizer. click and drag the Warp Stabilizer option over to your clip.
Allow Warp Stabilizer to analyze your footage. You can continue to work on your edit during this process.
This will take a minute, but you shouldn’t have to wait too long.
Adjust the Smoothness parameter to the best setting for your footage. Keep in mind that you may not need a high percentage value.
Something as low as 5-10% may be sufficient. But in this case i keep it to default.
Adjust the Crop Less <-> Smooth More parameter to bring back any unwanted crop or to smooth out your footage even more.
Now go to file menu – export the media. Select output settings format and preset to your preference.
Click export button to render the video.
That’s it we’re done.


