How to fix an overexposed photo in seconds – Photoshop Tutorial

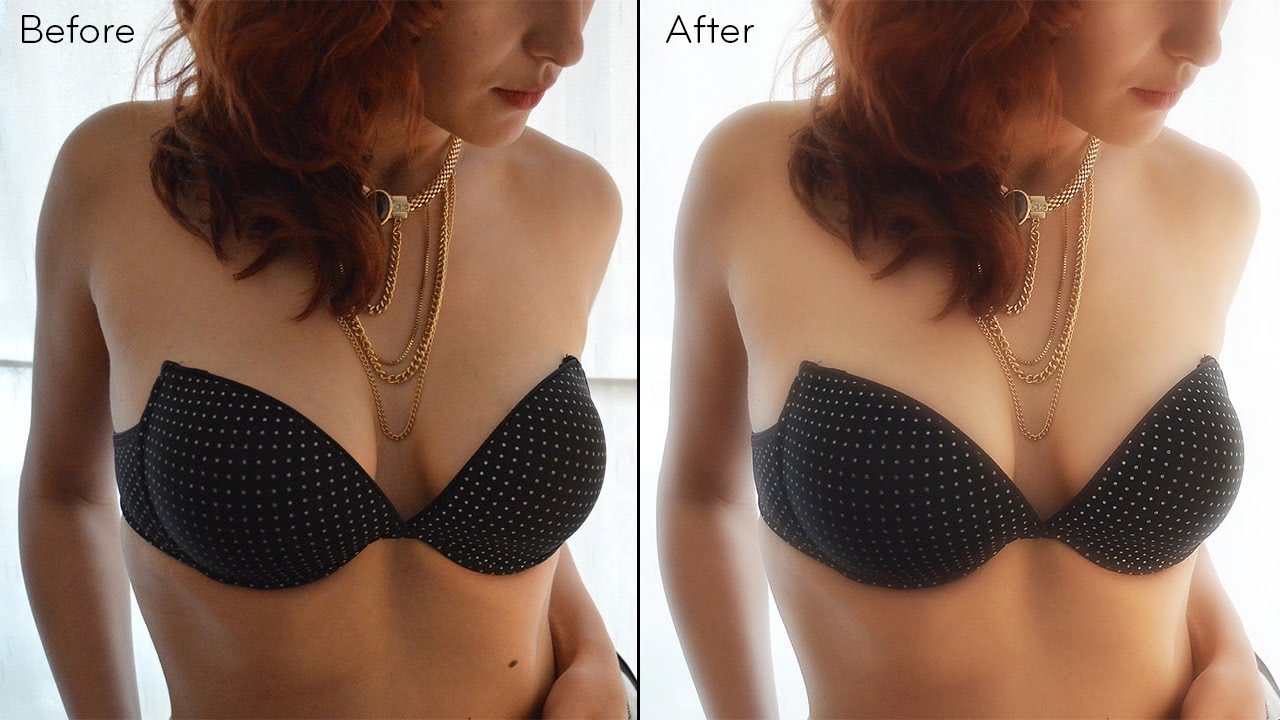
In this Photoshop tutorial, we’ll show you how to fix an overexposed photo in seconds. We’ll walk you through the steps to adjust the exposure, highlights, and shadows to achieve the perfect balance and create a stunning photo. Don’t let blown out photos ruin your shots – follow our expert tips and tricks to edit like a pro.
How to fix overexposed photo: Photoshop Tutorial:
Start by opening Photoshop and the photo you want to edit. In this case, it’s an overexposed photo.
Click on the “Channels” panel and select the dotted circle icon. This will select the bright areas in the photo.
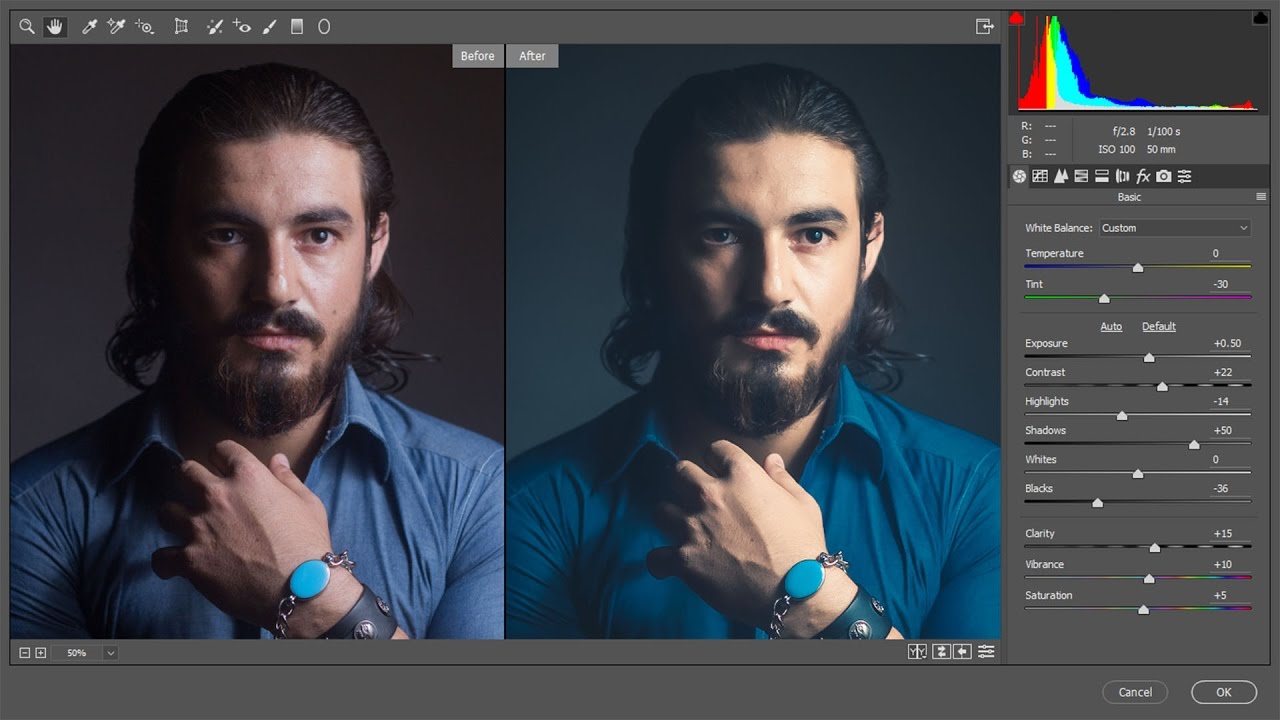
Go back to the “Layers” panel and select “Adjustments”, then choose “Exposure”. Adjust the “gamma correction” slider to correct the exposure problem.
Adjust the exposure level accordingly.
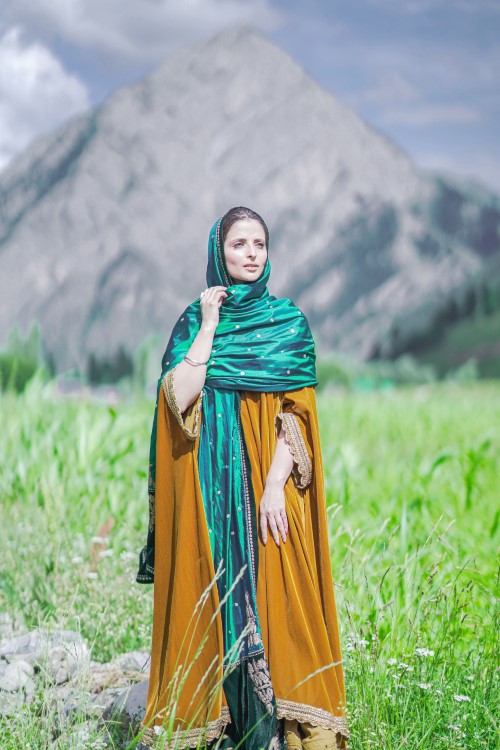
Next, add a cinematic feel to the photo by selecting the “Color Lookup” option from the adjustments panel. Choose the “Teal Orange plus Contrast” preset.
Click on the layer mask and select “Apply Image”. In the popup dialog box, check the “Invert” option to apply the effect to the dark parts of the photo.
Add another Color Lookup adjustment layer and select the Edgy Amber 3D LUT preset. This will give the photo an orange tint.
Select the layer mask and go to the Image menu and select “Apply Image”. Uncheck the “Invert” option to limit the color effect only to the highlights of the photo, which includes the skin tones.
Lower the fill opacity by around 30%.
Add a vignette by clicking on the gradient bar and choosing a black-to-white gradient. Change the black color to 50% grey and the white color to black. Change the style to radial, angle to 90 degrees, and adjust the scale to your preference. Change the blending mode to soft light and lower the opacity to around 50%.
Add some shine to bright areas by adding a gradient fill with a black to transparent gradient. Change the black color to white and the style to radial. Change the blending mode to color dodge and adjust the fill opacity to 30%. Place the effect where you want it.
Duplicate the adjustment layer and repeat the above step to add shine to other areas of the photo.
All layers are non-destructive, so you can always go back and fine-tune each layer to achieve the desired look for your photo. Make any final adjustments to fine-tune the edit.
Select all layers and save the edited photo.
That’s it! With these simple techniques, you can fix overexposed photos and give them a cinematic feel.
►SUBSCRIBE to my YouTube Channel: CLICK HERE
►JOIN or Become YouTube Member for Direct Downloads: CLICK HERE
►Support Me on Patreon for Instant Downloads: CLICK HERE