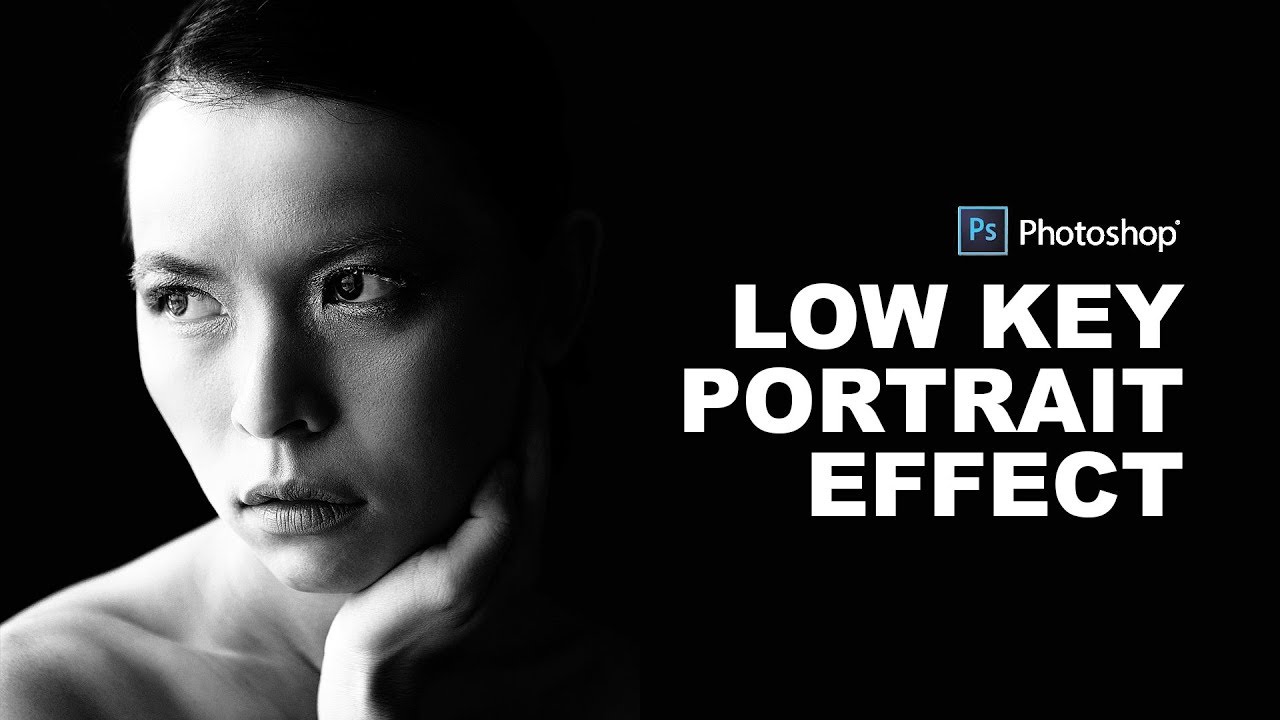
Reduce Harsh Shadows from Face Easily in Photoshop

Welcome back to Psdesire! Today, I’ll show you some easy tips to reduce harsh shadows on faces in Photoshop.
How to Reduce Harsh Shadows from Face: Photoshop Tutorial:
Start by duplicating the layer and changing the blending mode to “Screen.” You’ll immediately notice a difference in the image. The shadows on the subject’s face should be less prominent, while the highlights should appear brighter.
Adjust the blending options by double-clicking on the duplicated layer and dragging the white slider to the left.
Hold down the “alt” or “option” key to create a smoother transition.
Apply a layer mask and use a black brush to selectively hide or reveal parts of the effect. For example, to remove the effect from the eyebrows, Then, we can paint over the eyebrows and whites of the eyes on the layer mask to reveal the original layer beneath it. By painting over areas on the layer mask, we can refine our edits and create more natural-looking effects.
And that’s it! Take a look at the before-and-after comparison to see the difference. I hope you find this simple Photoshop tip useful.


►SUBSCRIBE to my YouTube Channel: CLICK HERE
►JOIN or Become YouTube Member for Direct Downloads: CLICK HERE
►Support Me on Patreon for Instant Downloads: CLICK HERE