3 Photoshop Tricks To Get Rid of Yellow Hues in Skin Tones!

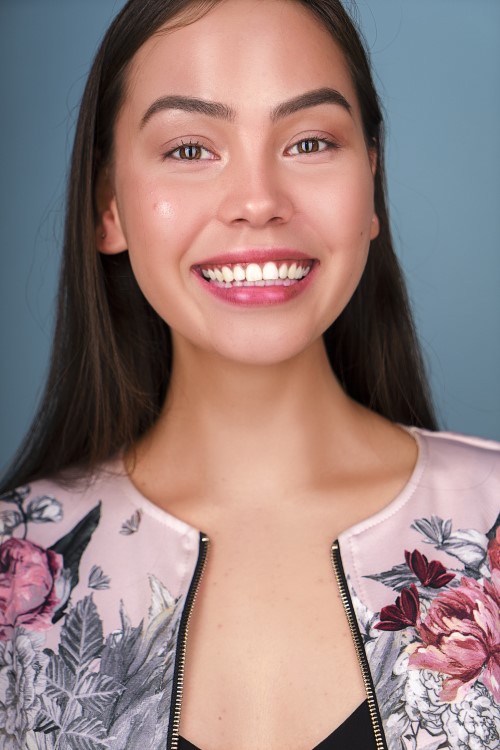
in this photoshop tips and tricks video, I’ll show you three quick yet efficient hacks that will enable you to fix and improve skin tones. These hacks will also help you to eliminate unwanted yellow hues present in the skin tone, resulting in a more natural and flattering appearance.
3 Photoshop Tricks for Skin Tones: Photoshop Tutorial
- First Method: Using Neural Filters
Go to the “Filter” menu and select “Neural Filters”
Activate the “Colorize” feature to remove any unwanted yellowness from the skin tone and give it a natural-looking color
Adjust the sliders in the “Adjustments” section to make further tweaks to the color and saturation
Go to the “Select” menu and choose “Color Range”
Select the skin tones by clicking on them and check the “Detect Faces” option
Adjust the “Fuzziness” slider to 40 and click “OK”
Create a layer mask by clicking on the “Layer Mask” button
Take a soft edge brush and set the foreground color to black
Paint on any unwanted areas like the background or clothing to remove the effect. - Second Method: Using Selective Color Adjustment
Go to the “Adjustments” panel and select “Selective Color”
Select “Absolute” mode to make specific color adjustments for skin tones
Select “Yellows” from the dropdown list and slide the yellow slider towards the negative side to reduce yellows in the skin tone
Select “Reds” from the dropdown list and slide the red slider towards the positive side to add reds to the skin
Lower some cyans and increase the black levels to deepen the shadows and add more depth to the photo
Hold down the alt/option key and click and drag the mask into the Selective Color adjustment to add a mask that only applies adjustments to the skin tone area - Third Method: Using 3D LUTs
Add a Color Lookup adjustment layer
Select the “Fuji F125 Kodak 2395 LUT” to add a film-inspired look to the image
Change the blending mode of the adjustment layer to “Color” to blend the color tones more seamlessly with the original image
Hold down the alt/option key and click and drag to replace the layer mask to ensure adjustments only affect the skin tones
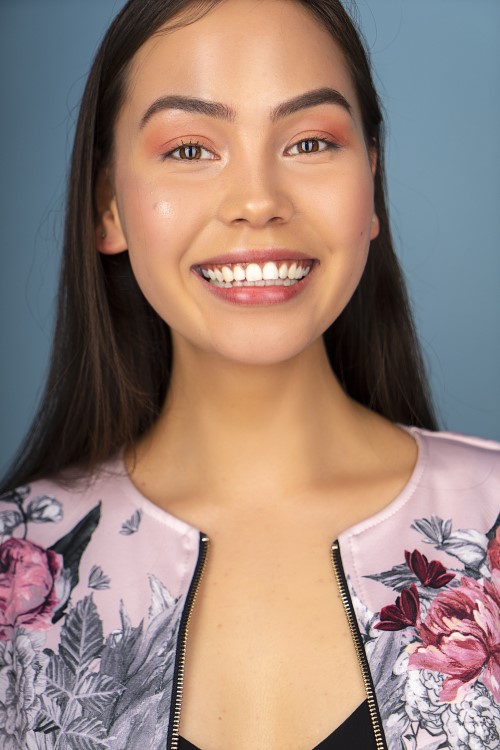
By using these three methods, you can easily fix skin tones and remove yellows from your portraits in Photoshop.
►SUBSCRIBE to my YouTube Channel: CLICK HERE
►JOIN or Become YouTube Member for Direct Downloads: CLICK HERE
►Support Me on Patreon for Instant Downloads: CLICK HERE