Stylize Boring Clothes By Adding Patterns & Artwork in Photoshop
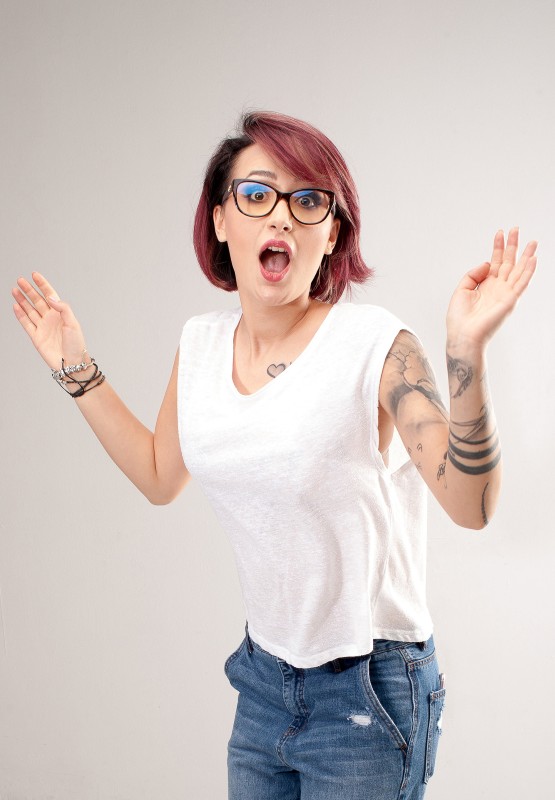
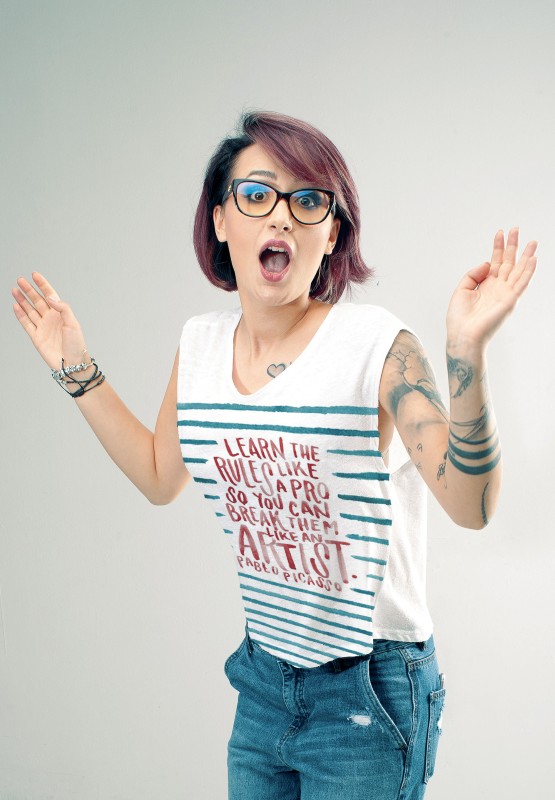
In this photoshop photo effects tutorial, I’ll show you how to add professional clothes painting artwork designs and patterns to your clothing in photoshop. Easily and quickly stylize your boring plain dress or shirt to awesome looking.
Stylize Clothes Photoshop Tutorial :
CLICK HERE TO WATCH TUTORIAL
First create a displacement map. To do that duplicate background layer CTRL+J.
Desaturate layer SHIFT+CTRL+U.
Go to file menu – Save this as a .psd. Delete this layer, we don’t require this layer any more.
Drag & place the new design or pattern in to the working document.
Go to edit – select free transform tool CTRL+T.
Hold SHIFT key and drag the corner handles to change the perspective of the layer to the girl’s shirt (clothing).
Change layer blending to “MULTIPLY”.
Once you’re happy with the perspective, change the layer to smart object.
Now apply displacement map to the layer. To do that, Go to Filter – Distort – Displace.
Set the Horizontal and Vertical Scale to 5-10, select Stretch to Fit and Repeat Edge Pixels.
Select .psd image file we made earlier.
Add layer mask to the layer. Take brush tool and paint with black color to mask the unwanted areas.
Final step add color lookup adjustment to color tone the image. Select any preset to your liking.
Change blending mode to color.
Select layer mask and add apply image with invert option to make colors blend only on shadows.
That’s it.
[sociallocker id=”1411″][download-attachments][/sociallocker]


