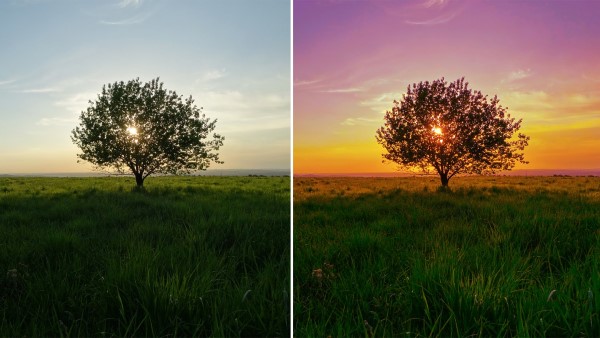
How to Create Copper & Gold Color Grading Effect in Photoshop
In this photoshop Photo color effect tutorial, i will show you how to create copper & gold cinematic color grading effect using selective color in photoshop.
Copper & Gold Color Effect Tutorial :
CLICK HERE TO WATCH TUTORIAL
1
00:00:14
How to add copper and gold color tones to photos in photoshop.
2
00:00:30
Go to Adjustments – Selective Color to create a new color adjustment layer.
3
00:00:38
This step is to change green tone into yellow and light orange, also add some copper tint to the hair.
4
00:00:48
Change yellows and greens as follows.
5
00:01:22
Again add selective color layer to add more golden tone to the image.
6
00:02:04
Now increase contrast to boost mid tones.
7
00:02:18
Select layer mask and add apply image command to hide effect in darker parts.
8
00:02:33
Now add faded look with curves.
9
00:02:43
Move the left most point slightly up and to the right.
10
00:03:24
Now we need to mask the color effect from skin-tones little bit.
11
00:03:35
Now group all layers.
12
00:03:50
Now select skin-tones.
13
00:03:58
Go to color range and choose skin-tones.
14
00:04:09
Adjust fuzziness slider with detect faces on.
15
00:04:23
Now add inverted layer mask to the group. (Hold ALT and Click).
16
00:04:35
Finally apply gaussian blur to the mask to make edges soft and smooth.
17
00:05:09
That’s it.
[sociallocker id=”1411″][download-attachments][/sociallocker]


