How to Transform Photos to Painting Effect in Photoshop
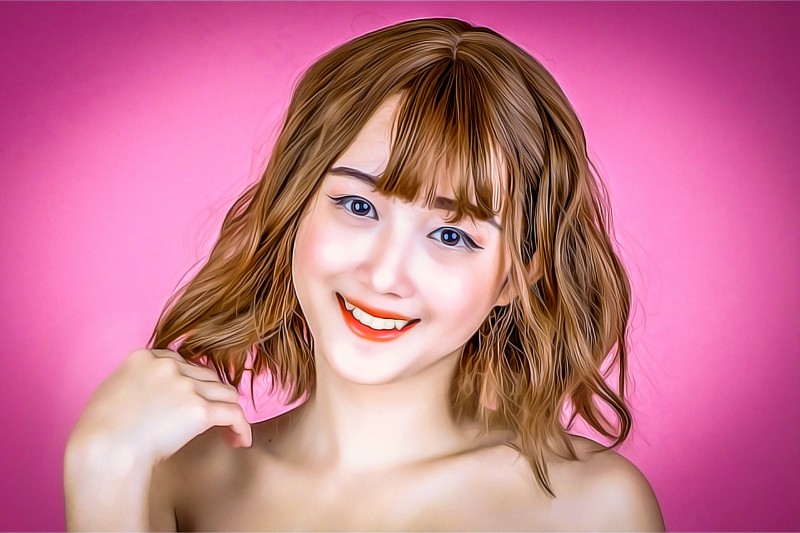
In this photoshop photo manipulation tutorial, i will show you how to convert your photos into painting effect in photoshop. I have seen so many smudge painting tutorials on youtube which was created using smudge tool. But i personally don’t like this technique, because it is very time consuming and also requires lot of practice and patience. So i decided to show you an alternative method which we can create digital painting effect with in just 10 minutes.
In this method we follow to 2 steps, in step one: we sharpen the details using smart sharpen and unsharp mask whereas in step two: we will smoothen the details using reduce noise and diffuse filter.
Painting Effect Photoshop Tutorial :
CLICK HERE TO WATCH TUTORIAL
Duplicate the background layer. Adjust highlights and shadows to improve dynamic range of the layer
Duplicate the background copy layer. Apply sharpen 2 times
Apply high pass filter with radius of 2px, Change blending to soft light.
Select top 2 layers and merge it.
Now apply unsharp mask, amount of 125%, radius : 2px and threshold : 1 levels.
Then head to Filter > Stylize > Diffuse. Change the Diffuse mode to Anisotropic.
Go to Image > Image Rotation > 90° CW, then add Diffuse filter.
Rotate the image by 90° again, then apply another Diffuse filter.
Repeat this step for a third time then rotate the image for a final time to place it the right
Now apply reduce noise filter with strength: 10.
Go to Filter > Sharpen > Smart Sharpen to bring out some of the details.
Keep amount: 150px, radius: 1.5px and remove gaussian blur.
For final time reduce noise with strength: 5%.
This result looks pretty good as it is. Finally add some basic adjustments like contrast, clarity and vibrance.
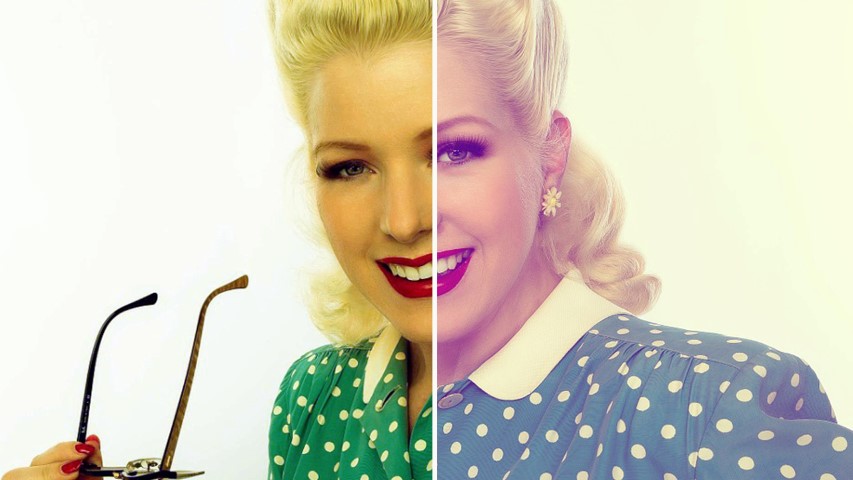
Final step, we need to apply color grading. I will use Color Lookup adjustment to apply a color scheme. Now you can select any one from a list.
That’s it and we’re done.
[sociallocker id=”1411″][download-attachments][/sociallocker]


