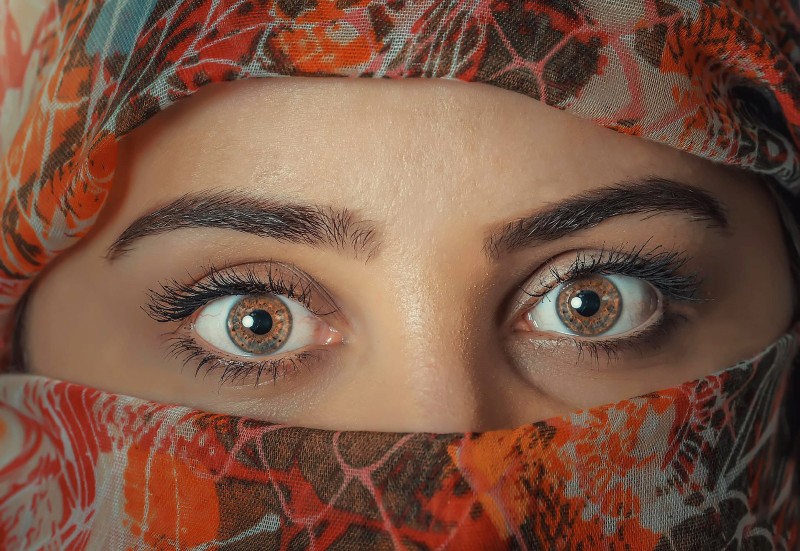
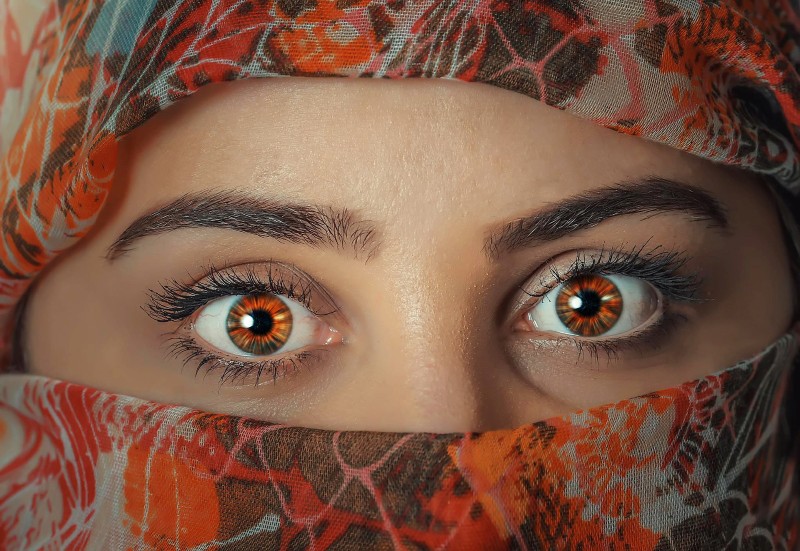
How to Add Amazing Radial Zoom Effect to Eyes Iris in Photoshop

In this photoshop tutorial, learn how to add amazing radial zoom effect to eyes in photoshop. Add instant drama to eyes easily by making the Iris Pop in photoshop.
Add Radial Zoom Effect to Eyes Tutorial :
CLICK HERE TO WATCH TUTORIAL
First click on “QUICK MASK MODE” and paint on eyes to make a selection.
Click again to exit the “QUICK MASK MODE”.
Go to select menu – choose inverse SHIFT+CTRL+I.
Now copy the selection into a new layer CTRL+J.
Rename the layer to “LEFT EYE”.
Hold down CTRL key and click on layer thumbnail to load the layer selection.
Go to filter menu – select add noise filter.
Set amount: 10, select gaussian and monochromatic.
Now go to filter menu – select radial blur filter.
Set amount: 80, Blur method: zoom and Quality: best.
Go to adjustments and add hue/saturation. Adjust hue and saturation to your liking to change eye color.
Change hue/saturation adjustment layer blending to “SOFT LIGHT”.
Group the layers and name it “LEFT”.
Now repeat the same steps for right eye as well to add the effect.
Now select left and right groups and group them CTRL+G.
Rename the group to “RADIAL ZOOM EYES”.
Create a new layer from all the visible layers by pressing Ctrl + Shift + Alt + E.
Go to filter menu – Other – Apply high pass to enhance the eyes.
Set radius around 20px. Click ok.
Change high pass layer blending to “Hard Light”.
Add inverted layer mask to the layer, Hold ALT key and click on mask icon.
Take soft brush and paint on eyes with white color to brighten and sharpen Eyes.
That’s it.
[sociallocker id=”1411″][download-attachments][/sociallocker]