How to Create Vignette Effect in Photoshop – Darken Photo Edges

In this photoshop photo editing tutorial, i will show you how to add vignette effect to photos in photoshop using lens correction filter.
Vignette Effect Photoshop Tutorial :
CLICK HERE TO WATCH TUTORIAL
1
00:00:13
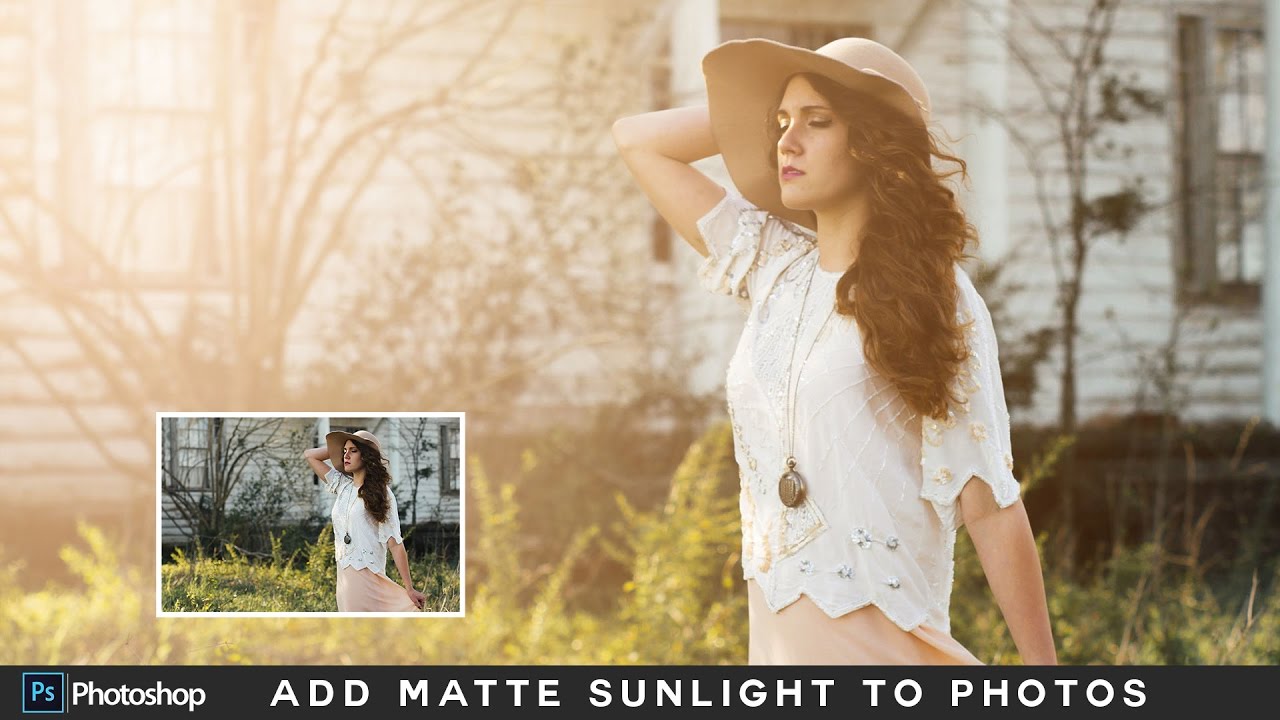
We’re going to learn how to darken or burn the edges of a photo, creating a vignette effect.
2
00:00:19
I use this effect to bring more attention to the main subject of an image.
3
00:00:27
Add new blank layer.
4
00:00:43
Fill the layer with 50% gray.
5
00:00:51
Then open the Lens Correction Filter.
6
00:01:08
Drag the vignette amount slider to the left to darken the edges.
7
00:01:15
Midpoint slider determines how far the darkening effect will extend in towards the center of the image.
8
00:01:28
Change layer blending mode to overlay.
9
00:01:39
And there we have it!


[sociallocker id=”1411″][download-attachments][/sociallocker]