How to Add Bokeh Blur Background to Photos in photoshop

In this photoshop photo effects tutorial, learn how to add fake bokeh blur background effect to photos in photoshop easily and quickly.
Add Bokeh background Photoshop Tutorial :
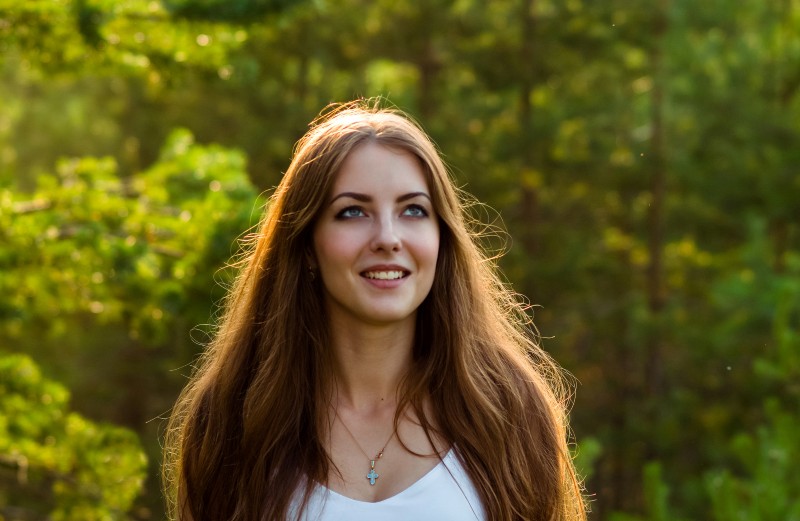
Open photograph in photoshop. Duplicate background layer (CTRL+J) and rename layer to “Remove Subject”.
we need to remove main subject from the background. So select the subject using lasso tool.
Go to edit menu and fill the selection with content aware tool.
Go to filter menu, select Lens blur. Adjust radius to your preference to blur the background.
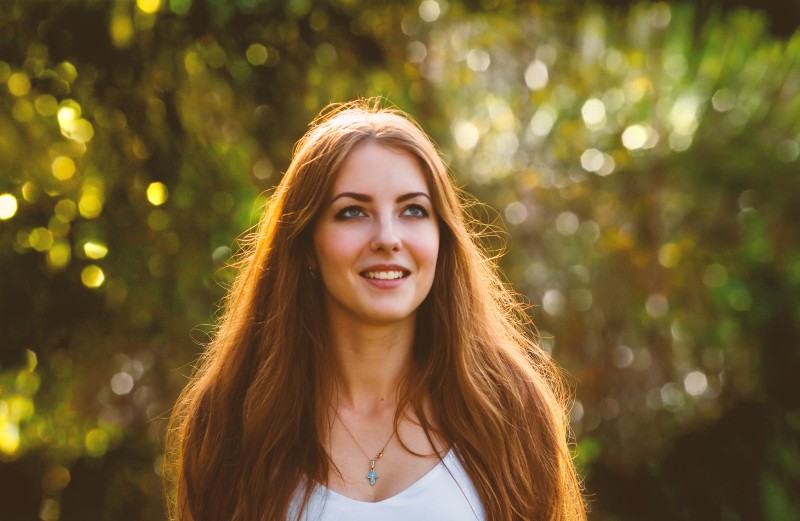
Now place new bokeh background (Google for free stock images).
Change new bokeh layer blending to “Luminosity”.
Change “remove Subject” layer blending to Screen/Soft light/Color. It depand on lighting conditions of your image.
Duplicate background layer and move layer to top. Add layer mask to the layer.
Take soft brush and lower brush flow to 20%. Paint on the background with black color.
Now add “KODAK 2395 – Color LUT” to add faded look color tone.
Add “Fallcolors – Color LUT” to add golden hour effect. Select layer mask and add apply image with invert option to minimize colors on highlights.
That’s it.
[sociallocker id=”1411″][download-attachments][/sociallocker]