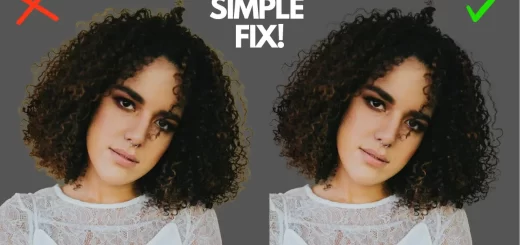
How to Add Lighting Bokeh Background to Photos in Photoshop

In this photoshop photo effects tutorial, learn how to create realistic and beautiful lighting bokeh background in photoshop.
Bokeh Background Effect Tutorial :
CLICK HERE TO WATCH TUTORIAL
1
00:00:13
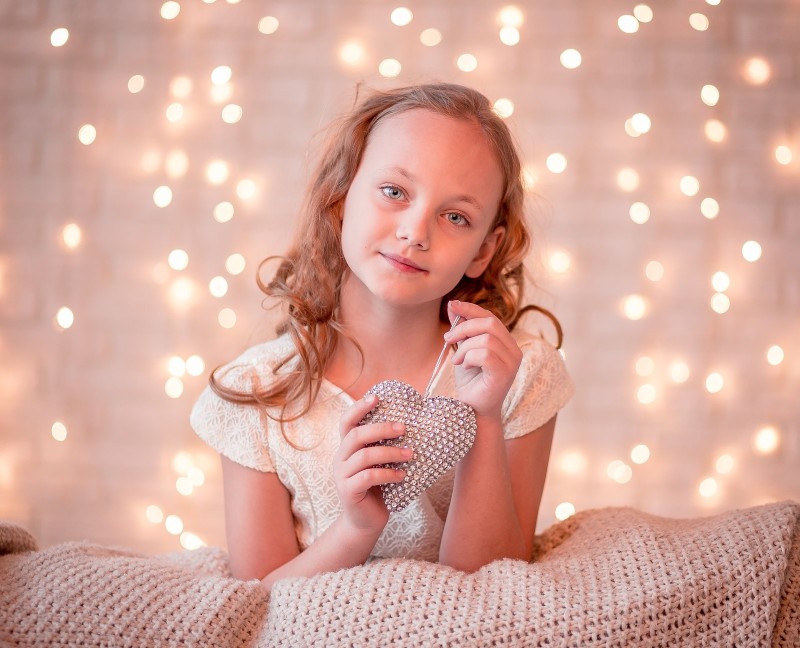
Create Background Bokeh Lighting Effect in Photoshop.
2
00:00:20
Open an image or portrait with Lights as a background.
3
00:00:26
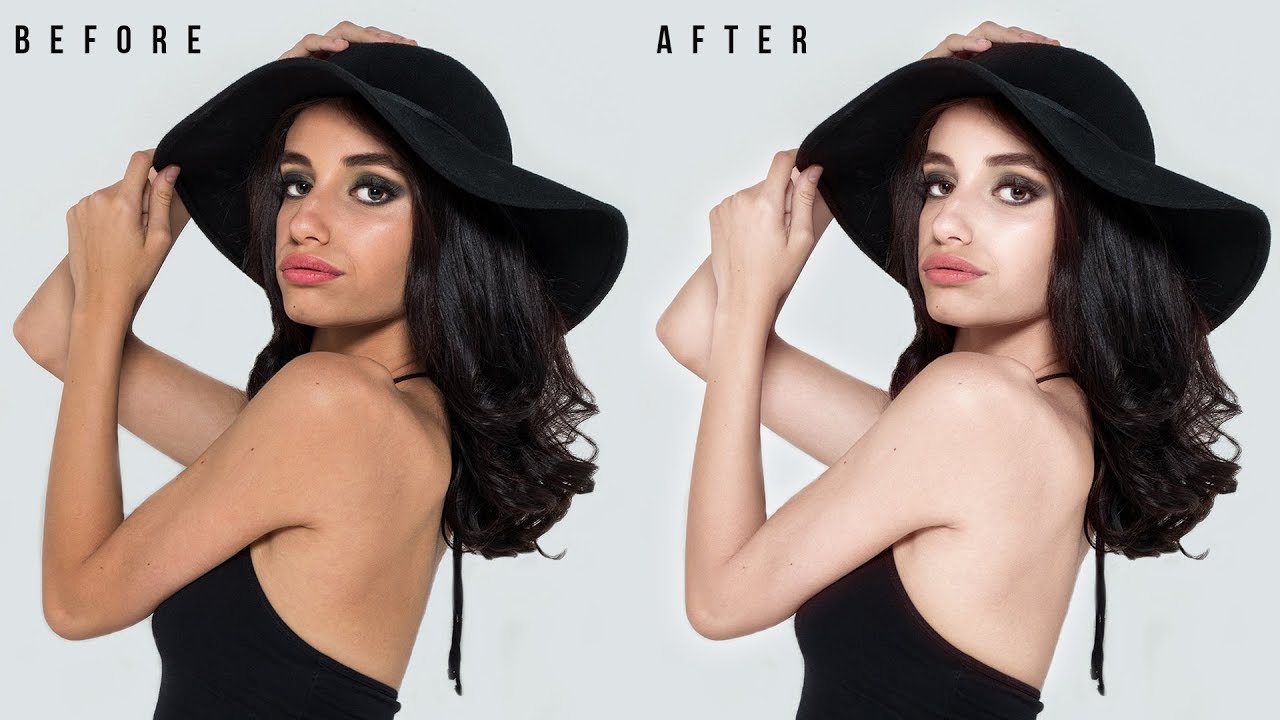
First of all, you need to extract main subject from background.
4
00:00:35
Choose Select And Mask.
5
00:00:46
Take Quick Selection Tool and select the subject.
6
00:01:15
Now take Refine Edge Brush Tool.
7
00:01:24
Brush over soft areas such as hair to add fine details to the selection.
8
00:02:09
Tick the Decontaminate Colours box to remove any color fringing.
9
00:02:22
In Output Settings, use New Layer with Layer Mask.
10
00:02:31
We successfully cutout the main subject.
11
00:02:41
Now duplicate background layer and remove main subject from it.
12
00:02:58
Hold CTRL key and click on layer mask to select and expand the selection by 10 pixels.
13
00:03:12
Now select bokeh layer and go to edit, fill the selection with content aware tool.
14
00:03:59
Now increase contrast to boost mid tones.
15
00:04:21
Now we need to convert lights into bokeh lighting.
16
00:04:30
Goto filter gallery and select field blur.
17
00:04:39
Now adjust blur amount depand on size of your background.
18
00:04:51
Similarly adjust light bokeh and light range.
19
00:05:14
Once you are happy with lights, click OK.
20
00:05:33
Hold ALT or OPT key and click on layer mask to see alpha layer.
21
00:05:48
Take soft overlay brush and clean the edges of the mask with black.
22
00:06:18
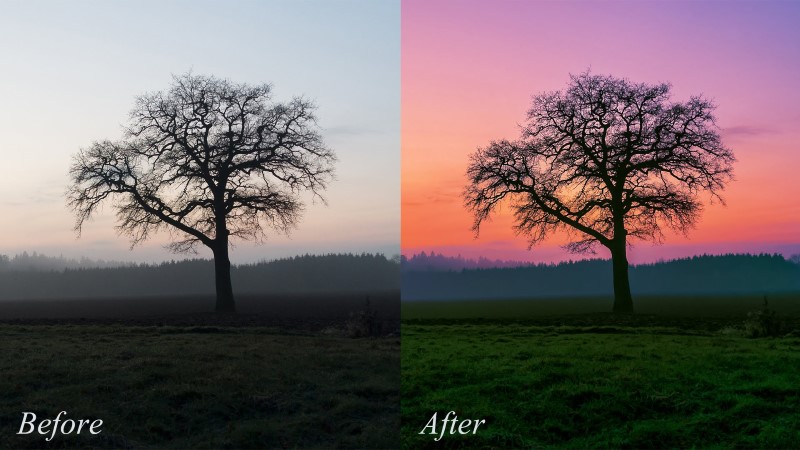
Finally add color lookup kodak lut preset to color grade .
23
00:06:35
Adjust opacity to your preference.
24
00:06:41
That’s it. We’re done.

[sociallocker id=”1411″][download-attachments][/sociallocker]