Add Texture to Image Using Same Image in Photoshop [Trick]

In this tutorial we will learn how to add texture to our photos and tweak the results in order to achieve different effects.
Add Texture to Image Trick :
First Press Ctrl + D to duplicate the layer.
Click on the “Duplicate” layer and enter Free Transform (Ctrl + T).
and from the dropdown menu choose Flip Horizontally.
Now change the blending mode of the “Duplicate” layer to softlight
we got an interesting effect with the symmetry, but it’s obvious that the image was flipped horizontally.
we will address that issue in the next step.
Add a layer mask to the “Duplicate” layer by choosing Layer > Layer Mask > Reveal All.
Click on the layer mask in order to make it active and go to Filter > Render > select Clouds or difference clouds
The image doesn’t look so symmetrical now!
You can further hide portions of the “Duplicate” texture by painting with a black brush in the layer mask.
now the image achieved different effect with lot of texture.
now let’s bring some detail from the sky
Create a Levels Adjustment Layer and use the settings to bring up the detail in our image.
Now use apply image tool to target the bright areas in the image.
Which means i want the effect only appeared in brighter areas.
Create a new layer from all the visible layers by pressing Ctrl + Shift + Alt + E
As a final step i will adjust highlights, shadows and colors in camera raw filter.
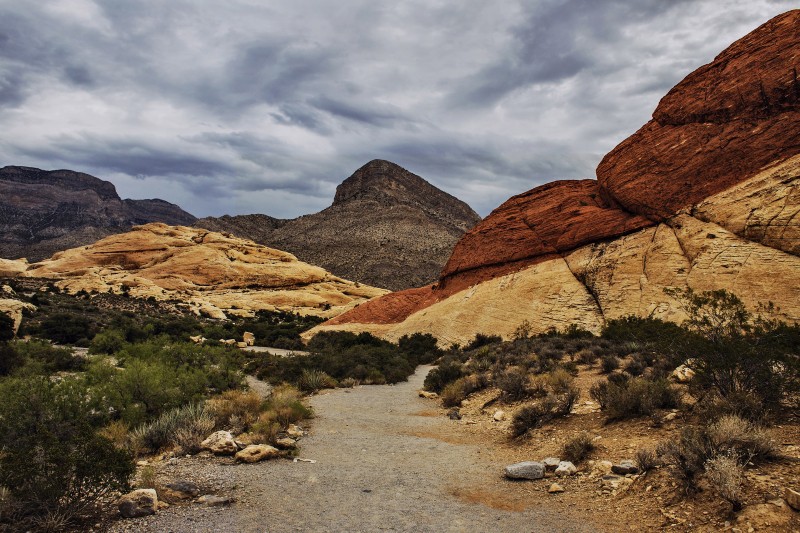
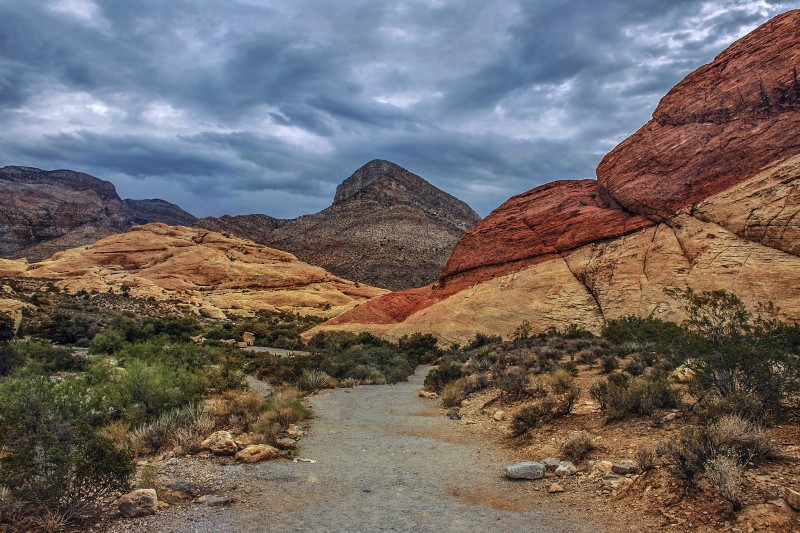
We’re Done. Here is before & after results
[sociallocker id=”1411″][download-attachments][/sociallocker]