How to Mask Shadows in Photoshop

In this tutorial, I’ll show you How to Mask Shadows in Photoshop. This Photoshop tip will come in handy when you’re composing.
Mask Shadows in Photoshop Tutorial:
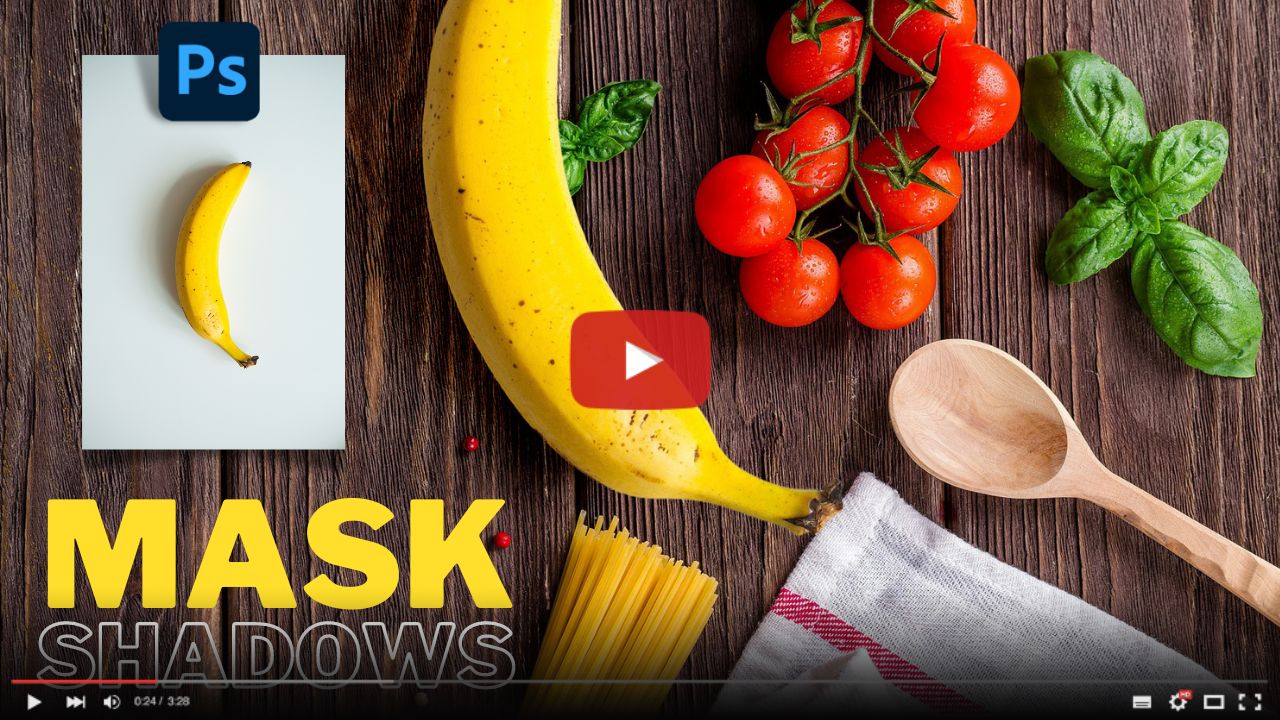
First take the banana photo and place it on top of the vegetable photo. Then go to select and select the subject. We have successfully selected the banana, this is not a difficult selection, you can also select this photo easily with the quick selection tool.
Now click on the mask icon, if you don’t know where the mask is you can find it at the bottom of the right side. After the layer mask is added take the transform tool and set the composition as you want.
Now if you notice the composition doesn’t look natural because, The reason for that is Shadows. While creating layer mask we selected only the subject and left the shadows.
Now we need to add the shadows in the composition, then the final result will look realistic. It is very difficult to mask the shadows, for that reason so many artists paint the shadow manually with a brush, but we also have another way, that is layer blending.
Right click on the layer and select Duplicate Layer. This will recreate the existing layer. then click on the layer mask and invert it. CTRL or Command + I.
Now it looks like the first layer which placed, but we need to blend it with the below layer. To do so select Linear Burn in the Blending drop down menu.
If you observe a bit more clearly, you will see black lines on both sides. The reason for that is the lighting difference in the two photos. The photo was taken in two different locations. Not only the locations but also the lighting conditions are very different. So now we need to match the lighting of the layer above with the layer below.
Double click on the layer. The Blending Options panel will open, and in it we want Blend If. One thing to remember well, to blend the shadows is to move the white slider. To fix the highlights means to move the black slider.
Here we are masking the shadows so we need to move the white slider. Sliders are in two parts, we can separate them in half by holding Alt key.
Adjusting the white slider until the lighting matches. We can put any layer in any position we like and move it. The lighting still looks a little dark to me, so let’s go into blending and move the white slider a little more. Now it is set correctly.


In this way we can easily mask the shadows. Hope you found this Photoshop tip useful. If you want more useful tips and tricks then subscribe PSDESIRE YouTube channel.
►Download PSD File: CLICK HERE (only for Patreon Members)
►Download PSD File: CLICK HERE (only for YouTube Members)
►Download Banana Photo for Practice: CLICK HERE
►Download Table Photo for Practice: CLICK HERE
►SUBSCRIBE to my YouTube Channel: CLICK HERE
►JOIN or Become YouTube Member for Direct Downloads: CLICK HERE
►Support Me on Patreon for Instant Downloads: CLICK HERE