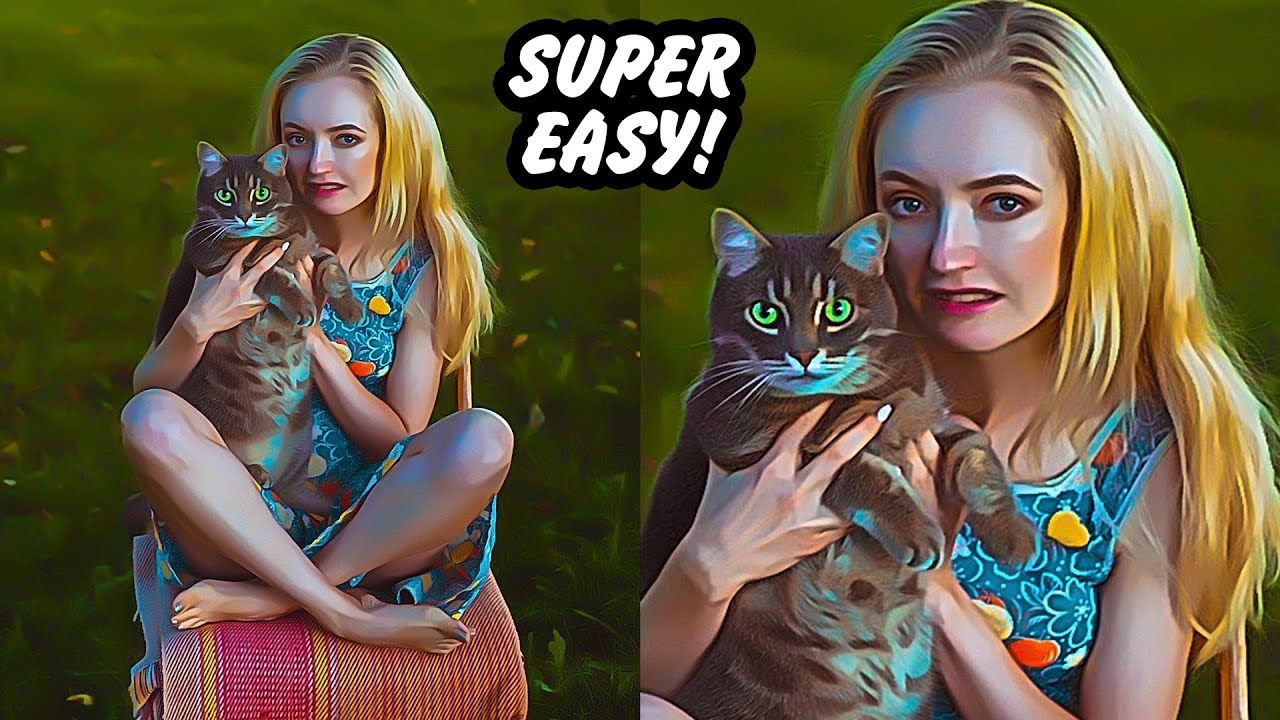
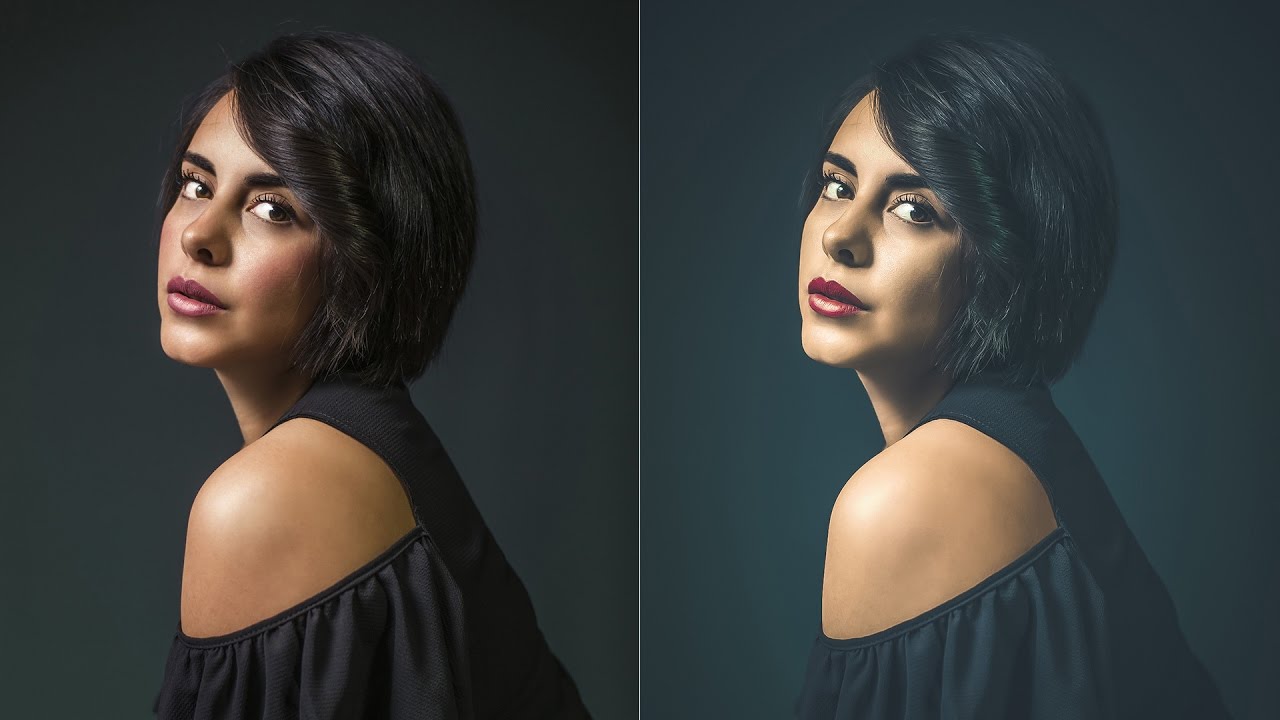
Creamy Light Skin – Instant Face Retouching in Photoshop

In this Photoshop Creamy Light Skin – Instant Face retouching tutorial, first we will smoothen skin without losing details. Then darken eye brows & eye lashes and change color of eyes and lips. Finally remove dark spots with spot healing brush.
Face Retouching Tutorial :
00:14
Instant Face Retouching – Creamy Light Skin in Photoshop
00:25
Duplicate background layer and change name to smooth skin
00:42
convert layer to smart object
00:46
Apply surface blur filter
00:57
keep radius : 35 pixels and threshold : 20 levels
01:10
Again duplicate background layer and change name to extra smooth skin
01:27
Move layer order to top & convert to smart object
01:35
Apply gaussian blur with radius of 10 pixels
01:50
reduce opacity of the layer around 20%
02:13
now add cream light skin with solid color adjustment
02:31
change blending to softlight and reduce opacity
02:58
duplicate background layer again and change name to details
03:11
move layer to top and convert it to smart object
03:21
apply high pass filter with 25 pixel radius
03:50
blending change to softlight and reduce opacity
04:11
Now boost mid-tones using curves adjustment
04:42
Group all layers
04:56
Add Layer mask
05:02
now add apply image command to layer mask
05:20
apply image limits the effect applied only to the lighter areas of the image
05:36
lets darken the eye brows, eye lashes and lips with overlay brush
05:48
take soft brush and change blending to overlay
06:07
paint on eye brows with black to darken
06:27
we are using overlay brush so it only add effect to darker areas like eye brows & eye lashes
08:08
we want retouching on the face only, so hide the effect on hair
09:04
now change eye color using levels
09:11
in levels adjustment list, select green & blue channel & modify gamma value
09:40
go to image options and invert the mask
09:50
take soft white brush and paint on eyes to reveal the color
10:17
similarly add vibrant color to lips
11:30
finally remove unwanted spots with spot healing brush
I hope that you enjoyed this tutorial.

[sociallocker id=”1411″][download-attachments][/sociallocker]