Create Snow Effect Portrait in Photoshop – Summer To Winter

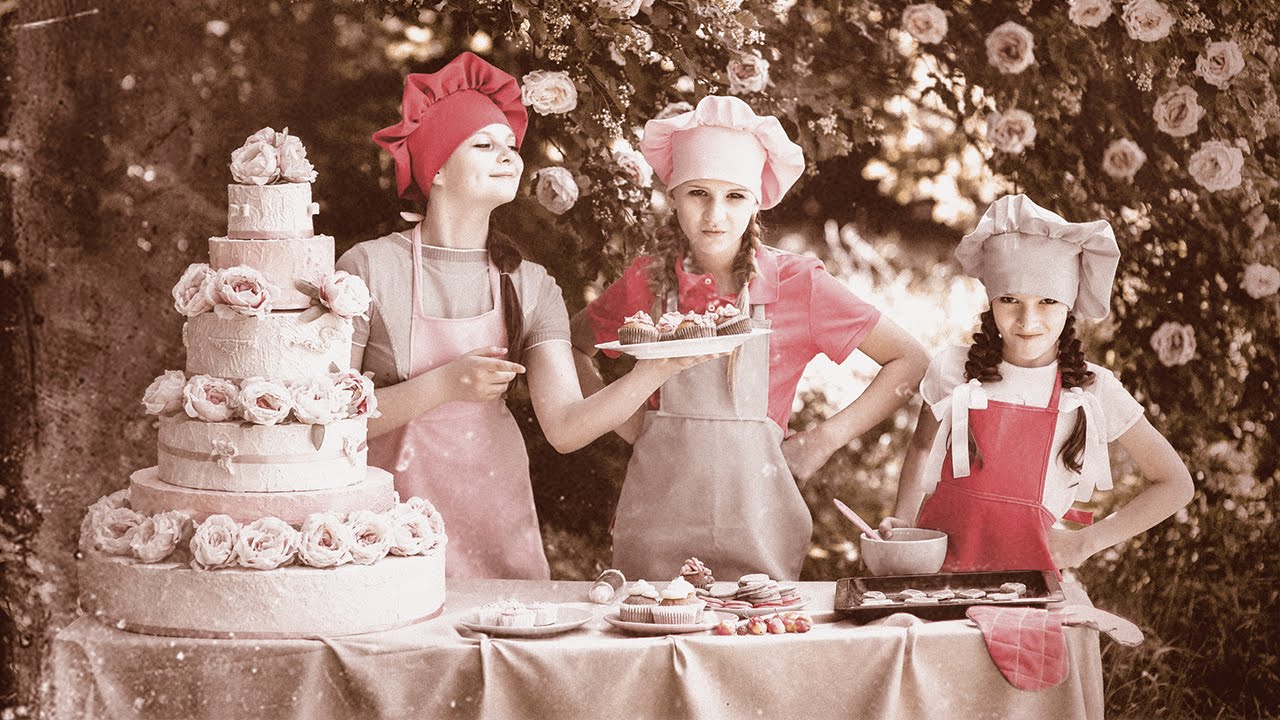
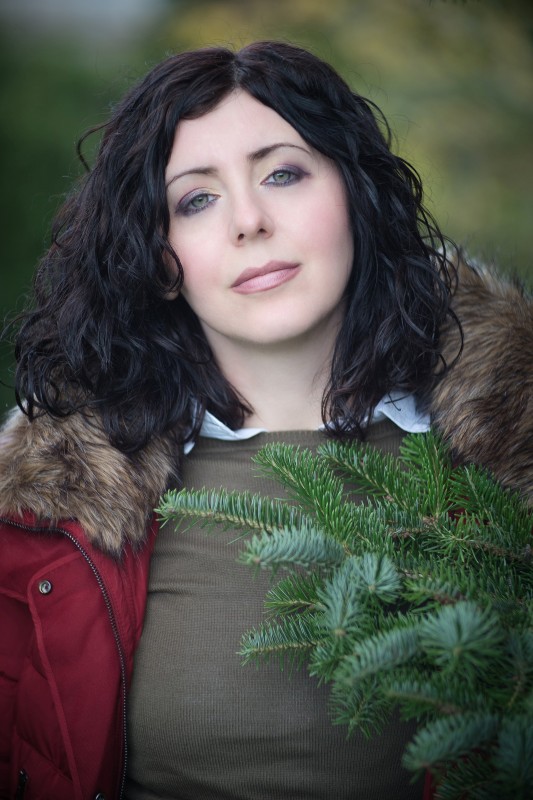
In this photo manipulation tutorial, I’ll show you easy and quick way to add realistic snow effect to your photos in photoshop. You can change your summer portrait or landscape photographs to winter with in just 2 to 3 minutes using this method.
Snow portrait Effect Photoshop Tutorial :
CLICK HERE TO WATCH TUTORIAL
First duplicate background layer CTRL/CMD+J.
De-saturate the layer SHIFT +CTRL+U.
Go to filter menu, select EMBOSS. It makes a selection appear stamped by converting its fill color to gray and tracing the edges with the original fill color. Keep Angle: 90, height: 2px and amount: 300%. Click ok.
Now to go color range and select highlights. Adjust fuzziness and range sliders for the amount of highlights to select.
Now press CTRL/CMD + J to copy and paste the active selection into a new layer.
Delete the background copy layer, we don’t require it anymore.
Add gaussian blur to the layer to produce a low-frequency detail. Keep radius of 1px.
Go to filter – sharpen – select unsharp mask to adjust the contrast of edge detail. Keep amount: 125%, radius: 460px, threshold: 3 levels. Click ok.
Now go to blending options and add outer glow layer style.
Rename Layer to “SNOW”.
Now add layer mask and Take a soft edged brush. Keep foreground color black and paint on unwanted areas to hide the effect.
Now place snow fall overlay on top of layer stack. Change layer blending to “LIGHTEN” or “SCREEN”
Final step, Add a new Curves adjustment layer to color tone the image. we’re going to add a slight cross processing effect.
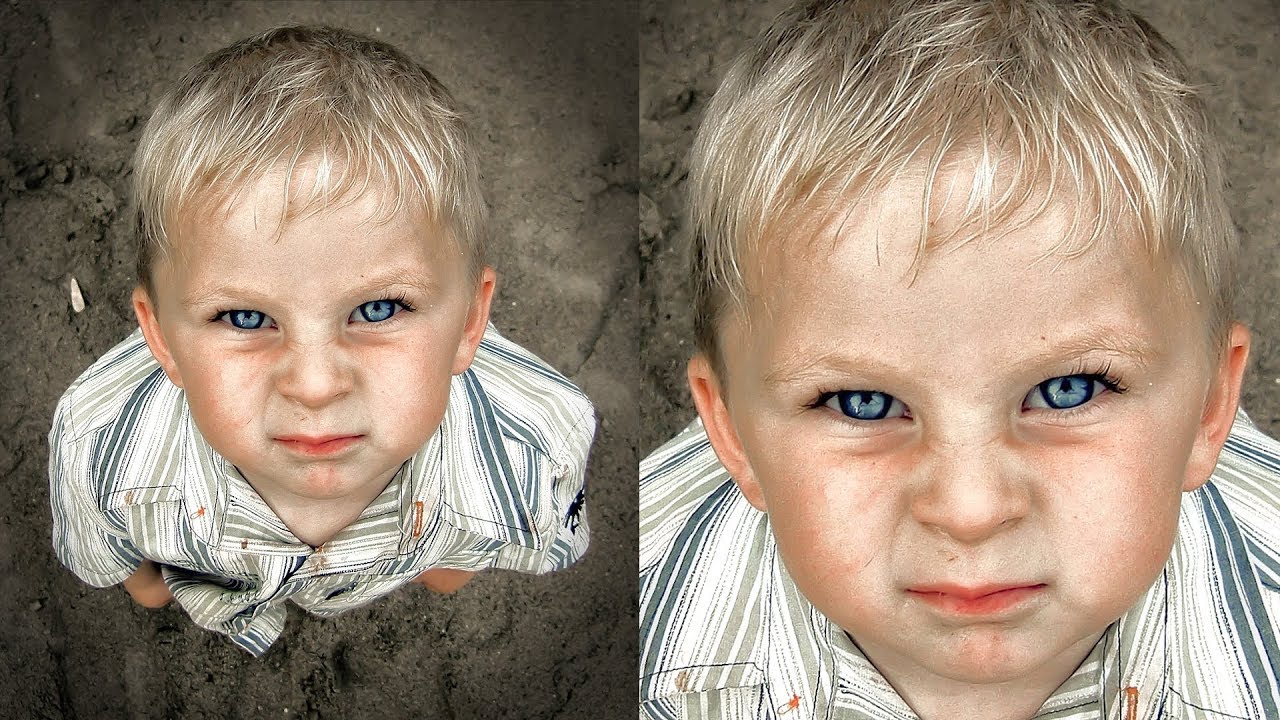
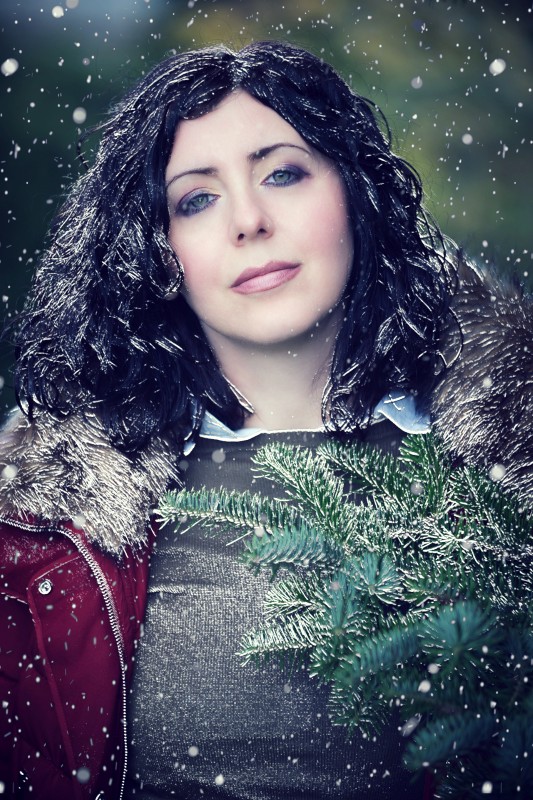
That’s it! We’re Done. Here is before and after results.
[sociallocker id=”1411″][download-attachments][/sociallocker]