How to Enhance Bokeh Blur Background in Photoshop

In this photoshop photography editing tutorial, i will show you how to enhance bokeh blur backgrounds in your photos and make the distinct area out of focus very smoothly.
Enhance Bokeh Background Effect Tutorial :
CLICK HERE TO WATCH TUTORIAL
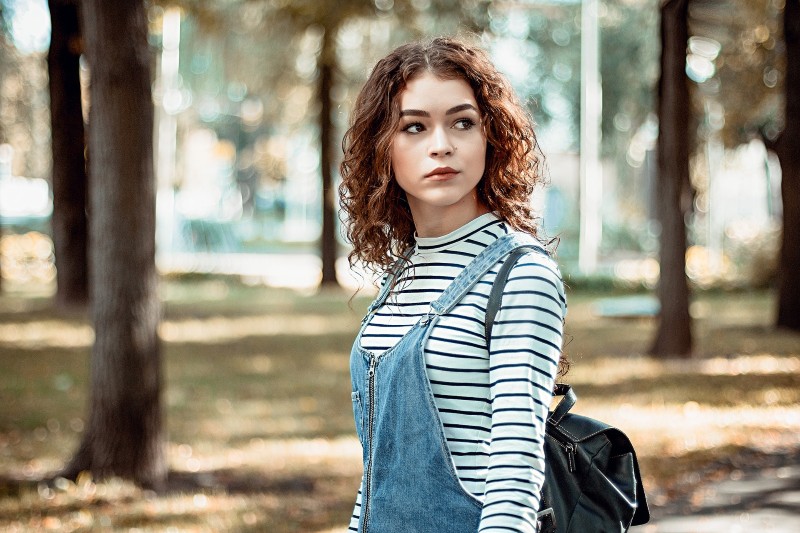
Open the image you want to blur the background in Photoshop.
First we will boost the existing bokeh using levels adjustment. Add levels, adjust middle grey handle little to darken the midtones and drag white handle towards left to lighten the highlights. Rename the layer to “BOOST BOKEH”
Now let’s add some matte look to bokeh to tone down highlights little bit using curves.
Add a curves adjustment layer, add 3 control points on whiter side of your point curve. Depending on your particular photo you may want to lower the right end little more or less, As you do this, the ‘matte’ look begins to appear.
Now change the layer blending to “LUMINOSITY”. Rename the layer to “Matte Bokeh Highlights”.
Now pop the colors of the bokeh using vibrance adjustment. Add a vibrance adjustment layer, adjust vibrance slider to your preference.
Rename the layer to “Vibrant bokeh”.
Now Create a new layer from all the visible layers by pressing Ctrl + Shift + Alt + E. Rename the layer to “Add smooth blur”.
Then go to filter menu – blur – apply lens blur. In this case, keep blur radius to 70, brightness: 4, threshold : 251. and noise distribution: gaussian. Click ok to apply the changes.
Now group all the layers and name it “Enhance bokeh”. Add layer mask to the group. and lower the opacity to your preference to keep the background bokeh natural and integrate with the original.
Now take lasso tool and make a rough selection around the subject.
Then go to image tab – use apply image on a layer mask to make the effect applied only to lighter parts of the subject. keep all settings to default. click ok.
Now go to mask properties, feather the mask to soften the edges of the selection, it allows to blend the blur effect with background.
Now take a soft edge brush and select foreground color to black. Paint inside the subject to hide the blurring effect and keep it original.
Final step, it is optional, if you want more blur increase the opacity. In this case i prefer to keep it at 65% which looks natural.
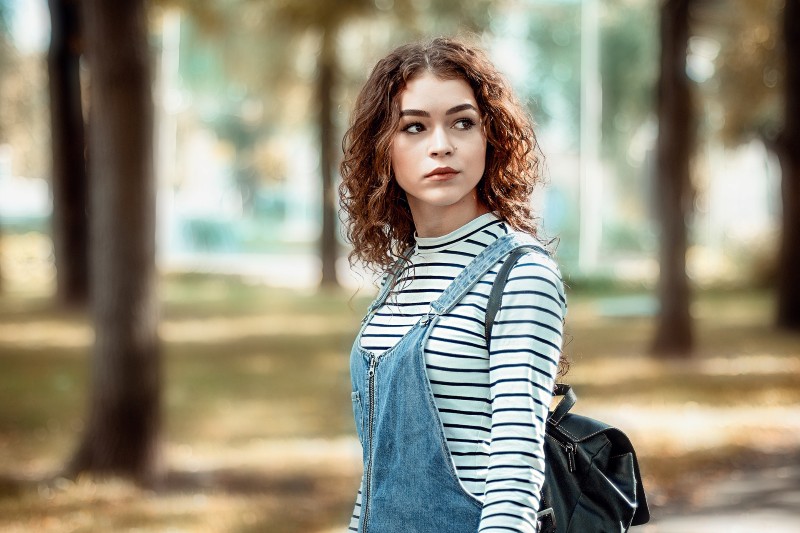
That’s it! We’re Done. Here is before and after results.
[sociallocker id=”1411″][download-attachments][/sociallocker]