How to Enhance Skin Tones and Textures in Photoshop

In this Photoshop retouch tutorial, we’ll learn how to Improve & enhance skin tones and also create action to use the same effect for other photos.
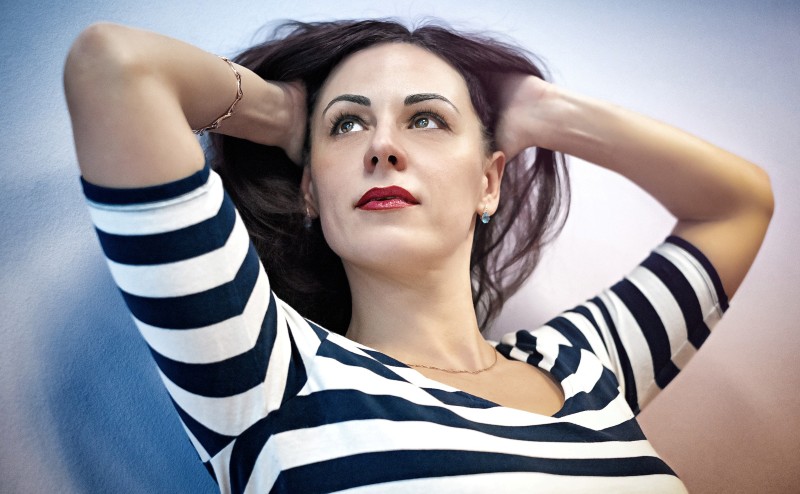
Sometimes, when photographing people the skin tones can appear a little flat, especially if you are using a digital camera.
This method is particularly useful for portrait photography and to improve skin tones, but I have used it on many other projects including interiors, and it is in fact one of the most used methods in my regular workflow. Use it where you can and see how it, very subtly, alters your images to breathe a little life into your shots.
Enhance Skin Tones and Textures Retouching Tutorial :
first open image in Photoshop.
Open the Channels Palette and check individual channels.
select channel which has detail of the contrast areas. in this case blue channel has better overall darker areas compared to red and green channels.
copy blue channel layer and paste it in new layer.
Change The Blend Mode Of The Layer To Soft light.
we need to raise the levels of the darker areas. so invert the layer.
double click the clouds layer to open the blending options window.
Hold the Alt key and drag the white slider.
By doing this we will partially hide the gray portions of the layer and achieve a better blending.
add channel mixer adjustment layer to Change Colors in the Image.
add selective color to make color corrections.
that’s it. we are done.
here is before and after result.

Our channel subscribers can download this action from below attachment for free, and with just one-click we can add the effect to any photograph.
I hope that you enjoyed this tutorial
[sociallocker id=”1411″][download-attachments][/sociallocker]