High Quality Strong Contrast Black & White Photos in LR & PS

In this photo effects tutorial, learn how to create high quality strong contrast black & white photos in lightroom and photoshop.
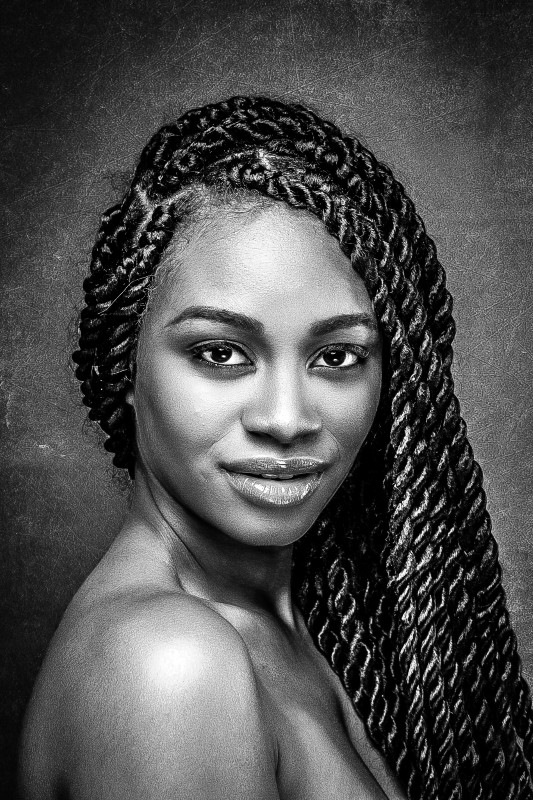
Strong Contrast Black & White Effect Photoshop Tutorial :
CLICK HERE TO WATCH TUTORIAL
First import or load portrait image in lightroom.
Then go to “Develop” Settings Menu.
Select B&W tab in HSL panel to convert image into black and white.
Then go to “Tone Curve” and select strong contrast option from drop drown list.
Now select “Basic Adjustments”.
Keep highlights: -100 and shadows: +100 for High Dynamic Range.
Now adjust whites slider to control the brightest areas and blacks slider to control darkest areas in the image.
Increase clarity: +100 to boost mid tones contrast.
Image look bit bright, lets lower the exposure little.
Now add contrast to your liking.
Now go to “Detail” Section, sharpen & reduce noise in the image to your preference.
Once you’re happy with the result. Save these settings as a preset.
Now we can apply this preset to any photos.
Lets see how to achieve same effect in photoshop.
Open image and duplicate it CTRL + J or CMD + J.
Now open camera raw filter.
just follow same settings that we applied in lightroom.
But i already created ACR preset for the effect.
Click on preset to add effect to photo.
There is some white patch on background. Take brush tool and clean the background.
Keep all settings to zero default.
Keep auto mask option checked.
Lower the exposure settings and paint on areas to make it black.
That’s it. We’re done, here is before and after.
[sociallocker id=”1411″][download-attachments][/sociallocker]