How to Change Hair Color with Curves in Photoshop – Quick & Easy

In this photoshop manipulation tutorial, learn How to change hair color or dye hair easily using curves in photoshop.
Change Hair Color Photoshop Tutorial :
CLICK HERE TO WATCH TUTORIAL
First of all, Add new curves adjustment.
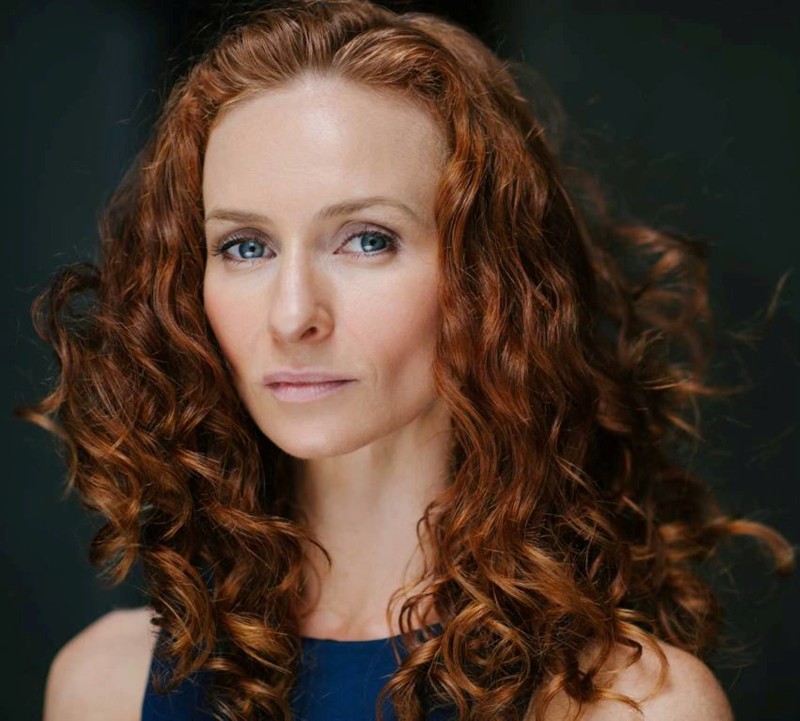
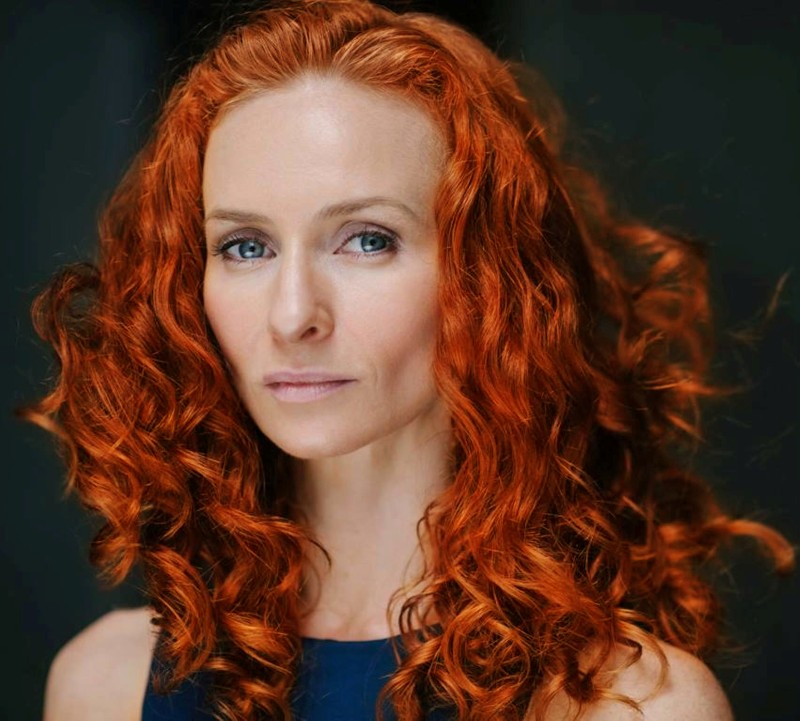
I want to convert her hair to “RED HEAD”. So select red curve and drag upward to apply red tones.
Now select the skin tones and exclude color from skin.
To do that, go to select menu – choose color range.
Now select “SKIN TONES” option from drop down list.
Hold ALT or OPTION key and click on layer mask to view it.
We want to add color to hair not skin, so go to adjustments and select “INVERT” CTRL + I.
Take soft brush and paint with black to remove effect from unnecessary areas like eyes etc.
Now soften the edges of the mask to blend color well with the edges.
Go to filter menu – Blur – select Gaussian Blur.
Keep radius around 20px (it depands on size of your image).
To remove color from shadows, Take soft brush and lower the flow and paint on shadow areas.
Hair color looks good enough. Now Mask the background to keep it original.
Select curves layer and group it CTRL + G.
Now again go to color range. Select sampled colors option.
Select background using plus eyedropper tool.
With the selection ON, hold ALT or Option Key and click on vector mask icon.
Go to filter menu – Blur – select Gaussian Blur.
Keep radius around 20px to soften edges and blend with effect.
Double click on curves thumbnail and add or change color to your liking.
Select blue curve and drag downwards to add yellows to hair.
That’s it. We’re Done.
[sociallocker id=”1411″][download-attachments][/sociallocker]