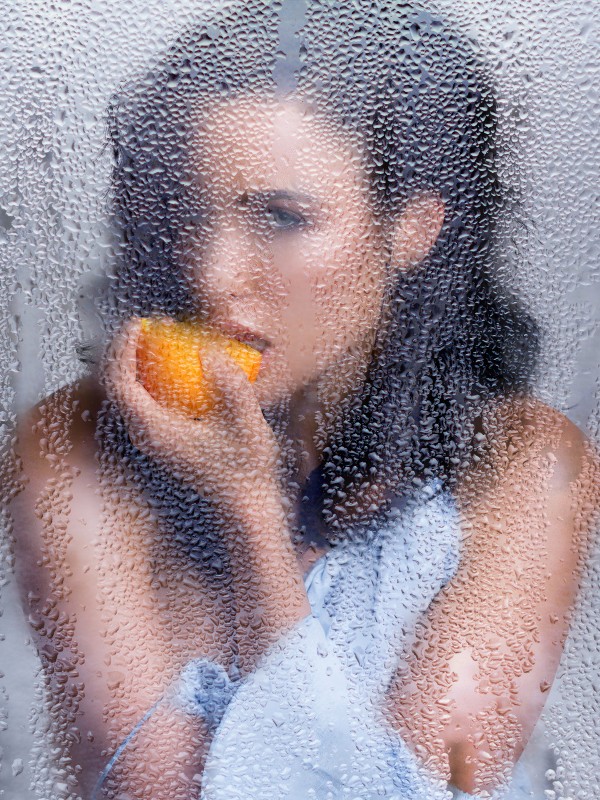
Portrait Beauty Girl Behind Wet Glass Effect in Photoshop

In this photoshop manipulation tutorial, learn how to create rainy wet glass window portrait effect in photoshop.
Portrait Beauty Girl Behind Wet Glass Effect Tutorial :
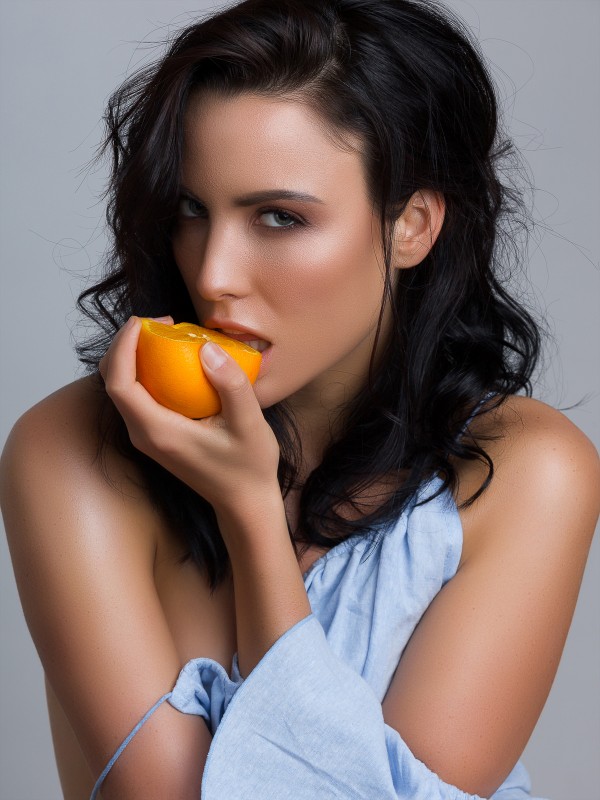
First of all, we need model portrait and wet frosted glass to produce the effect.
You can find some free wet window photos from google easily.
Duplicate model layer and convert to smart object.
Go to Filter – Blur – Gaussian Blur and set radius as 18px.
Now drag and place wet glass photo into working document.
Go to Edit menu – Transform – Scale the layer to your preference.
Now change layer blending to “HARD LIGHT”.
Now go to channels panel. Add new channel by clicking the New Channel button at the bottom of panel.
Now take brush tool and draw lines vertically and randomly with white color. Make lines like water sliding on a wet glass.
Now go to filter menu – distort – apply wave. keep type: sine and other settings as follows.
Again go to filter menu – distort – apply ripple.
Keep amount: -999 and size: medium.
Now hold CTRL or Command key and click on Alpha channel thumbnail.
Go back to layers panel, select background copy layer and add layer mask.
Now select layer mask and invert it [CTRL + I].
Now you may notice that some parts (eyes) of the model are in focus and some are out of focus, which gives realistic look.
Now the effect look good enough. But we need to adjust some basic adjustments like brightness and contrast.
Go to adjustments, add & modify contrast and brightness to your liking.
Add clipping mask to make changes to the bottom layer only (wet glass).
Finally add color tone to the image using color lookup adjustment.
Select any one from list to your liking.
I want to give some cool blue tint to the glass, so add another color lookup.
Select crisp winter preset. Lower the opacity to your preference.
Optional: If you want to minimize the effect, simply lower the we glass layer opacity.
That’s it. We’re Done.
Note: If you want to reduce the overall blur then simply click on gaussian blur filter and lower the radius.
[sociallocker id=”1411″][download-attachments][/sociallocker]