How to Replace a Cloud Sky Easily using Blend If Tool in Photoshop

In this tutorial, I’ll show you how to use the Blend If tool in Photoshop to replace a sky quickly and easily.
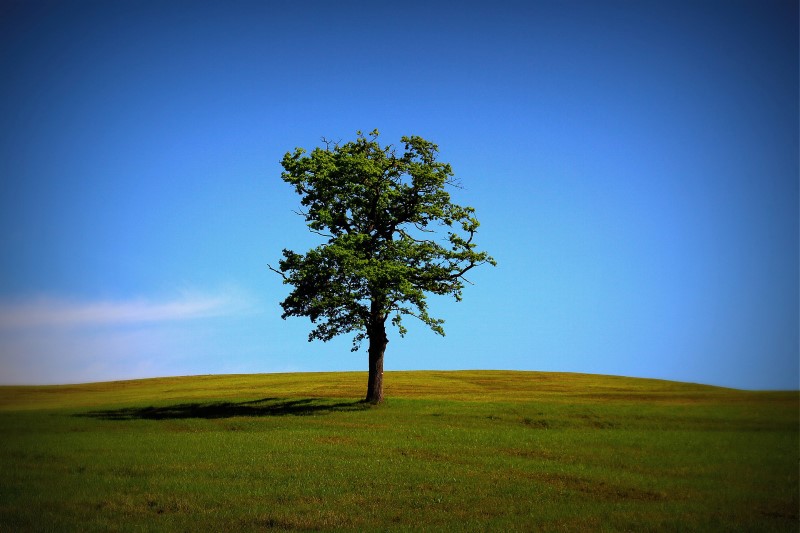
To replace a sky, first open the image and open an image of some sky to use.
Drag the sky layer into the image you are working on.
Choose a sky that is likely to blend well and which is close to the original sky.
in my case new sky image is brighter than the original sky.
so i will try to adjust this with hue and saturation to bring colors close to original sky.
now sky colors in both images are similar.
duplicate the background layer by right clicking it and choose Duplicate Layer.
Move the background copy layer to directly place above all layers.
Double-click on the layer’s thumbnail.
This opens Photoshop’s Layer Style dialog box set to the Blending Options in the middle column.
Blend If option which, by default, is set to Gray. Which means it blend the whites and blacks in the image.
But we need blend the blue in the image.
Click on the word Gray and choose Blue from the list that appears.
As soon as you change the option to Blue, the two slider bars will change from black-to-white gradients to black-to-blue gradients.
Click on the small slider below the far right of the top bar and begin dragging it towards the left split the marker in two by holding the Alt key as you drag one half of the marker away from the other.
As you drag the slider, you’ll begin to see the original sky in the photo disappearing and revealing the replacement sky underneath.
Adjust position of the new sky of your liking.
If you have a fringing around the trees or clouds looks dull as I have in my image you can use a Levels adjustment to fix this.
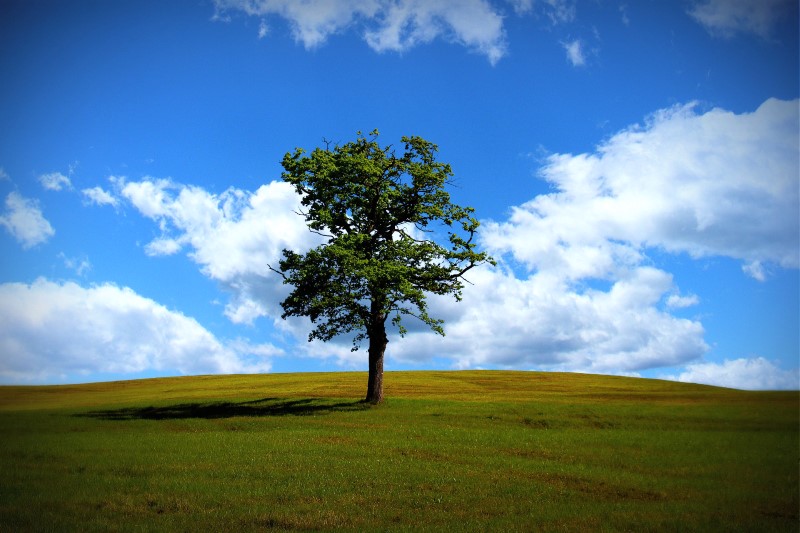
Here is the final result.
That’s how to easily replace the sky in a photo using the Advanced Blending sliders in Photoshop!
[sociallocker id=”1411″][download-attachments][/sociallocker]