How to Create Animation Double Exposure in Photoshop
In this tutorial, I’ll show you how to create animation double exposure effect, created by blending a standard image, (typically a person) with a video scene.
Animation Double Exposure Effect Tutorial :
First open an image in to Photoshop. The way the result looks depends mostly on the amount of white areas in the image. The best images to be used contain white, or almost white backgrounds. So, if you open an image of a person with a white background, the overlapping video effect will only be visible on the darker areas of the subject, and not on the white background.
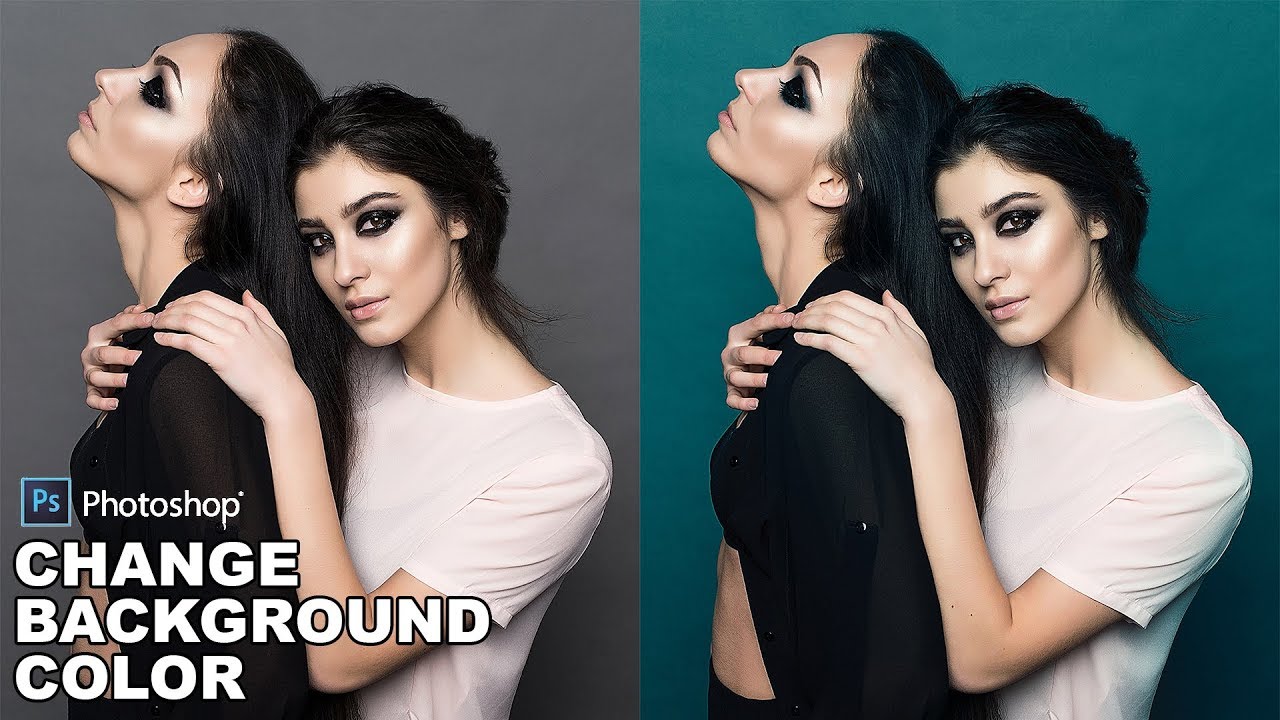
In my case, selected photo has a grey background. So i Begin by clipping out the subject from the portrait photograph.
Make Selection closely follow the outline of the person’s profile.
Go to Select > choose select and mask.
Begin altering the Edge Detection Radius to bring the hair line into the selection. Extending the edge selection will also bring in areas of the background around the face and hair.
Select the brush to the Refine Radius tool and paint around the hair line to capture any stray hairs that aren’t yet in the selection.
Copy this new selection from the Background and paste it onto a new layer.
Now copy image and paste it into the working document.
Now the person image contain white background. I want the image to look straight, so take a free transform tool CTRL + T and rotate the image.
We need to increase the contrast, so Duplicate the person cut out layer, and change blending mode to Overlay. The Over lay blend mode both multiplies dark areas and screens light areas at the same time, so dark areas become darker and light areas become lighter.
Open up the Levels adjustment, and begin darkening the image by moving the Input and Output level sliders.
Group the layers.
Now place the video footage or image sequences.
Go to Layer tab – select Video layer and then select new video layer from file.
I captured the time lapse sequence of 3 sec long. I will use this sequence for animation.
You may use any scenes from, nature landscapes to cities as u wish. or If you want to use a photo instead of a video, then paste your own photo.
Change the blending mode of this new video layer to Screen, to render all the dark areas transparent.
Double click the video layer to open the blending options window. Hold the Alt key and drag the black slider towards right. By doing this we will partially hide the gray portions and achieve a better blending effect with the person.
Normally double exposure effect looks good in black and white. So let’s achieve this effect.
Add a Black & White Adjustment Layer to wash out the colour of the image.
we finished the blending and layer adjustments part. Now turn on the video mode.
To view the animation, open the Timeline from the Window menu. Trim the timeline to 3 sec long, same as video length.
Click the play icon to render files and review. Check loop playback to play forever.
If your interested in colored animation, then disable the black & white layer.
we can increase contrast or remove white areas, simply by adding solid color black layer, and change layer blending to softlight. Reduce opacity around 50%.
If you want more contrast effect, then keep the solid color layer, or otherwise hide it.
When your happy with the result, export the animation. Go to timeline menu options and select render video.
In the Render Video dialog box, enter a name for the video or image sequence. Specify format-specific options from the menus, below the file format menu and click render.
We can also export this animation as GIF, with loop playback for web. If you are saving your animation as a GIF image. Optimize it for efficient download to a web browser.
When optimizing the colors in an animation. use the Adaptive, Perceptual, or Selective palette. This ensures that the colors are consistent across frames.
Click the save button, and select folder, to tell Photoshop where to save the exported file.
We’re Done. And here is my final result. I hope that you enjoyed this tutorial.
[sociallocker id=”1411″][download-attachments][/sociallocker]


