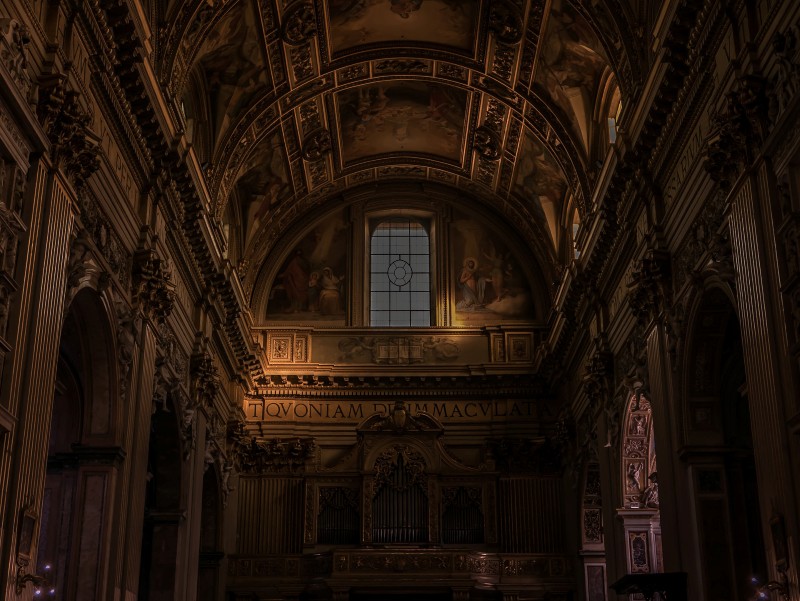
How to Post-Processing a Low Light Photos in Photoshop

In this photoshop editing tutorial, learn how to post-processing a low light photos in photoshop.
Post-Processing a Low Light Photos Photoshop Tutorial :
CLICK HERE TO WATCH TUTORIAL
1
00:00:13
How to edit low light photos in photoshop.
2
00:00:24
First duplicate background layer.
3
00:00:39
Go to adjustments tab and select shadows/Highlights.
4
00:00:51
Now create a new layer from all the visible layers by pressing Ctrl + Shift + Alt + E.
5
00:01:09
Invert the layer CTRL + I.
6
00:01:19
Go to adjustments tab and apply Equalize.
7
00:01:25
Equalize command makes lightest areas into white and locates the darkest areas and forces them to black.
8
00:01:37
Now desaturate the layer SHIFT + CTRL + U.
9
00:01:50
Change layer blending to overlay.
10
00:02:01
Go to filter tab and apply gaussian blur.
11
00:02:10
Adjust radius to your preference (higher pixels works best).
12
00:02:28
Again create a new layer from all the visible layers by pressing Ctrl + Shift + Alt + E.
13
00:02:45
Change layer blending to hard light.
14
00:02:55
Apply gaussian blur.
15
00:03:02
This time keep radius at lower pixels.
16
00:03:16
Add layer mask to the current layer.
17
00:03:25
Select layer mask and add apply image command.
18
00:03:34
Choose invert, it restricts the effect to darker areas only.
19
00:03:43
Now the edges look soften, we need to bring back some details.
20
00:03:51
create a stamp visible copy by pressing Ctrl + Shift + Alt + E.
21
00:04:09
Go to filter – apply high pass.
22
00:04:18
Keep radius: 1.5 pixels.
23
00:04:29
Change blending to linear light.
24
00:04:40
We almost done, create stamp copy again by pressing Ctrl + Shift + Alt + E.
25
00:05:01
Apply Equalize command.
26
00:05:14
Group all layers and lower the opacity to your preference.
27
00:05:39
Finally add some contrast to the image.
28
00:06:02
That’s it.

[sociallocker id=”1411″][download-attachments][/sociallocker]