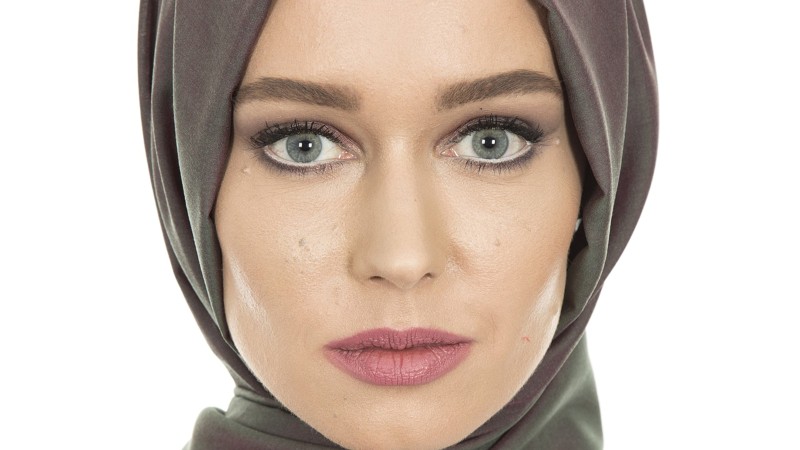
High Dynamic Skin Retouching Using Camera Raw in Photoshop

In this photoshop retouch tutorial, learn high dynamic skin retouching using camera Raw in Photoshop easily with the help of sharpening and noise reduction tools. And also give HDR look to the final portrait.
Skin Retouching Photoshop Tutorial :
CLICK HERE TO WATCH TUTORIAL
1
00:00:13
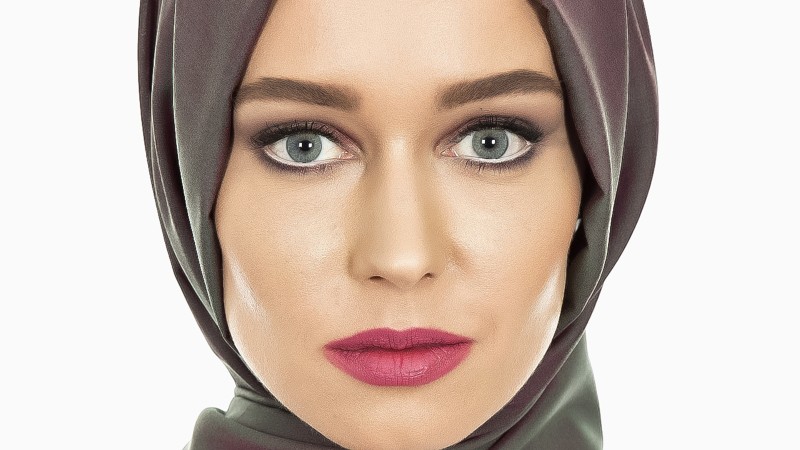
High Dynamic Range (HDR) Skin Retouching in photoshop.
2
00:00:29
First duplicate background layer.
3
00:00:49
Go to adjustments tab and select shadows/Highlights.
4
00:01:00
Adjust shadows and highlights amount to improve tonal range.
5
00:01:14
Now increase brightness (+10) to well-lit the image.
6
00:01:32
Now create a new layer from all the visible layers by pressing Ctrl + Shift + Alt + E.
7
00:01:43
Rename layer “Retouching”.
8
00:01:53
Now open layer in camera raw filter.
9
00:02:04
Go to detail section.
10
00:02:12
Adjust sharpening settings.
11
00:02:19
Keep Amount: 150, Radius: 1.0, Detail: 25, Masking: 0.
12
00:02:26
Similarly adjust settings for noise reduction.
13
00:02:34
Keep Luminance: 60, Detail: 15, Contrast: 0.
14
00:02:40
Keep Color: 25, Detail: 50, Smoothness: 50.
15
00:02:50
You can notice that the skin became smooth without affecting skin texture and details.
16
00:02:57
Go to the Basic panel and adjust contrast,clarity & other settings to your preference.
17
00:03:32
Now select HSL panel and adjust the color values for reds.
18
00:04:10
Now take spot removal brush and clean dark spots or acne marks.
19
00:04:21
Adjust brush size and feather to your preference.
20
00:04:30
click on the pimple with brush and it replaced with good texture from the surrounding area.
21
00:05:34
Click ok, when you are happy with the result.
22
00:05:51
Additional we can add proper adjustments to make image even better.
23
00:05:56
Add Curves to make shadows darker and highlights brighter little bit.
24
00:06:20
Add Exposure adjustment and adjust mid tone range of your image with gamma slider.
25
00:06:43
Add levels and darken the mid tones little bit.
26
00:07:07
Add contrast to boost mid tones.
27
00:07:24
Finally lower the overall saturation.
28
00:07:49
That’s it.
[sociallocker id=”1411″][download-attachments][/sociallocker]