How to Create Fake Tear Drops Manipulation in Photoshop
How to Paint a Realistic Tear with Adobe Photoshop. In this tutorial I’ll show you how to Create Fake Tear Drops in Photoshop.
Fake Tear Drops Manipulation Tutorial :
Open the image. You should choose a model image with a sad kind of expression ( not laughing or smiling…).
first goto channels tab and create new channel.
then go to filter, render and select fibers.
keep variance :20 and strength :1
apply motion blur to this channel with angle at 90 degree and distance at 58 pixels.
to Load an alpha channel as a selection, Ctrl+click the channel layer thumbnail.
now we can delete this alpha channel layer.
go back to layers panel, and create new blank layer.
fill the layer with white color.
deselect the selection.
name the layer to tears.
Double click on layer thumbnail to open layer styles option.
There is a very important thing you should remember, that a tear has highlights, shadows and volume.
we’ll use advanced layer style techniques to create the tears.
we’ll combine Bevel and Emboss, Inner Shadow, Outer Glow and Stroke to create the desired look.
contour option gives it a more wet at bottom look to the layer.
now we need the layer style to be transparent.
change the Fill to 0 to 20% and opacity around 75%.
This will make the layer style transparent.
Add a layer mask that hides effect of a tears layer.
Choose Layer > Layer Mask > or Hide all.
now take soft black brush and make the basic shape of the tear.
as we paint along a Realistic wet Tear will appear.
we can go back to layer styles and make any changes to highlights and shadows, detail and volume to make it appear more subtle.
and also play with fill opacity to add more under shadow to tear.
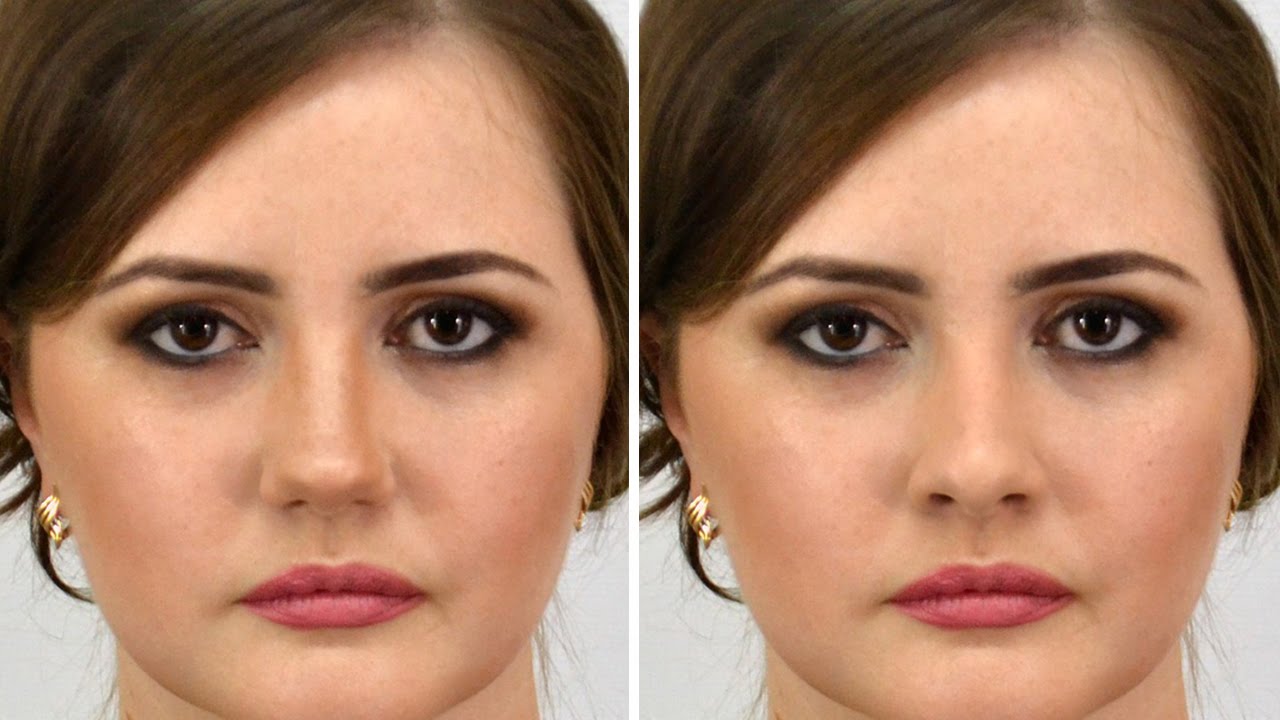
Here is before and after result
[sociallocker id=”1411″][download-attachments][/sociallocker]


