Simple Blending Sky Trick to Create Engaging Photos in Photoshop
In this photoshop photo blending tutorial, learn how to blend skies to create amazing great eye catching photos in photoshop easily.
Blending Sky Tutorial :
CLICK HERE TO WATCH TUTORIAL
For this episode i selected white sky image which has blown out areas so that i’m going to add new sky to it. And also i will reflect colors and lighting on the surface according to the new sky.
First open photo in photoshop and to add new sky, place sky layer exactly near the horizon.
Then change blending to “Multiply”. You may notice that some of the bottom edges are still visible so we’re going to disappear it using blending options.
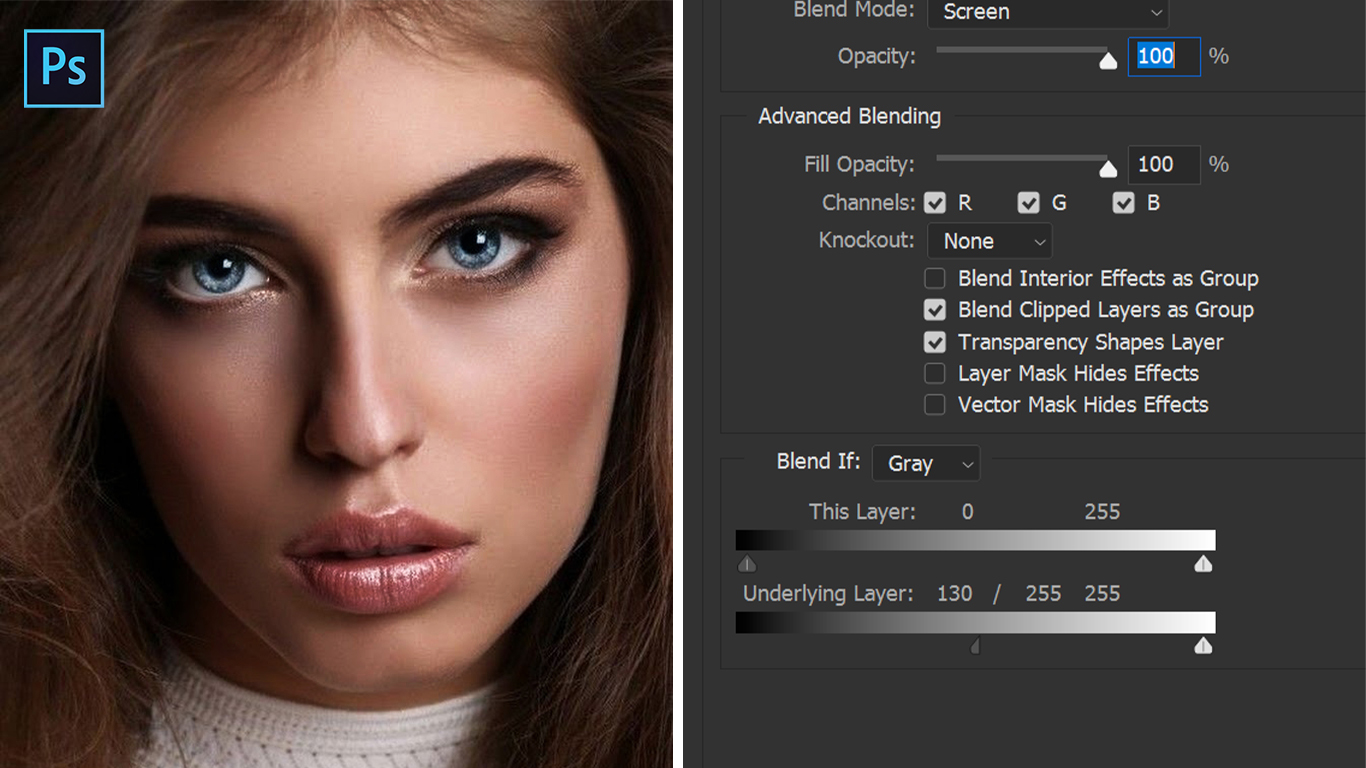
Open blending options and drag the black triangle towards right to blend the sky with the underlying layer.
Now to make color match, add same sky layer and apply gaussian blur to remove textures and keep colors.
Then change blending mode to “Softlight”.
Final step, Create a stamp visible copy layer by pressing CTRL+SHIFT+ALT+E and open it in camera raw and adjust some highlights, shadows, whites and blacks to your liking to make colors pop.
Thats it. We’re done.
[sociallocker id=”1411″][download-attachments][/sociallocker]


