How to Create Glass Window Reflection Portraits in Photoshop
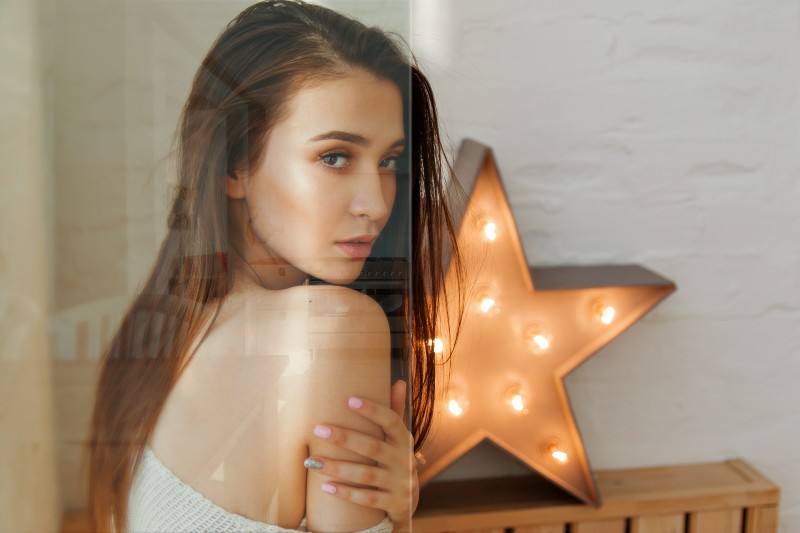
Learn how to use Photoshop to add a glass window reflection portraits photo effect. This Photoshop tutorial will teach you how to use several layers to create a realistic transparent Window Reflection Effect. The effect is pretty easy to replicate in Photoshop in just a few steps.
Glass Window Reflection Portraits Effect Tutorial :
Load up images: a portrait, a interior or any city scene.
Place the interior scene on top of your portrait, set the blending mode to Lighten, and bring the opacity down until it looks right to you.
Duplicate the layer, set its blending mode to Screen, and turn that layer black and white.
Use this layer to enhance the bright pixels by going into the layer’s properties, and isolating only the brightest pixels under Blend If – This Layer
Create a stamp visible copy (CTRL+SHIFT+ALT+E). Change blending to multiply and then add apply image command to layer mask (it enhance high dynamic range).
Finally add lens blur to add depth of field.
Use a Hue and Saturation Adjustment Layer or color lookup to add a green tint for a more authentic “glass” look.
That’s it. Here is before and after results. I hope that you enjoyed this tutorial. How to Create a Window Reflection Effect in Photoshop.
[sociallocker id=”1411″][download-attachments][/sociallocker]


