How to Create Realistic Starburst (Lens Flare) Effect in Photoshop

In this photoshop photo effects tutorial, we’ll be mixing photo editing and graphic art to create our own starburst lens flare effects and applying them to an image. You don’t really need any sort of graphic skills to do this as the process mainly involves manipulation through scaling, rotating and applying filters.
Starburst (Lens Flare) Effect Photoshop Tutorial :
CLICK HERE TO WATCH TUTORIAL
00:00:19
First open image in photoshop
00:00:31
Make a new document width:1500px & Height:1500px
00:00:48
Go to adjustments and select Gradient fill
00:00:57
select black & white gradient and Type: Linear
00:01:15
go to filter – Distort – apply wave filter
00:01:46
Again go to filter – distort – select polar coordinates
00:01:53
convert rectangular to polar
00:02:05
add hue/saturation adjustment to add color to the burst
00:02:39
Merge layers
00:02:58
we need to fix the center attach line
00:03:14
Duplicate layer
00:03:27
Flip layer vertical
00:03:36
Change layer order, send copy layer backwards
00:03:51
Make a new layer and fill with 50% grey
00:04:12
Scale grey layer height by 50%
00:04:27
Select canvas
00:04:41
Align top edges
00:04:51
Again make a new layer and fill with any color
00:05:13
rotate layer by 45 degree
00:05:31
Now load grey layer selection CTRL + CLICK on layer thumnail
00:05:43
Align bottom edges
00:05:57
Now load red layer selection CTRL + CLICK on layer thumnail
00:06:07
Feather selection by 25 pixel radius
00:06:22
Now select copy layer and clear
00:06:45
Delete unnecessary layers
00:06:57
merge layers
00:07:09
Add levels adjustment to create low key Effect
00:07:46
Add another levels adjustment and intensely reduce the lighting
00:08:29
Change layer blending to screen
00:08:41
Add a new gradient fill layer to add over light at the center
00:08:48
select white to transparent gradient and Type: radial
00:09:18
change layer blending to screen
00:09:30
merge all layers
00:09:47
Again duplicate layer and apply radial blur
00:10:03
Keep amount: 30, Method: zoom & Quality: best
00:10:21
Merge layers
00:10:32
Duplicate layer again
00:10:42
change blending to screen
00:10:56
Reduce main layer opacity to 75%
00:11:18
scale duplicate layer by 50%
00:11:41
Add new solid black color layer
00:12:08
Merge all layers
00:12:26
finally apply radial blur filter
00:12:53
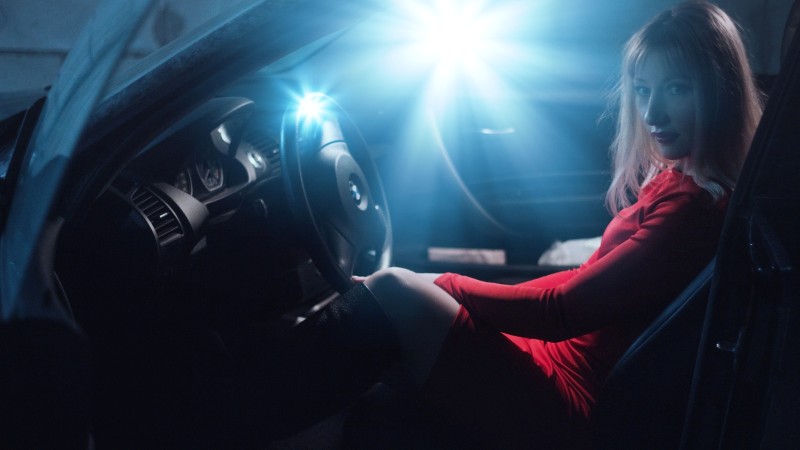
we created a star burst, now place it into working photo
00:13:02
Simply drag and drop
00:13:08
Change blending to screen
00:13:17
it is movable layer so we can place it any where
00:13:24
we can increase or reduce light intensity using curves easily
00:14:47
We can change light color using hue/saturation adjustment
00:15:20
That’s it. We’re done.
00:15:29
We can also create fake camera flashes and sun bursts using same method
[sociallocker id=”1411″][download-attachments][/sociallocker]