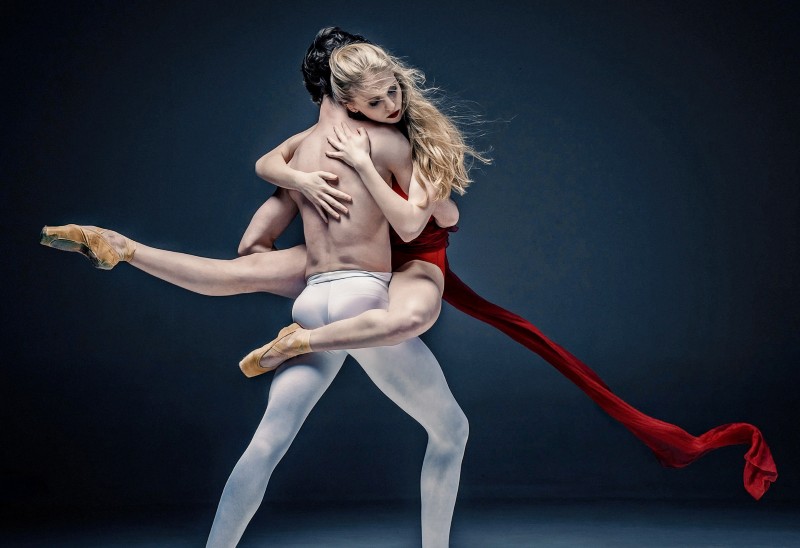
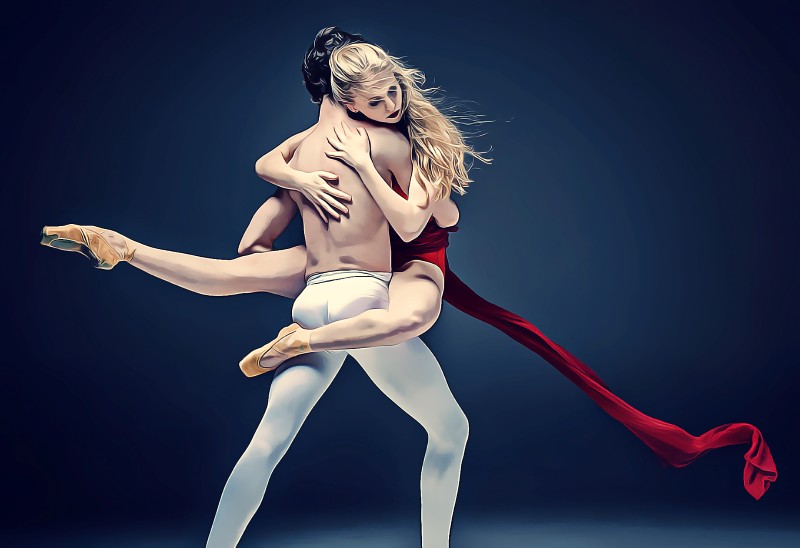
How to Create Vector Painting Photo Effect in Photoshop

In this photoshop photo effects tutorial, i will show you how to transform any photo into vector painting in photoshop using its native filters like unsharp mask, surface blur, diffuse, smart sharpen and reduce noise filters.
Vector Painting Effect Tutorial :
00:00:13
How to Turn Photos into Vector Painting in photoshop
00:00:26
Duplicate background layer
00:00:35
Now we apply native filters to this layer to change photo into painting
00:00:47
Step 1) Apply “UNSHARP MASK”
00:01:00
Keep Amount: 125%, Radius: 3.8pixels and Threshold: 0
00:01:30
Step 2) Apply Diffuse Filter
00:01:38
Select Anisotropic Mode
00:01:53
Step 3) Apply Reduce Noise
00:02:08
Keep Strength: 10, Preserve Details: 0
00:02:14
Color Noise: 0% & Sharpen: 65%
00:02:58
Step 4) Add Surface Blur
00:03:13
Keep Radius: 32pixels, Threshold: 12
00:03:33
Step 5) Go to Filter Gallery and add Film Grain Effect
00:03:51
Keep Grain: 0, Highlight Area: 2 and Intensity: 1
00:04:04
Step 6) Apply Smart Sharpen
00:04:22
Keep Amount: 90-100%, Radius: 2.1px, Reduce Noise: 82%
00:05:04
Step 7) Add Small amount of noise
00:05:22
Keep Distribution: Guassian, Amount: 0.1%, without Monochromatic
00:05:42
Step 8) Finally apply unsharp mask
00:05:53
Keep Amount: 69%, Radius: 0.5 pixels and Threshold: 0
00:06:32
Lets add cinematic color grading to the effect
00:06:43
Add Solid blue color layer
00:06:57
Change blending to exclusion and reduce opacity around 20%
00:07:14
Add Color Lookup and Select filmstock LUT
00:07:31
That’s it. we’re done.
[sociallocker id=”1411″][download-attachments][/sociallocker]