How to Add Beams of Sun Light Rays to Photos in Photoshop
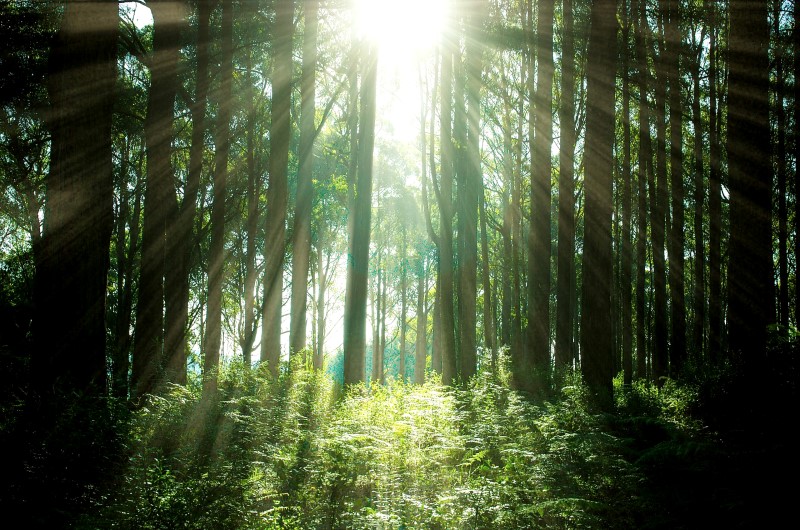
In this Photoshop Light Rays Effects tutorial, we’re going to learn how to add beams of sunlight through trees to make an image look more interesting.
First go to background layer Channels palette. The first thing we need to do is find out which of three color channels contains the highest amount of contrast. Among red, green and blue, it will be the Blue channel with the highest contrast.
Now load the blue channel as selection. to do that Hold down your Ctrl (Win)/ Command (Mac) key and click directly on the channel in the Channels palette.
Switch over to your Layers panel and click on the New Layer icon at the bottom to add a new blank layer.
Fill the selection with brighter sun color in the image. Use the keyboard shortcut Ctrl+Backspace (Win) / Command+Delete (Mac) to fill the selection on the new layer
CTRL + D to deselect the selection.
Covert layer to smart object and name the layer SUNRAYS. With sunrays layer selected go to Filter menu, choose Blur, and then choose Radial Blur.
Click in the general spot where you want the sunbeams to be coming from. I want my sunrays to start from approximately where the sun appear in the image.
keep amount at maximum. Select Zoom for the Blur Method, set the Quality option to good and click ok.
Change the layer blend mode to color dodge. need to experiment a little here because overlay and hard light also works in some cases.
To make our sunbeams stand out a bit more, let’s add a glow to them.
Choose Outer Glow from the list of layer styles.
I need to increase the contrast even further by making the dark areas darken, and we can do that easily with levels adjustment layer.
Edges of the beams look sharp and i want to soften them with gaussian blur filter keep radius in very small pixel and click ok.
All filters and styles applied are editable so we can tweak it any time.
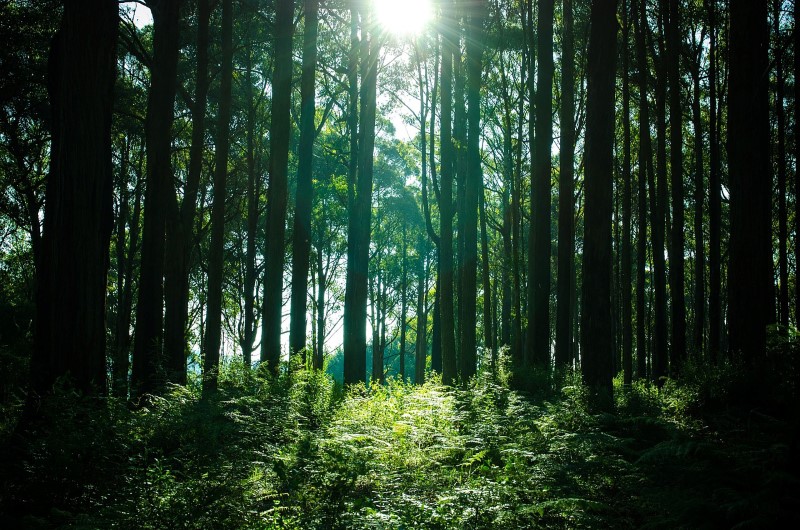
Here is before and after results
[sociallocker id=”1411″][download-attachments][/sociallocker]


